|
|
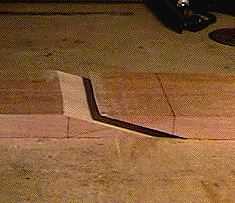
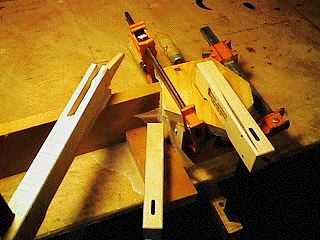
I started by going down to Southern Lumber and buying a 4-foot board of 3-1/2" wide, 3/4" mahogany, with the straightest grain I could find. About 8" down from one end, I sawed a 15° angle through the board. Here are the two pieces after I've sawn them. I will flip the shorter peghead piece over and glue it underneath the longer neck shaft piece, forming the angled headstock. I then thinned the peghead piece, by using the Safety Planer to remove wood from the shorter face, so the total thickness of the peghead and veneer will accommodate the tuners. |
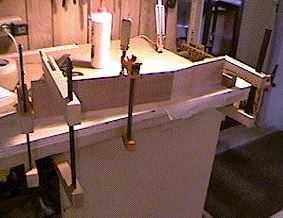
Here I am getting ready to glue the neck scarf joint. I have clamped down the neck shaft first, then positioned the peghead splice and clamped down the block of wood at the end of the peghead. That will keep the peghead from sliding out of position once I've applied the glue. Once I glue the splice, I will place clamping cauls and waxed paper on both sides of the splice and then clamp it up. I will also place another clamp to hold the peghead firmly in place. |
|
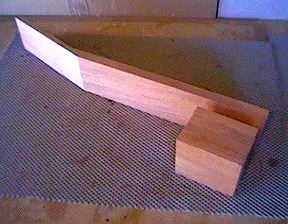
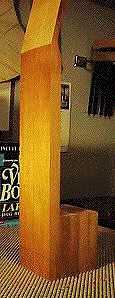
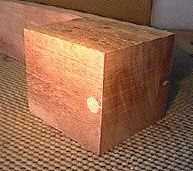
Here is the neckshaft, after I have glued the peghead splice. In front is the heelblock I have made by gluing together four 4" long pieces of that same mahogany board. I know. . . I know. . . the picture looks weird, because I placed the neckshaft on the wrong side here! (And it's too late to take another picture of the two pieces now -- they are no longer separate!!!) The neck shaft really should be flipped over, so the photo would show the proper relationship between the shaft and the heel block. Don't worry.....I won't glue it together this way!!!!!!!! |
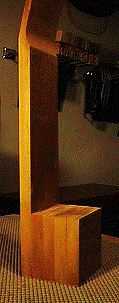
This mess above is how I'm gluing the stacked heel block to the bottom of the neck shaft board. That weirdly-shaped board on top (under the cam clamp to the right) is just holding the four pieces even with each other.The strip of wood under the middle cam clamp is just a stop block, to make sure the four pieces don't slide around out of position. Don't worry --- you'll be able to see the heel block once I remove all these blocks and clamps! |
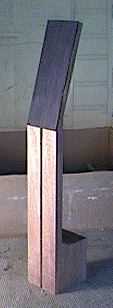
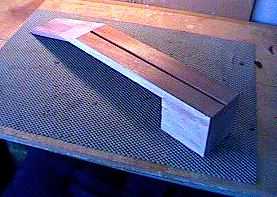 Above is the neck, after I have routed the slot for the truss rod above. The truss rod sits snugly in the slot and can be adjusted to correct both backbow or upbow, depending on which direction you turn the adjusting allen nut.
To the left is the neck with the rosewood veneer glued in place.
Later will come the trimming of the neckshaft, the shaping of the heel, and the shaping of the peghead.
|
Okay, here are the heel blocks, glued to the neck shaft. I waited at least an hour for the glue to dry. Then I sanded the end of the neck shaft and the heel block flush to each other, at the 14th fret position. I cleaned up any glue squeeze-out and sanded the sides of the heel block smooth. The next step will be to mark and rout out the slot for the truss rod. I will be using Stew-Mac's "Hot Rod" double-action truss rod, shown below. 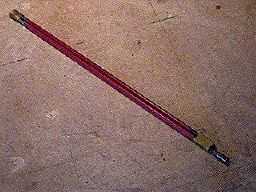
|