|
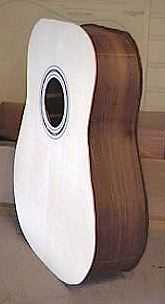
HERE IT IS...the completed soundbox!!!! The edges of the top and back still overhang the sides. I will trim that away next. |
I'm holding the soundbox in the guitar vise I made with old pipe clamps . On top of the soundbox is the mini-drawknife I will use to trim away the overhang of the top and back. |
|||
|
|
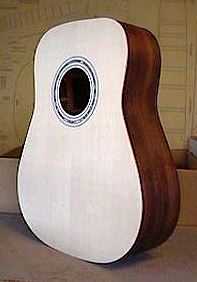
Here are front and back views of the final, trimmed soundbox. |
|||
 |
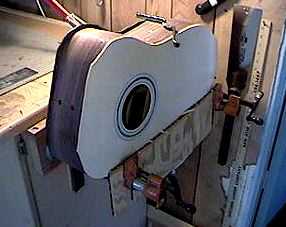
To the left is a view of the neck-end part of the soundbox. The top hole is for access to the truss rod, and the bottom two holes are for the bolts for the bolt-on neck. Go To... Return to Projects Home Page |