|
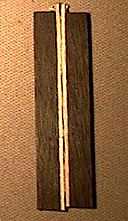
Above, I've glued on the binding, clamping it with masking tape. Bending the ebony binding this time went pretty smoothly --- I guess I must be getting better at it. I didn't crack even one strip this time! |
I did follow a tip I just saw somewhere (I can't remember where) -- I taped two pieces of the binding (ebony laminated with a thin holly strip) together, so that the holly strips abutted each other. This worked well to keep the holly laminates from working loose and separating. It also allowed me to bend two strips at once. |
|||
|
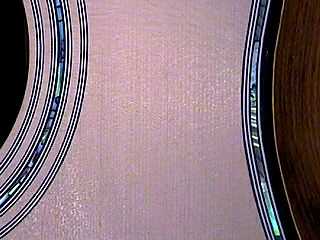
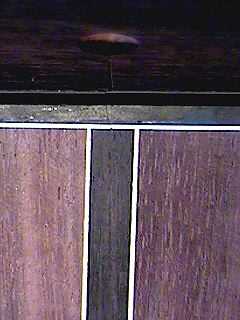
This is what my top purfling and binding finally looks like, after I have removed the masking tape and scraped and sanded it down. To the right is the back binding and center inlay strip. |
 |
|||
|
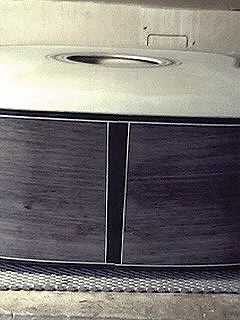
Here is the bottom end of the guitar, with the end wedge and binding. |
Go To... Return to Projects Home Page |