Tuesday, June 26th, 2012, 10 a.m. :
Here is what I plan to do next (this is my third version):
- Trim tail ends of sides.
- Glue on tailblock.
- Trim peghead ends of harpbox sides.
- Lay out top against plans, and adjust harpbox peghead to harmonize with the neck peghead shape (maybe redesign this) and placement.
- Make harpbox peghead block (BUT DON’T GLUE TO SIDES YET).
- Make the harp box peghead (mahogany) and glue/screw to the end block.
- Glue the harp box end block (with attached peghead) to the sides.
- Glue on the kerfing strips on the top edge.
- Sand the top radius onto the top kerfing at lower bout of top. Sand all the rest flat.
- Mark the back profile on the sides, tail to neck block, using radius dish.
- Mark the taper from the neck end of harpbox to harpbox peghead end.
- Plane the sides taper (on the back side).
- Glue on the back kerfing.
- Glue in the side reinforcements.
- Glue veneers to soundport location.
- Cut out soundport and round edges.
- Put sideset into mold. Fit the top --- notch the top kerfing for the top braces.
- Final sand the top inside and sign it.
- Glue on the top.
- With sideset still in mold, sand the radius into the back kerfing, tail to neck block (not harp box).
- Sand the back inside.
- Make label for back and glue it on.
- Fit back, cut notches into back kerfing for braces, and glue on the back.
At that point, I will have a soundbox!!!! Then I can move on to the binding and the neck. . . .
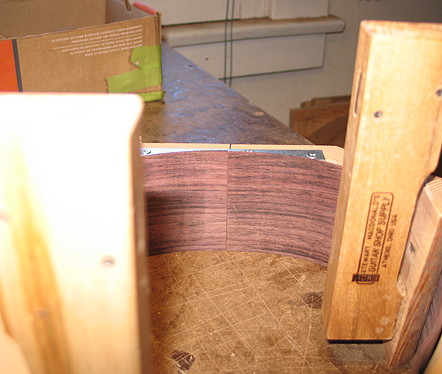
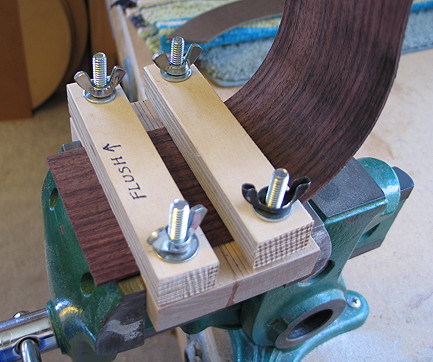
UPPER RIGHT PHOTO: I have clamped up the treble side, top side down, in order to mark where to trim the tail end of the side.
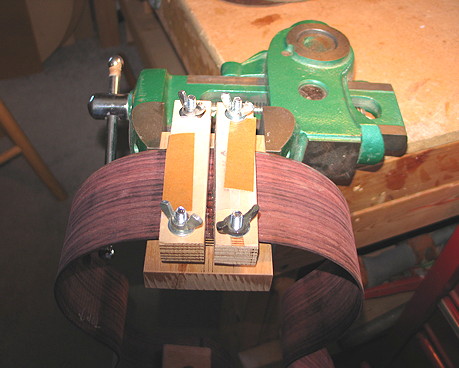
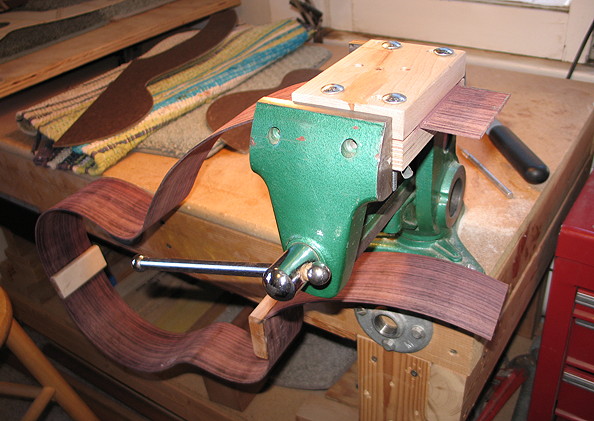
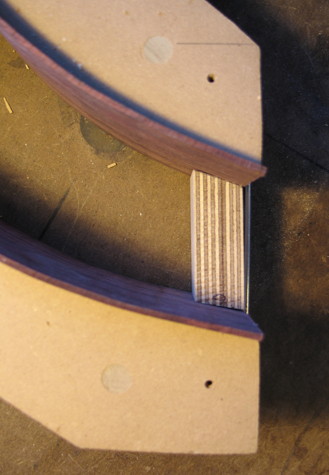
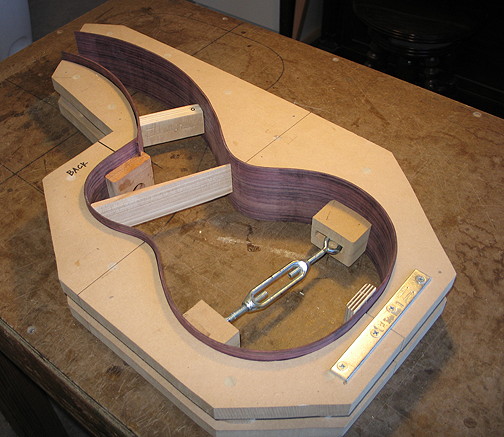
LOWER RIGHT PHOTO: After clamping both sides in the mold, marking the tail ends, and using the clamping jig I had made yesterday to cut the ends, here is the result. The two ends meet perfectly at the tail end of the uke, and the sides are nice and tight against the walls of the mold!
|
|

|
|

