The Neck, Day 2


Friday, July 13th (!!!), 2012:

Just a couple of photos so far today. I spent a couple of hours devoted to routing the slot for the 1/8" by 3/8" carbon fiber rod I would be installing in the neck. It didn't actually take a couple of hours to rout the slot --- I spent a lot of time just figuring out (again) how to use the Dremel plunge router base with the fence that I had used on the last harp ukulele. Then it took me a while to adjust the fence to just the right distance from the bit, so the slot would end up exactly where I wanted it. I routed the slot in several passes. It came out exactly in the center of the neck, so I'm happy.


After that was done, I epoxied the rod into the slot. The rod sat a tiny bit below the surface, and I made sure to fill the space with enough epoxy that it made a little mound above the surface; that way, I can scrape the epoxy flush with the neck surface, once the epoxy has cured and hardened.


INDEX:

Return to HOME PAGE

  1. Working on the Top and Back
  2. Finishing the Rosette, Harpbox Peghead Veneer
  3. Bracing
  4. Carving the Braces
  5. Bending the Sides
  6. Neck and Tail Blocks
  7. Pegheads & Top Kerfing
  8. Profiling the Sides for the Back
  9. Soundport and Side Reinforcements
  10. Gluing on the Top
  11. Gluing on the Back
  12. Trimming Overhang & Harpbox Peghead
  13. Routing for Binding
  14. End Wedge & Binding
  15. Scraping the Binding, Binding the Harpbox Peghead
  16. The Box is Done --- On to the Neck!!!
  17. Working on the Neck & Fingerboard
  18. The Neck is Finished!!! Now to the Bridge!!!
  19. Peghead Inlay, Final Sanding & Pore-Filling
  20. Shellac Seal Coats and Finishing!!!
  21. Finishing the Finish!!!
  22. The Final Steps
  23. It is Finished!!!

Later that evening . . . .

After I had epoxied the carbon fiber rod into the neck, there really wasn't anything more I could do on the neck, so I took a break and watched John Mayes's DVD on neck-making. As I was watching, I saw once again his jig on the belt sander for thicknessing and shaping the volute on his guitar headstocks. Ever since I first saw this jig, I've wanted to make one, but just never had gotten around to it.

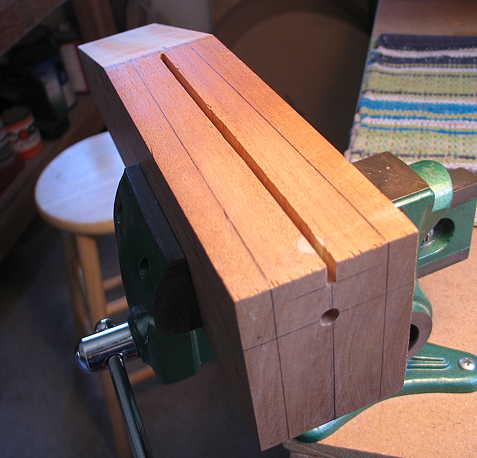
Until now, that is. I decided, on the spur of the moment, to use this off time to build one. I had some scrap plywood, some threaded rod, some old clamping knobs, and, of course, lots of bolts and washers and screws. The only thing I did not have was a piano hinge --- so off I went to my local OSH to get one.

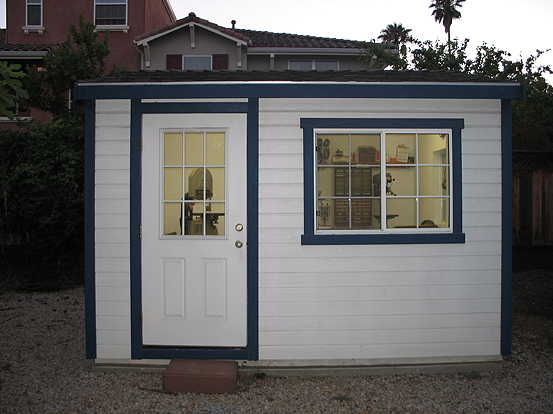
As I walked back to my shed, I thought, "Oh, that lighted shed looks kind of neat at night," so I took a quick photo of it:


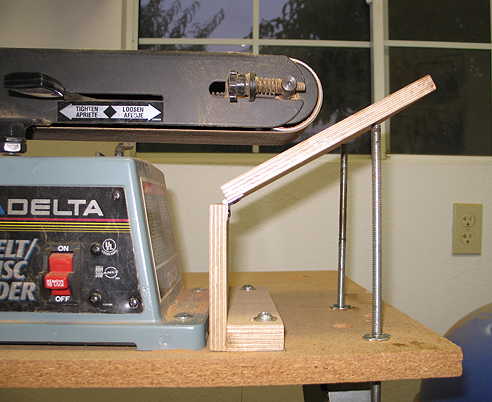
Anyway, a couple of hours later, here's what I ended up with. I happened to have some t-nuts for the threaded rod, so I decided to put those in the table, so all I'd have to do to lower or raise the jig's table would be to turn the threaded rod via a handle underneath.


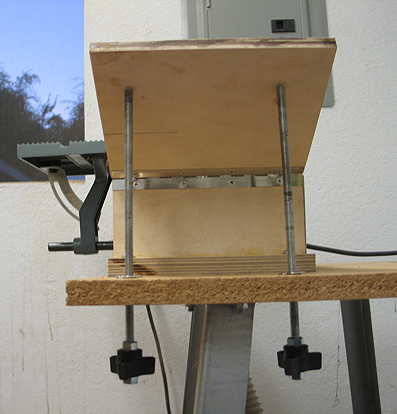
Here's what it looks like underneath:


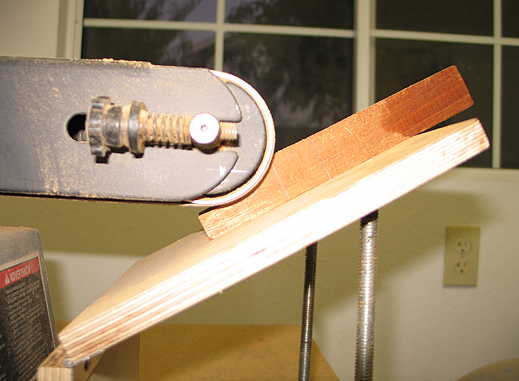
It works really well. Here, for example, is how the sander will shape the volute:


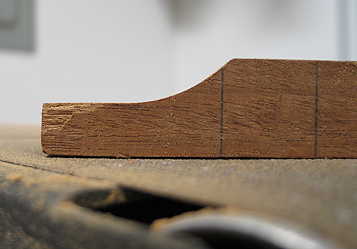
Here's the result (on a piece of scrap wood):


I'm pretty happy with how it turned out! I always am tickled when something I try for the first time ends up working the way it should! This little jig will be put to use quite a bit, I'm sure. I can foresee using it for shaping bridges, for example...

Well, that's it for today. Even though I didn't get a lot done on the neck, it still turned out to be a productive day!


Go to Previous Page


Go to Next Page