Soundhole!!!
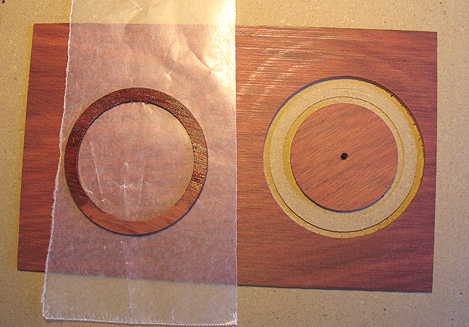
Sunday, July 18th, 2010: This is actually what I did yesterday. My bloodwood had arrived on Friday, so I could finally get around to working on the top again. I first thickness-sanded the bloodwood (it was originally a peghead overlay piece) to about .070" or so, just a tad thinner than my finished soundboard will be. Then I used that Dremel circle cutter to cut out this bloodwood ring, after testing each cut on a scrap piece of spruce. I cut the ring to be twice as wide as the finished bloodwood soundhole rim will be; when I cut out the soundhole, it will reduce the ring to 1/8" wide. When I was removing the ring, however, it split in half along the grain. But it split very cleanly, and a little superglue patched it together quite nicely. (That's why it's on the waxed paper in this photo, and why it looks a bit shiny.)
|
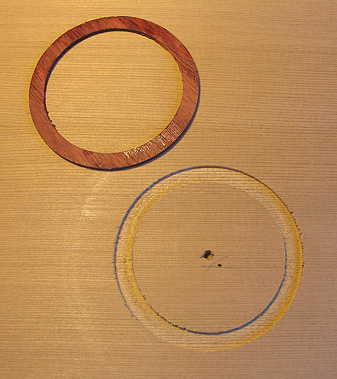
Here I have routed out the channel for the ring in the cedar top. I have routed it so that the bloodwood ring will lie flush to the top of the channel; there will be just a very thin layer of the cedar beneath the bloodwood.
|
|
I have glued the bloodwood ring into the channel with Titebond.
|
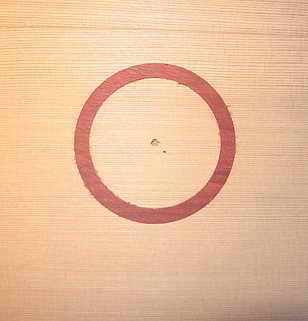
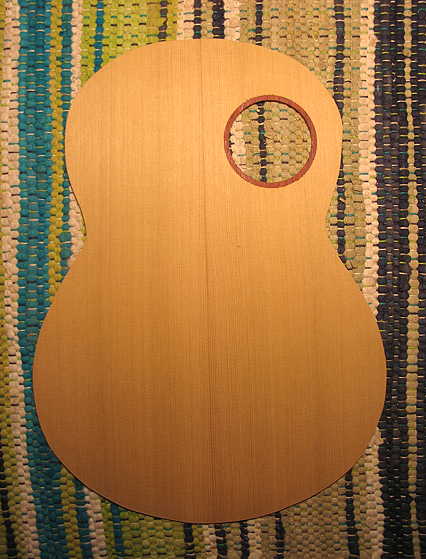
Next, I did the final thickness-sanding of the top to around .090", cut out the 2-1/2" diameter soundhole, and finally bandsawed out the shape of the top, about 1/4" outside the line.
|
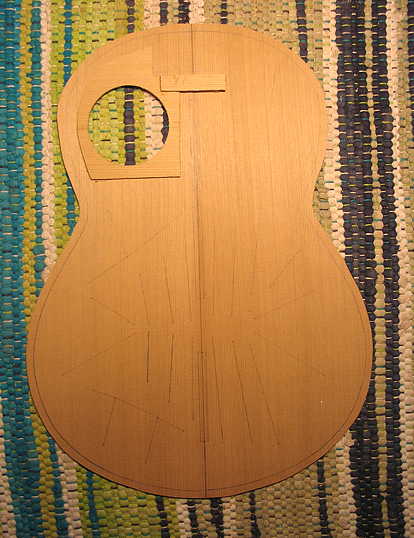
The last thing I did yesterday was to rough-cut my soundhole patch, allowing room for the kerfing strip and the neck block. That extra piece that's higher than the patch is to provide a little further support beyond the neck block for underneath the fingerboard. This is all just roughly bandsawn out; I will smooth out the edges and sand it all before I glue it to the soundboard. The grain of this patch runs horizontally.
|
||
Previous Page |
Next Page |