Beginning the Top and Back
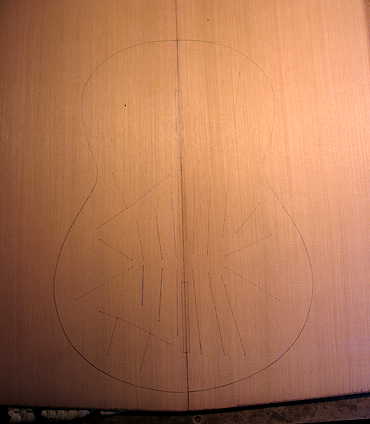
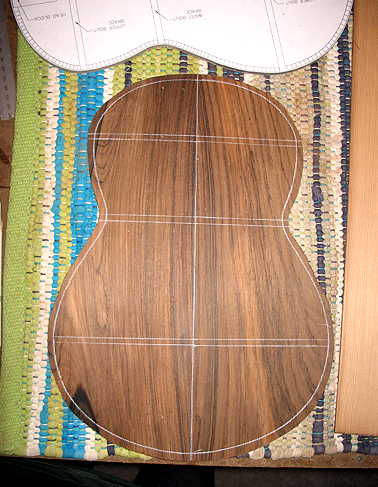
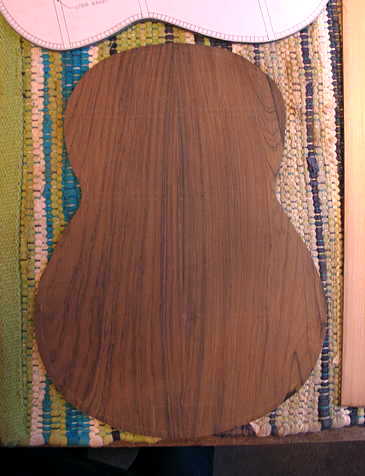
Friday, July 9th, 2010: I didn't get a whole lot done today. Part of today was spent getting together with the decking contractor who will build my new deck in the back yard. I also decided to have him put up an arbor over one section of my deck, so I could get some shade from the sun. Anyway, here's what I did today. First I thicknessed the back to its final thickness (.090"), cut it out and marked the bracing locations. Below is the inside of the back; you can see in the lower left-hand area, the dark marking I couldn't avoid. But at least it's on the inside, and will be partially hidden by the kerfing.
|
|
|
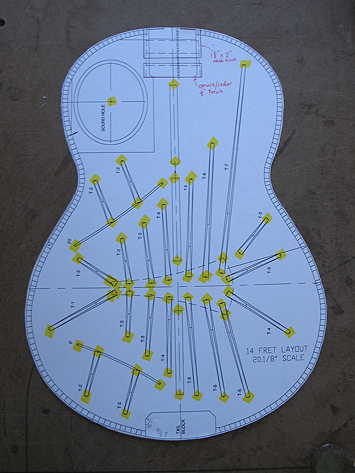
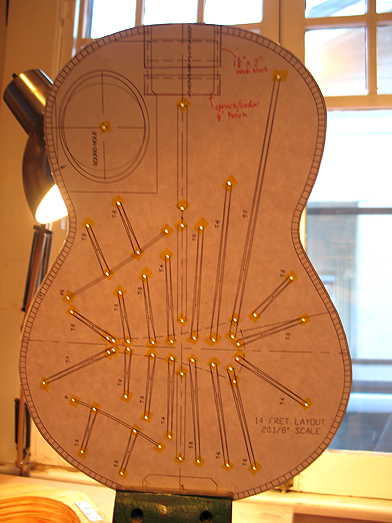
Here I have glued the top bracing pattern to a piece of tagboard and have marked all the brace ends and the center hole for the soundhole.
|
|
||||
The thing I need to do next is to figure out how (or if) I am going to do the oval soundhole that is called for on this plan. I have no idea how to go about making an oval soundhole. I would kind of like to rim the soundhole with a 1/8" ring of bloodwood (my bindings will be bloodwood), but I'm not sure how to do that, either. I could do a round soundhole, but it would be a lot smaller, and the oval shape would seem to fit the design better. So the first thing I should do tomorrow is to do some research on the internet to see how people do the oval soundhole..... Stay tuned. |
|||||
Previous Page |