Top Bracing
Monday, July 19th, 2010: Here are some quick photos of what I've worked on so far today, as I wait for the top braces I've glued so far to set. Oh, yeah, now would probably be a good time to eat some lunch, too. (I tend to forget when I'm really into the building.) The first thing I did this morning when I got up was to sand and smooth down the soundhole patch I had glued up yesterday. I also rounded over the soundhole rim.
|
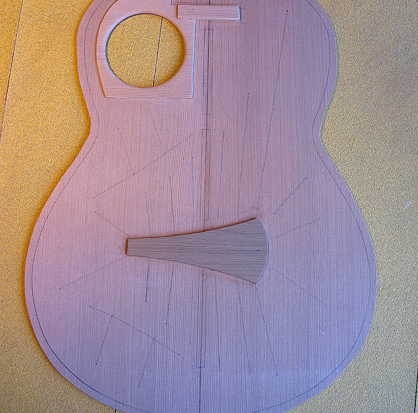
Here I am gluing on the bridge patch (I'm using the ebony bridge here as a clamping caul).
|
|
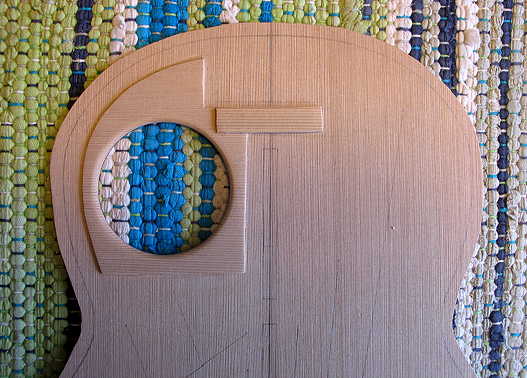

Here is the bridge patch, all glued up.
|
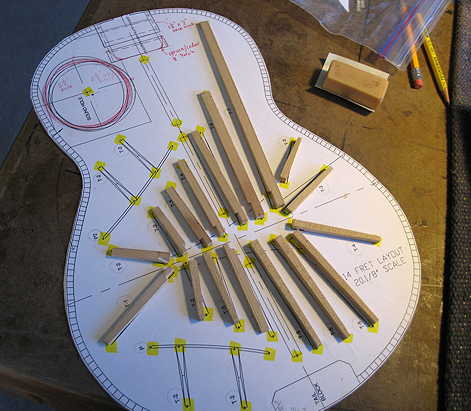
Next, I spent about an hour or so, first bandsawing the braces to their proper heights (a couple are 1/4" tall, most are 3/16" tall), and then cutting out notches so that they fit over the bridge patch. Here I've laid them out on the bracing plan, so I wouldn't forget which one goes where.
|
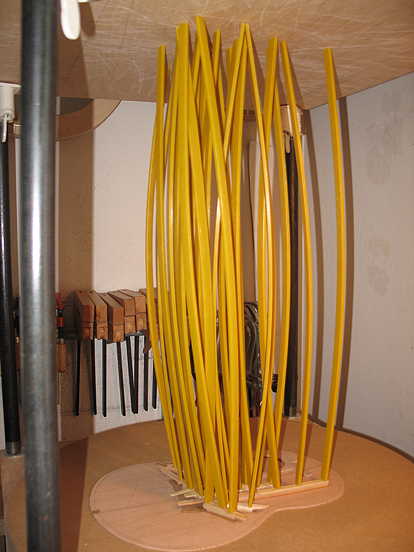
And, finally, what I just finished doing was gluing about half of the braces onto their positions on the top. I resorted to using some popsicle sticks as cauls, to increase the clamping pressure. Okay....now it's time for a late lunch....See ya later!
|
||
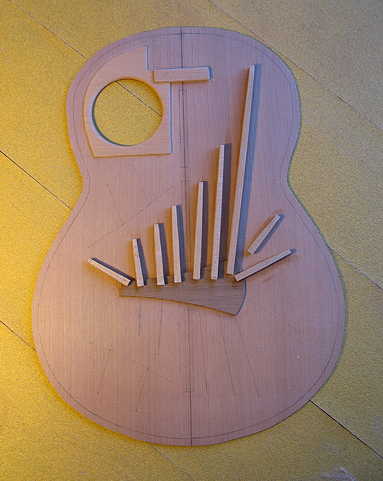
Okay....I'm back from my late lunch. I took the go-bar sticks off, and here's the result. Here's a bit less than half of the top braces glued:
|
So now it's time to glue on the other braces. The trickiest thing was gluing those two teeny-tiny 1/16" by 1/16" curved braces. After those are set, I need to notch two more 2" long braces into each of those skinny little braces. Then, after all the braces are glued on, I can do the scalloping and tapering of the braces. That should be fun! Right now they look ugly, but later they will look elegant.
|
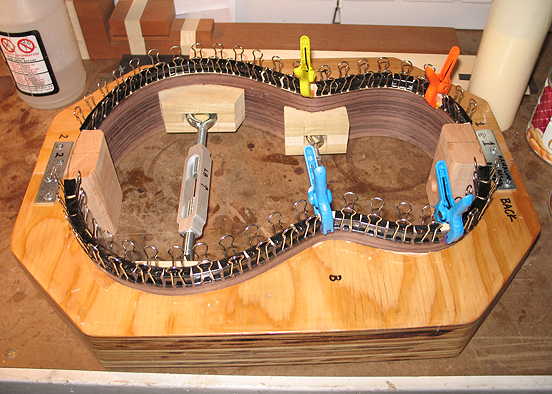
My final task for today was to get a start on gluing on the kerfing strips onto the side set.
|
||
Previous Page |
Next Page |