Making a Template, Mold, and Bending Form
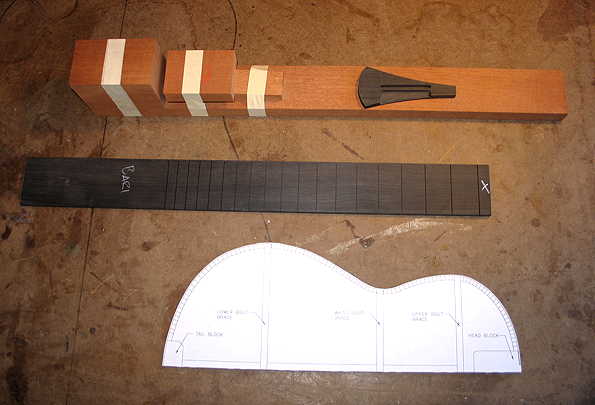
Tuesday afternoon, July 6th, 2010: Well, as I said, my supplies have arrived! I had decided to just go ahead and order a pre-slotted baritone uke ebony fingerboard, some sapele mahogany for the neck, and a Kasha-style bridge from Hanalima. After unpacking the supplies, I took the baritone blueprint to Kinko's and made a couple of copies. I used some spray adhesive to affix a half-shape of the back to some 1/4" tempered hardboard I had and bandsawed the shape out for my template, smoothing it out on my disc sander.
|
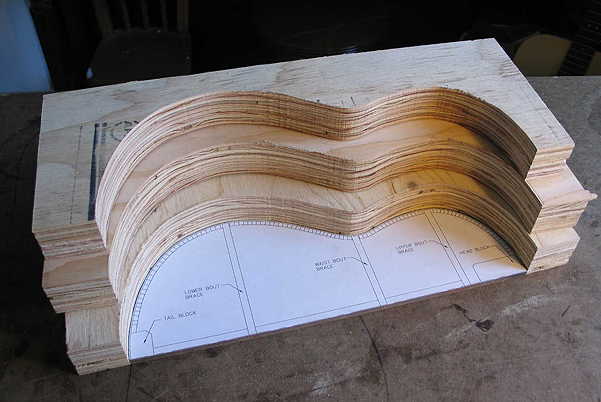
The next thing I did was to start to make my mold. I'm going to stack 3 layers of 3/4" plywood to make a solid mold. Below I have screwed two layers together, so it will be somewhat easier to bandsaw the 6 pieces. After I've bandsawn them all out, I'll line up 3 layers with each other and glue them together, to form the two halves of the mold. Once both halves are all glued up. I'll smooth out any irregularities with a sanding drum in my drill press. Finally, I'll trim the outer edges of the mold so it's not so bulky.
|
|
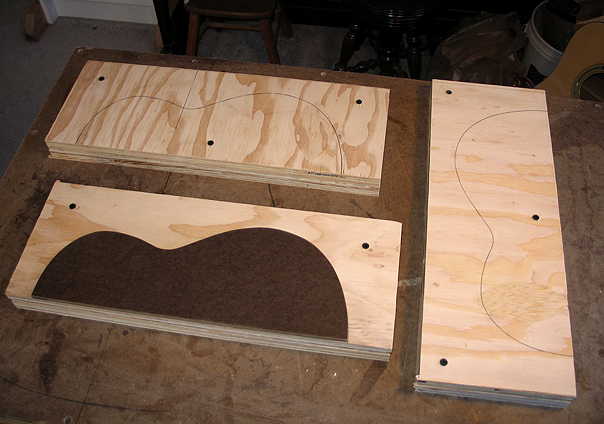
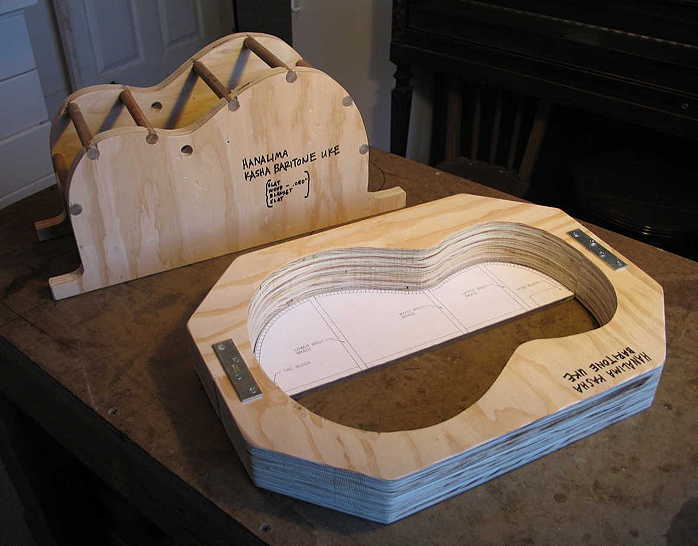
Wednesday, July 7th, 2010: I got a lot done today. It's now around 8:00 p.m., and I spent most of the day (around 8-9 hours) working on the mold and bending form. They're both finished now. Here's what I did: I first bandsawed the 6 pieces of my mold, two layers screwed together at a time. I must be getting better at both setting up my bandsaw and at the actual bandsawing — all the cuts came out nice and smooth and absolutely perpendicular to the face of the mold!!! Yay!!!
|
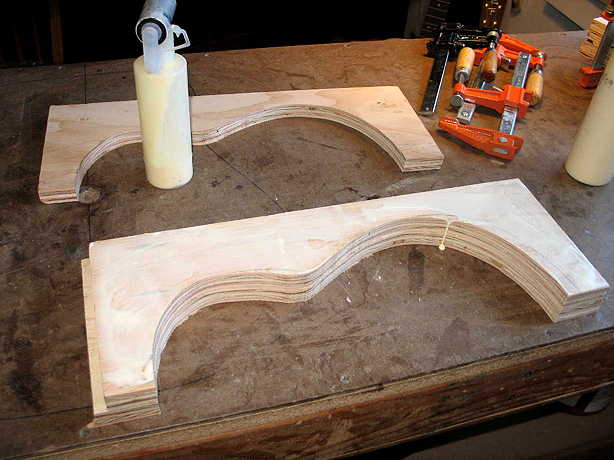
Next I glued up the two halves of the mold (three layers thick), lining up all the inside cuts. |
|
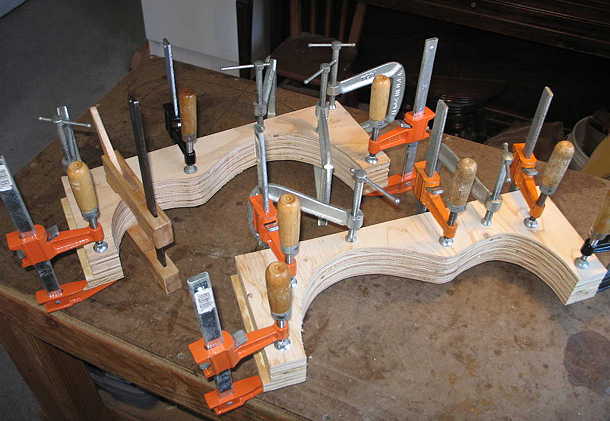
Next, I clamped it all up. (You can't have too many clamps!) Later, I'll trim the outer edges of the mold and attach the two halves of the mold with those metal thingies with holes in them (I think they're called "mending plates"). It's a very simple way of connecting the two halves of a mold; I like it because that way I can keep the head and tail of my mold free, for using clamps.
|
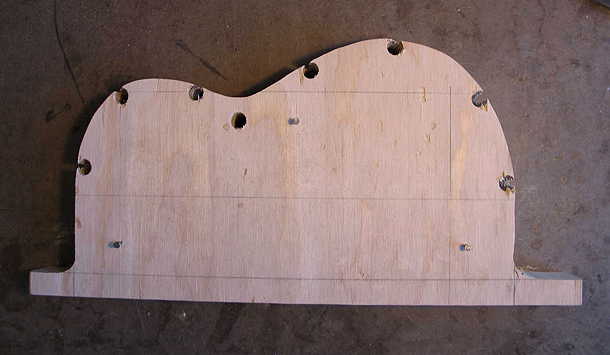
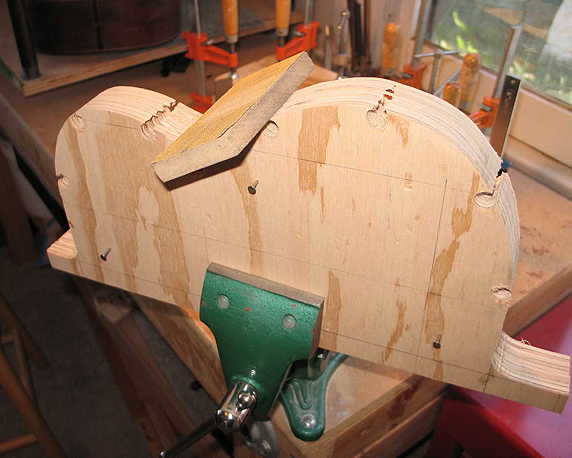
While the mold was clamped up, I turned my attention to making my bending form, to use with the wonderful bending machine I bought from John Hall. I nailed together two pieces of the same plywood I made my mold with, drew the bending form shape on it (made about 0.15" smaller, to account for the thickness of the spring steel slat, the heating blanket, and the side wood), drilled 1/2" holes for the 1/2" dowels, drilled a 1/2" hole for the bolt that locates the waist in the bending machine, and then bandsawed out the bending form's shape.
|
|
With the two pieces of the bending form still nailed together, I set it in my vise and sanded the edges smooth. After I did that, I removed the nails and glued the ends of the seven 1/2" dowels (6" long) into the holes in the form.
|
And here it all is — today's accomplishments!!! Now I can really begin the building....
|
|
Previous Page |