Cutting the Soundport and Closing Up the Box
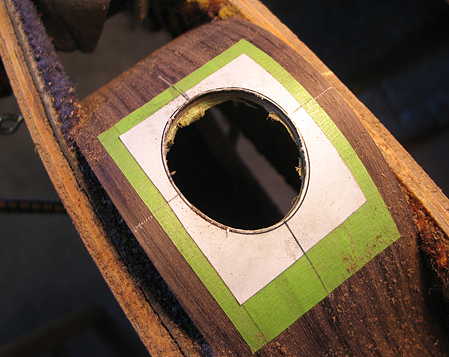
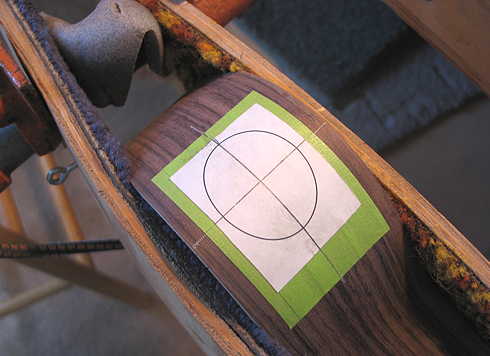
Thursday, July 22nd, 2010: Now it was time to work on the soundport. After fiddling around for a while with different sizes for this soundport, I finally settled on an oval that was 1-5/8" wide and 2" long. I printed it up with a computer drawing program, glued it onto some masking tape, and applied it to the upper bout. I also put some masking tape on the inside of the bout, to minimize tear-out.
|
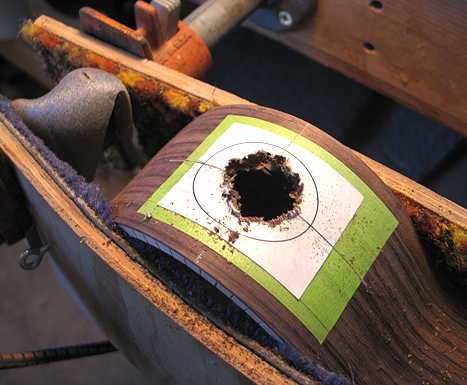
Now came the nerve-wracking part . . . the routing! I followed Tim McKnight's excellent tips that I found on the OLF forum, using a Dremel with the Stew-Mac router base and a 1/8" downcut spiral bit to start routing out the hole. I started in the middle of the oval, made sure I had a firm grip on the Dremel, and started routing! All the mess is actually all the paper and tape; the cut is actually clean.
|
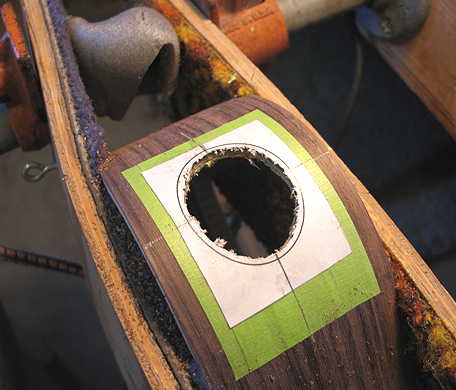
Here I am closer to the outline (about 1/16" away).
|
|
| Then I switched to using the Dremel's 1/2" sanding drum to sand right up to the line.
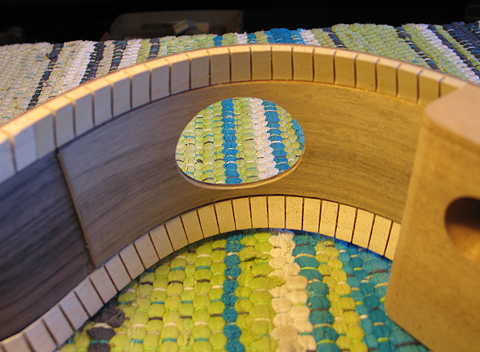
| When I removed the tape, here's how it looked!!!! Success!!!
|
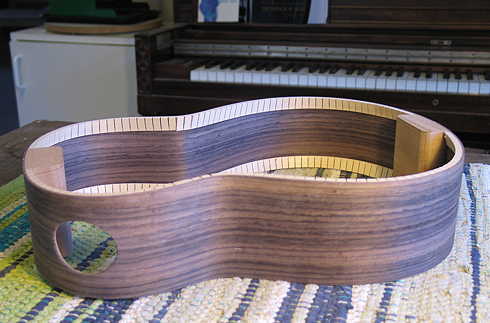
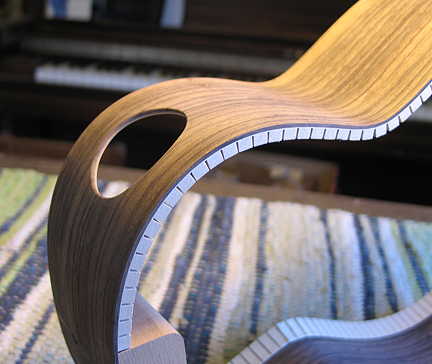
I rounded the edges of the soundport, inside and out, with sandpaper.
|
||
|
|
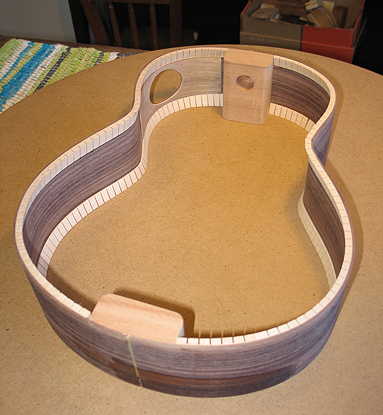
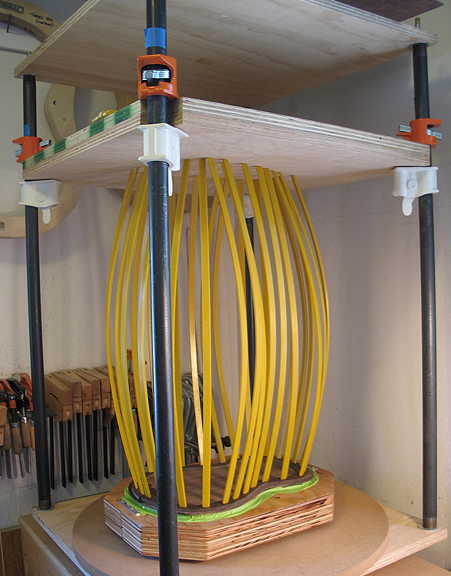
After that was done, I could attend to fitting and gluing the back. I put the side set back in the mold with the spreaders and spent about half an hour removing the portions of the center reinforcement strip that lay under the neck and tail blocks, and then locating and chiseling out the notches in the kerfing for the three back braces. Below I am using the go-bar deck to glue on the back. The green tape you see is there to prevent any glue squeeze-out from possibly seeping in between the mold and the back.
|
||
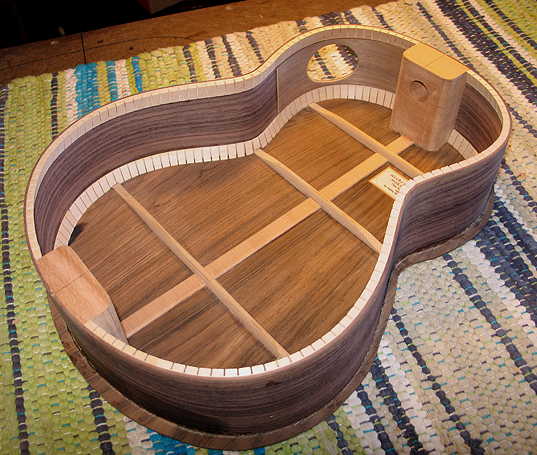
Last photos for the day . . . . Here's the back, all glued-up and cleaned up.
|
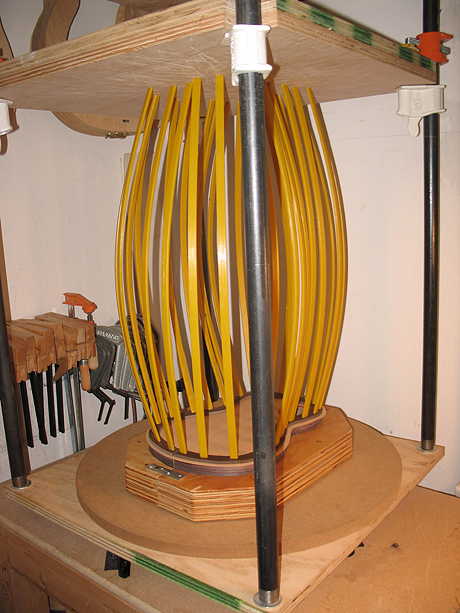
Time to glue on the top now. After I had trimmed the back overhang flush with the sides, I put the body back in the mold (minus the spreaders — there's no way I could have gotten them out of there). I lined up the top, drilled a hole for an indexing pin (just a bamboo skewer, actually) through the top into the neck block, and spread glue on the kerfing and blocks. I affixed the top, inserted the indexing pin, and lined up the centerline at the tail end of the top. I then sliced off the bamboo skewer pin flush to the top, laid my uke-shaped caul on top, and applied the go-bars. I just love using my go-bar deck now — being able to spin the deck around as I work makes it super-easy to apply the go-bar sticks and to get to whatever end I need to (in this case, aligning the centerline at the neck end and the tail end).
|
That's it for today . . . . stay tuned. I'll probably work on the end wedge and the binding tomorrow. |
||
Previous Page |
Next Page |