Installing the Bindings & Beginning the Neck
Saturday, July 24th, 2010: Not too many photos today. It's about 5:00 right now, and I have just completed the installation of the bindings! It took me all day to do this, as a couple of the bindings had cracked at the waist, and I needed to bend some more bindings (I'm glad I got extra!). To the right, you can see how I had set it up in the bender. I taped the bindings together, purflings together, and taped that to a scrap piece of wood the same thickness as the bindings. This way I don't run the risk of crushing the bindings. (That had happened when I did the bindings on my 2008 Grand Concert cutaway.) This time the bindings came out just fine. I'm not quite sure why the others cracked, but maybe bloodwood binding is just that way, prone to crack on you for no particular reason. At any rate, I then spent the afternoon fitting and gluing in the bindings, as you can see to the far right. (I probably over-tape my bindings, but I just want to make sure it's all nice and secure...) Tomorrow I'll remove the tape and will scrape it all flush and clean. The box will then be complete!!! Yay! Then the only things left are the neck, the finishing, and the set-up. I'm thinking of just doing a Tru-Oil finish on this one, as school is fast approaching (August 16th....and I haven't done a stitch of lesson planning or preparation for the new school year yet!), and I could easily handle doing the Tru-Oil process while working on school stuff. Also, I kind of liked the simplicity of the Tru-Oil finish and process, and how it made the classical guitar I made a few years ago sound. |
|
|
|

I couldn't resist . . . It's about 9:00 p.m. and I've got another video for you (these are getting addictive to do):
|
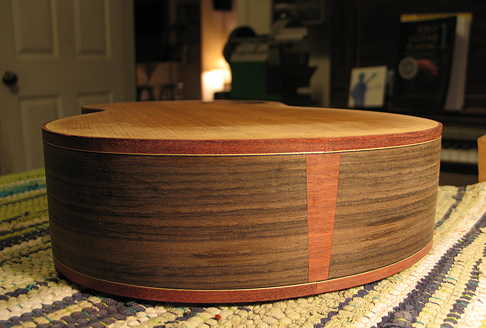
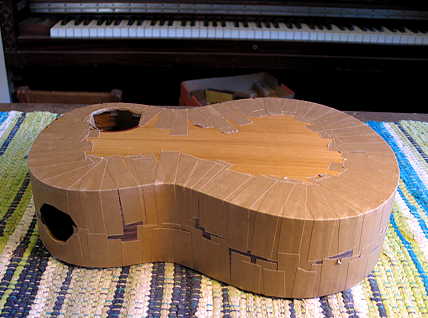
Sunday, July 25th, 2010: All I did today was to scrape down the bindings. I'll do the final sanding later. Here are a couple of photos:
|
|
||
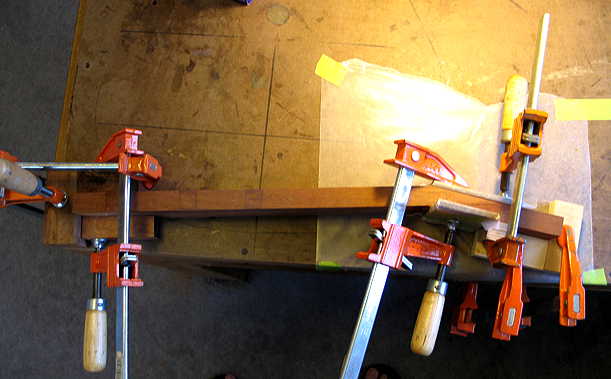
Monday, July 26th, 2010: This morning I spent sanding the completed body, first with 120, then with 150 and 220 grits, raising the grain several times in between sandings. I also sanded the perimeters of the top and rounded all the sharp edges. It now taps to a B-natural!!! (Just from the sanding!) Then I started on the neck. First, I cut the 15-degree angle scarf joint. Below, I am gluing the scarf jointed peghead to the neck blank:
|
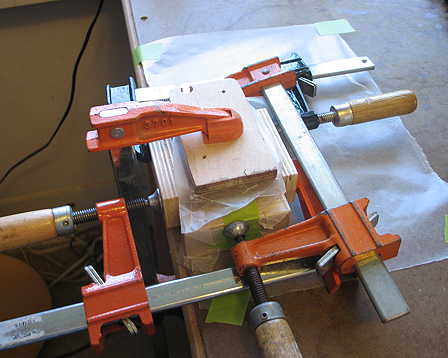
Here I am gluing the three pieces that will make up the heel block. (You can't actually see the block here, as I have it clamped on all sides so it will not move out of place!).
|
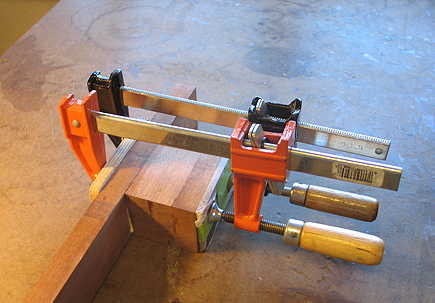
And here I am gluing on the heel block.
That's all for today. For some reason, I'm really, really tired right now, even though I didn't do that much today. Tomorrow, I will first drill the vertical hole in the heel for the barrel nut and drill the horizontal hole for the bolt to reach the barrel nut. Then I will rout the slot for the carbon fiber rod I am using for a little neck reinforcement. And I will fret the fingerboard (oh, yeah....I forgot to tell you, I tapered the fingerboard to its final size today, also). |
||
Previous Page |
Next Page |