Scatterbrained — Odds 'n' Ends
Wednesday, July 21st, 2010: Okay, it's about time I started feeling scatterbrained, and, thus, it's time to make a "to-do" list of what I need to do next, and in what order:
|
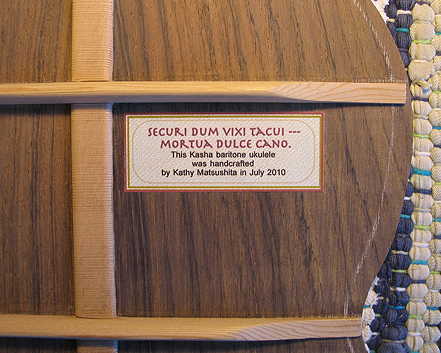
Well, the first thing I did this morning was to spend about a half hour sanding the top and back kerfings in the radius dishes. So, check off #1 on my list! Here's my label. I first print it on some linen paper (on my inkjet printer). Then I brush some thinned shellac over it and let it dry. Finally, I glued it on the back. This will be directly under the soundhole.
|
|
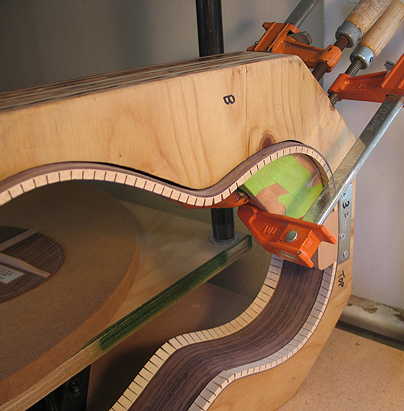
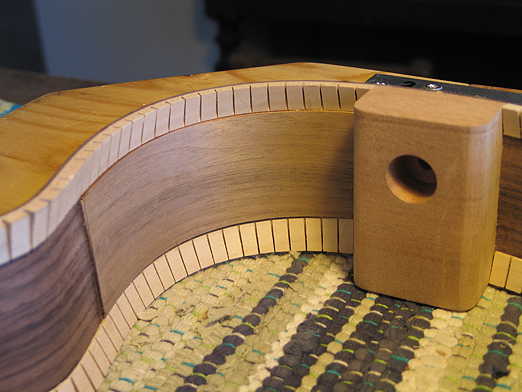
As I think I mentioned before, I am going to put a sound port on this ukulele. I've never done one before, so I went scouring the Internet for tips on how to do it. I'm just going to put a simple oval port on the upper bout, bass side. So, the first thing I need to do is to reinforce the inside surface of the side at that area. I happened to have a pack of a variety of veneers I had gotten a long time ago, so I cut out three pieces — a mahogany piece, a maple piece, and a walnut piece. I have just glued them in, after making a clamping caul to fit the area.
Stay tuned. Time for a lunch break. After lunch I will probably work on making that bridge patch caul (before I forget to do it and close up the box!). |
. . . . . . . . .Okay, I'm back . . . . .Here's the side port reinforcement patch:
I made the bridge-patch caul this afternoon, using some Friendly Plastic (to conform to the bridge patch with all its braces notched into it) backed with a strip of wood. I'm still mulling over, however, exactly how to get that caul in there. I may use Matt Blacka's suggestion, or I may experiment first with a clamping jig I just read about, utilizing some guitar tuners, some fishing line, and an L-shaped wood jig. Sounds really ingenious, and a bit less fiddly to deal with than trying to pull up the caul with one hand and maneuver the clamp over the bridge with the other. It's just one thing to handle. Take a look, and see what you think: Tuner & Fishing Line Bridge Clamp thread. Here's another description of the method by its author over on the Ukulele Underground site: "This is a little bridge clamping contraption we made to clamp bridges on without C-clamps. You feed two lengths of line through little 0.8 mm holes that you drill through the saddle slot and the top, pull them to the soundhole and through a small ebony bar and tie an 8 knot or a double hitch to keep them from slipping. Then you pull the lines up till everything is sitting square underneath and string the other ends through the "clamp" and onto the tuners. We used 28 lb fishing line to start with, but that snapped a couple times so we switched to a wrapped D steel guitar string and that works a charm." I'm thinking I'll make one up and play around with it to see how it works. |
|
||
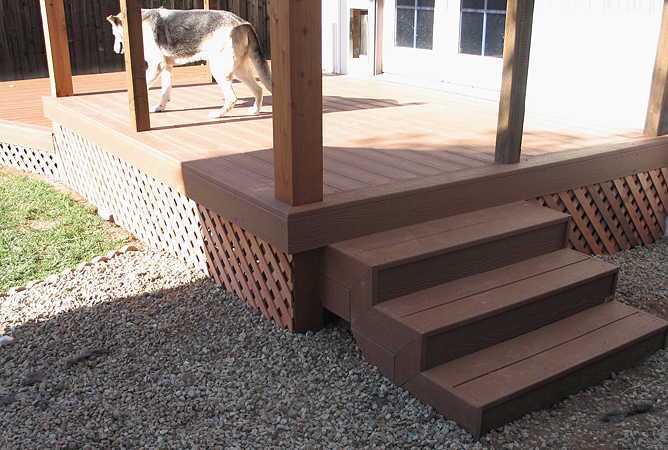
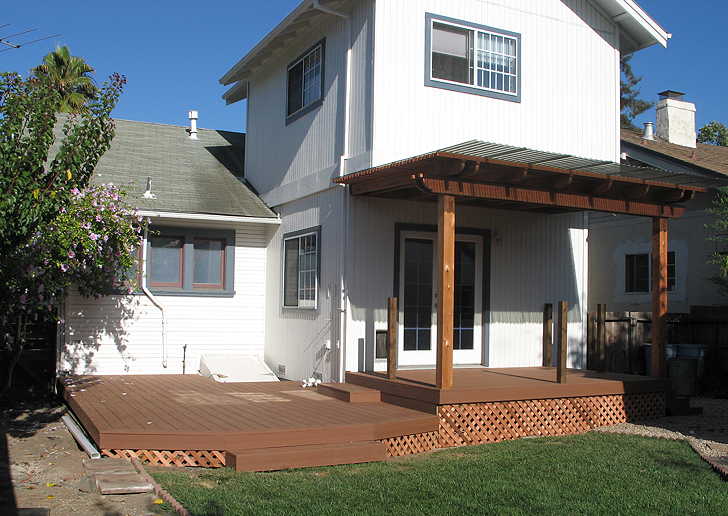
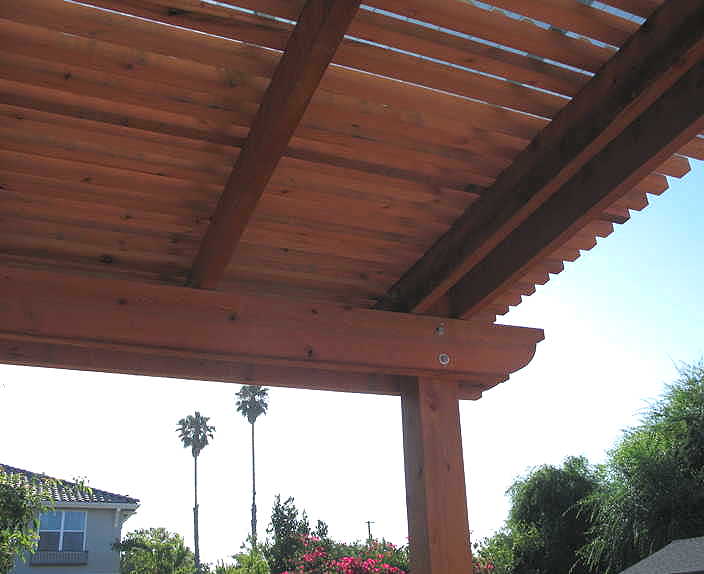
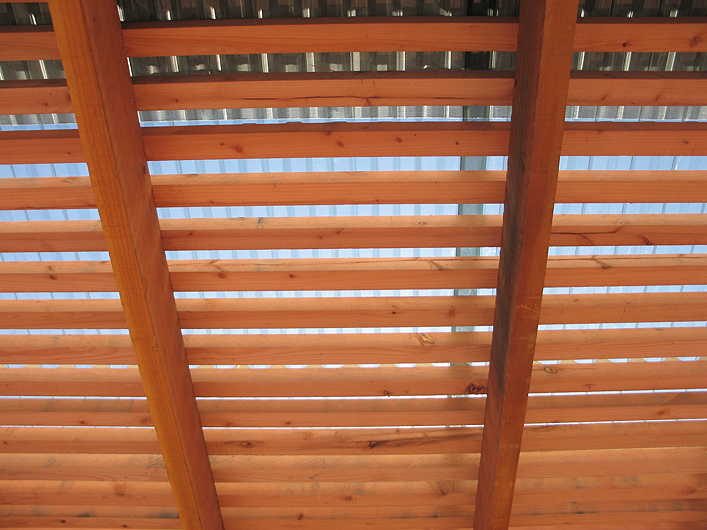
TODAY'S DECK UPDATE: Today they finished the skirting (lattice) and more on the arbor. They finished attaching all the 2" by 2" strips, and then attached the smoke-gray polycarbonate roofing over the strips (they still need to trim the polycarbonate overhang). Here are the latest photos.
|
|
|
||
 |
 |
|||
Previous Page |