Did the side bending today. Took me about 3 hours or so. Because I wanted to be very careful with these Tasmanian blackwood sides and feel as if I had more control over the bending, I decided to bend these sides by hand, using my electric bender.
The sides have some "flame" to them, so they are more apt to crack along the flame lines, if you're not careful and/or if you get the wood too wet. I took it nice and slow, and all went well. No cracking!!! What a relief!!!
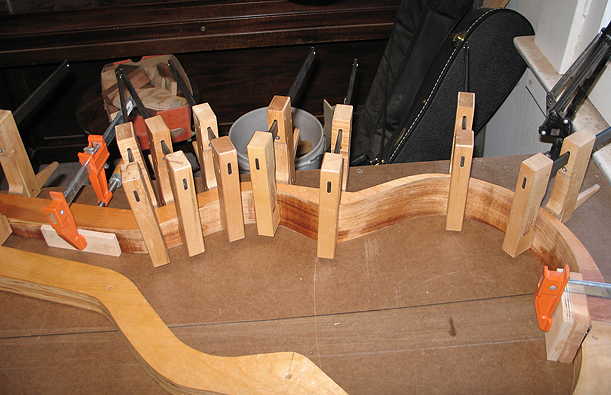
Here is the first side after I have bent it. What I do after I've bent the side, is spritz it all over with some water and then clamp it in the mold. This seems to help the bend to "set" into its shape better.
|
|
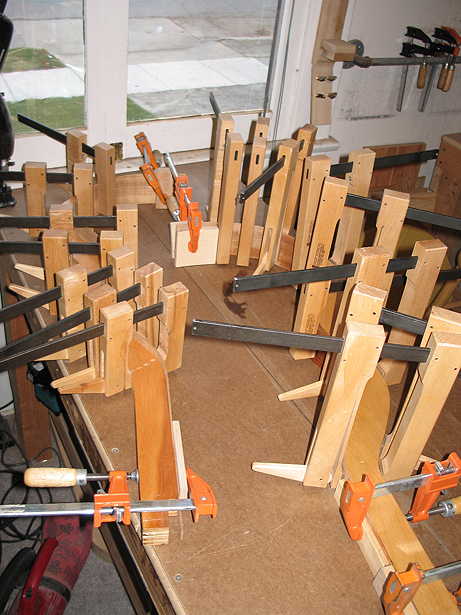
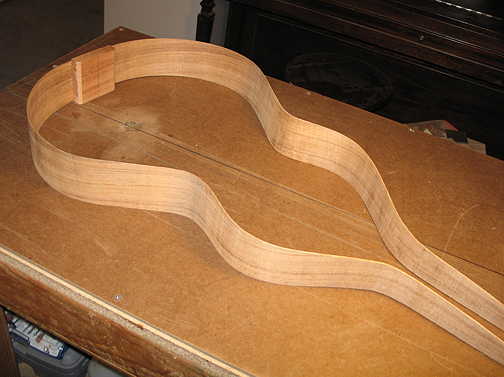
Here are both sides, clamped into the two halves of the mold:
I think that's all for today. Tomorrow, I think I will trim the ends of the sides, glue the tail block onto the sides, and begin work on making the peghead, which is one piece with the neck block. |
Wednesday, December 12, 2012 (12/12/12!!!):
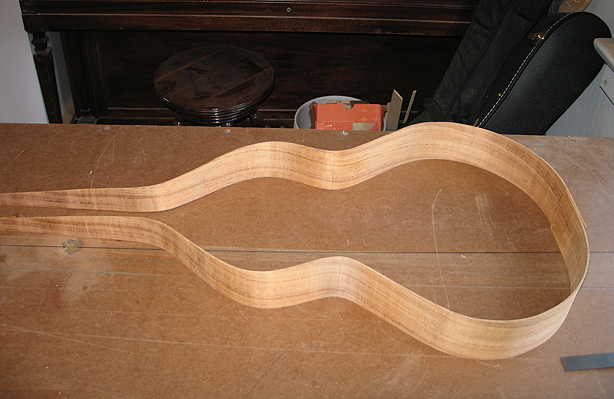
The first thing I did today was to take the sides out of the mold. Here they are:
|
|
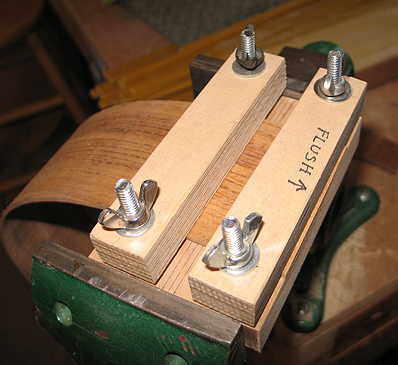
Next, I trimmed the tail ends of the sides, using this handy-dandy jig I made this past summer for sawing them nice and straight along the line. I used a flush-cut saw for doing this.
|
Next, I glued the tail block (3" x 3" x 5/8"), which I made Monday night, to the sides:
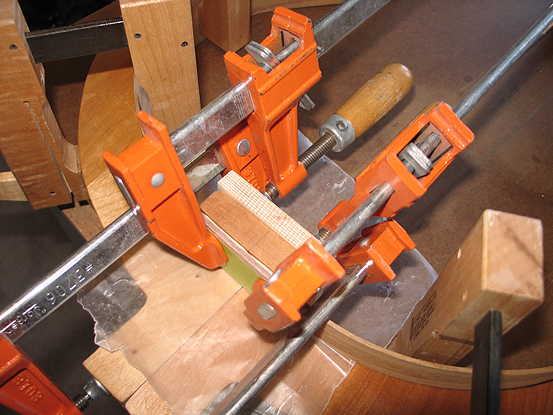
While that is setting, I will work on making the peghead, which is all one piece with the neck block.
|
|
Later . . . . Here are the sides out of the mold, with the tailblock glued on.
|