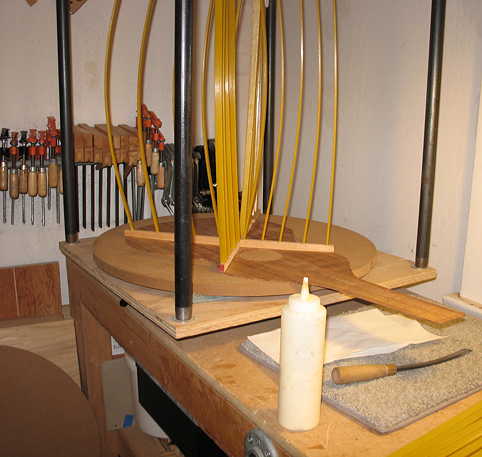
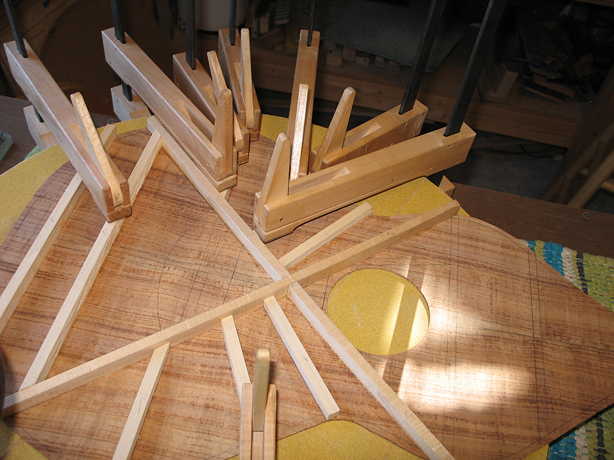
Today I worked on bracing. I cut all the braces, using some Adirondack spruce billets I had on hand. Below, you can see I'm gluing on the x-bracing in the go-bar deck.
I decided to make the x-braces and transverse braces (there are two each in the upper and lower bouts) 5/16" wide and 5/8" tall. The finger braces will be 5/16" square. Then there are various little braces (a couple of triangular ones, and some center strips) as well, which are about 1/8" tall. I made the maple bridge plate a little wider (vertically) than the Stew-Mac plans called for, as some sources I read suggested either doing that, or using what they call a "Christmas tree brace", to strengthen that area of the top.
I have no idea whether what I'm doing with the bracing is the best way to go; it seems that people have been trying all sorts of things with Weissenborn bracing, giving me no definitive formula to follow. The more I read up on it, the more confused I tend to get! So...I'm just going to try this way of doing it, and we'll see what happens!!!
Oh, yeah...forgot to also mention....I decided to put a slight radius (25') on both the top and the back (below the soundhole on the top --- above the soundhole, I will glue the braces flat), even though the plans call for a flat top and back.
|
|
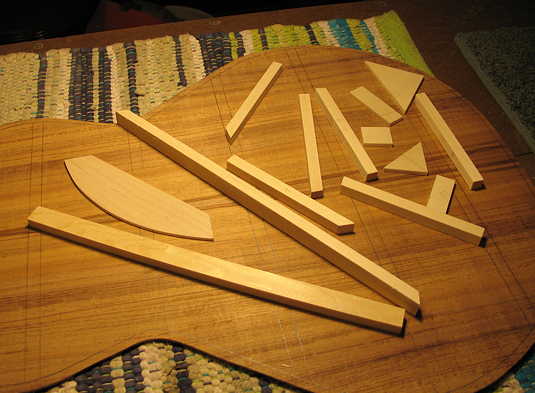
Here are some more of the braces for the top (I forgot to put the two upper bout transverse braces in the photo!):
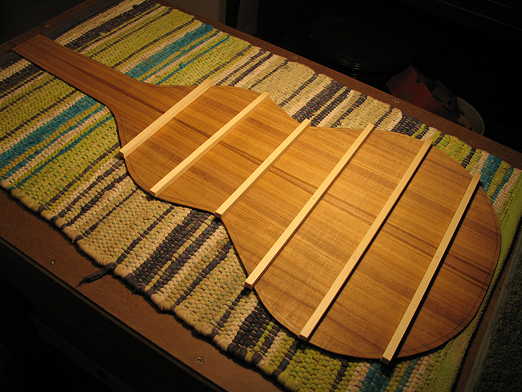
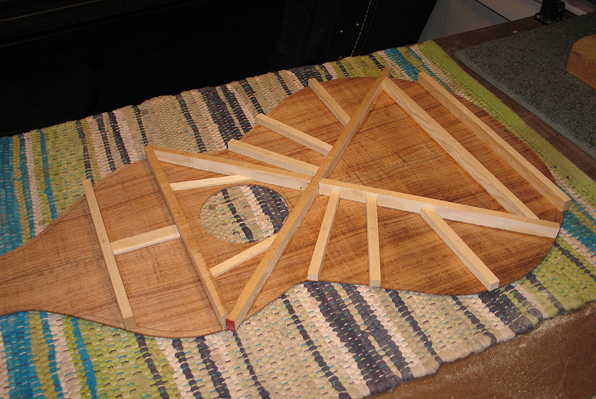
Below are the six braces for the back (3/8" square) laid out in their positions (not glued yet):
|
Friday, December 7th, 2012:
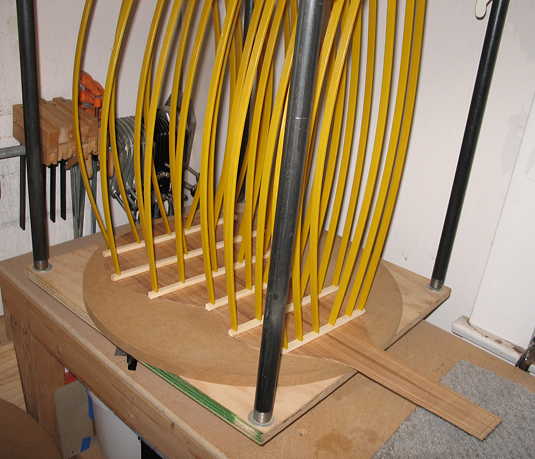
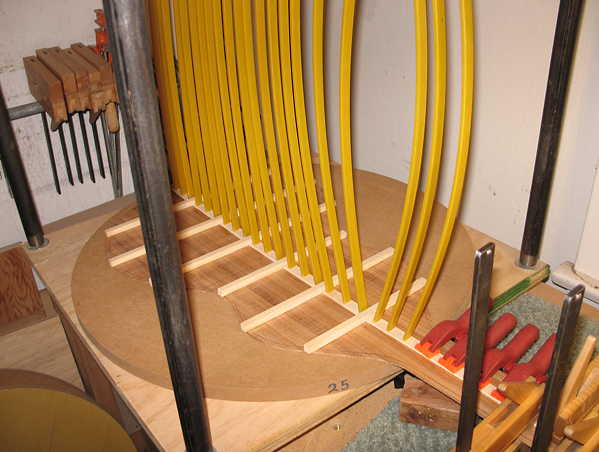
Here I've glued up the back braces in the 25' radius dish:
|
|
Last night I had glued all the braces you see below, except for the two braces you see in the upper center of the photo below (the two lower finger braces on the treble side).
And, since the go-bar deck is in use, I'm gluing those two braces, using another 25' radius dish I have on hand. (Those two cam clamps you see in the left-hand side and the lower center are just there to support the other side of the radius dish; the braces underneath them are already glued.)
|
Friday, about 6 p.m.:
Well, the last things I did today were to glue the center reinforcement strip onto the back, as seen below:
|
|
And I glued on the two upper transverse braces and center reinforcement strip (these three braces were glued on flat):
|