Monday, December 31st, 2012:
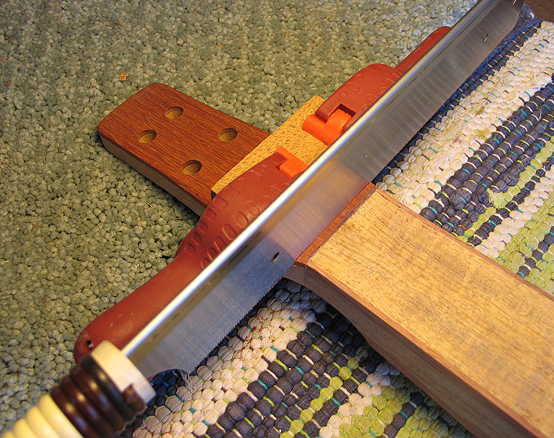
The first thing I did today was to cut the nut slot. As the nut will be sitting in the angled-back peghead, I needed to cut a block which had the required 8-degree back angle, so I would have a guide for a saw cut that would be perpendicular to the fingerboard surface. I clamped the guide to the peghead and used my Dozuki saw to cut through the bloodwood veneer. My nut slot is 3/16" wide.
|
|
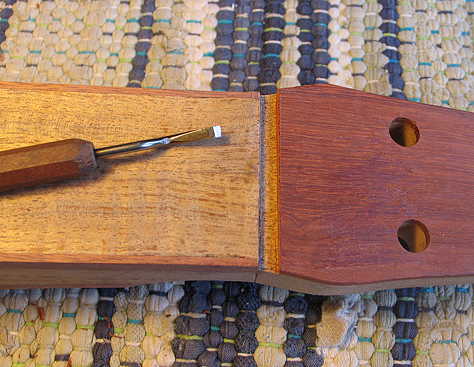
After the saw cut was made, I used my micro-chisel to clean out the nut slot:
|
|
|
|
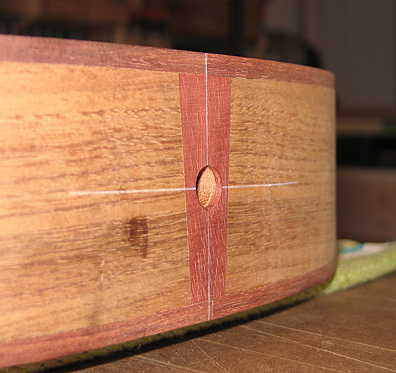
Next, I drilled a 15/32" hole into into the tail end of the guitar, for the pickup endpin jack I will be using. I first drilled a 5/16" hole, and then used Stew-Mac's endpin jack reamer to finish up the hole.
|
|
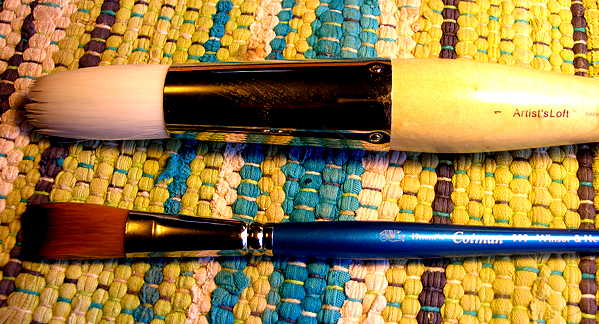
The last thing I did was to go to a few artist supply stores to look for the Da Vinci Cosmotop 5080 brush I had seen recommended on various forums, for use with the EM6000 waterbase finish I will be using.
The weather has been very cold lately, so I have decided to brush on the finish, instead of my usual spray finishing. I couldn't find any local stores that carried the Da Vinci brush, so I found these two brushes from a Michael's craft store in my area. One is an "Artist's Loft" brush, some sort of watercolor wash brush with a very soft, large. round synthetic brush; the other is a Cotman 999 wash brush. Both seem as if they will brush on the waterbase finish quite smoothly, with little or no (I hope) brush marks. I did a test brushing of the waterbase finish after I got home with these brushes, and it seems as if they might work.
|
|
|
|
Next up . . . doing the final sanding, grain-raising, and more sanding!!!
Tuesday, January 1st, 2013!!!
HAPPY NEW YEAR!!!! It's now around 4:00 p.m., and I have just finished applying my first coat of Z-poxy to the top of my Weissenborn.
I spent a few hours this morning doing the final sanding of the entire guitar, using first 120-grit, then 220-grit sandpaper. I did a couple of grain-raisings and sanding again with the 220, for a nice, smooth finish.
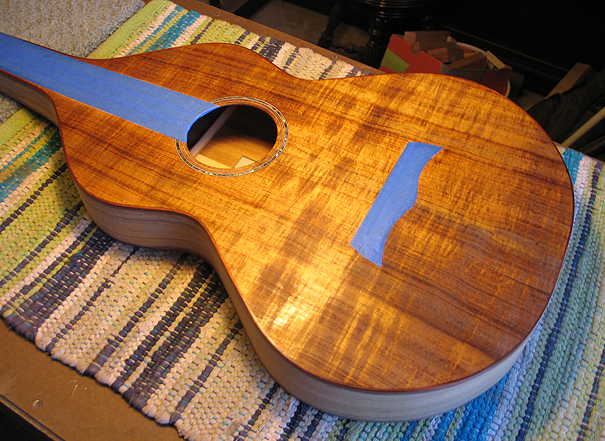
Then I masked the areas where the fingerboard and bridge will be glued:

|
|
And then I applied a thin coat of Z-poxy, using a dulled razor blade (with the corners rounded off). So far, I have only applied it to the top. After I did that, I took a break and took Hannah out for a walk in the cold, brisk air. What a difference in the color, huh?
Well, I'm back from the walk now, and will apply the Z-poxy to the back and sides. After that, I will let it sit until tomorrow, when I will apply the second, and possibly third coats. |
|
|
|
Wednesday, January 2nd, 2013:
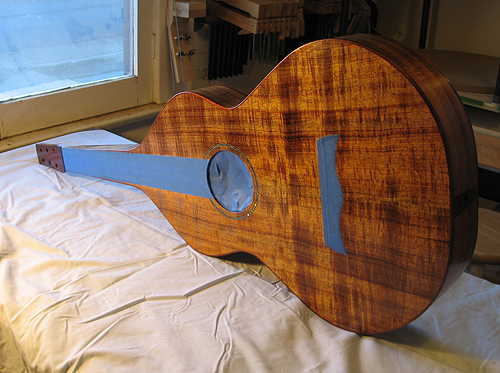
After 2nd coat of Z-poxy (after lightly scuffing 1st coat with 320-grit sandpaper):
|
|
|
| |
|
|
Thursday, January 3rd, 2013:
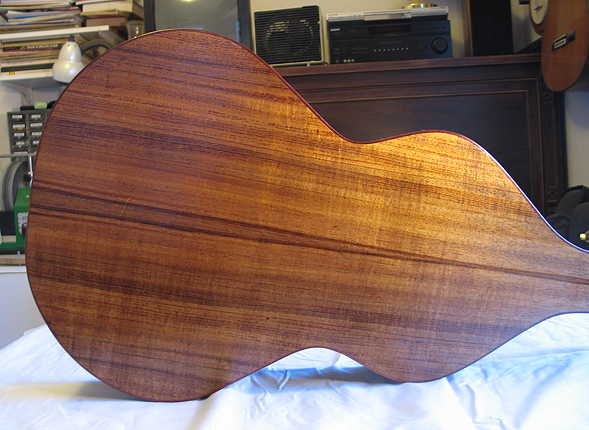
Just one photo today --- I have just applied the thinned (50/50 Z-poxy/alcohol mix) Z-poxy coat, wiped on with a paper towel, to the sides and back.
After I leveled (with 320-grit sandpaper) the second coat I had applied yesterday, I found that all the pores were filled. So, to even out the color, I wiped on this thinned-down coat. When it dries, I will wipe on a thinned coat to the top.
Then it will be ready for a couple of coats of shellac, and then on to brushing on the EM6000.
|
|
 |
| |
|
|
|
|
|
|
|
|
|