Wednesday, December 19th, 2012:
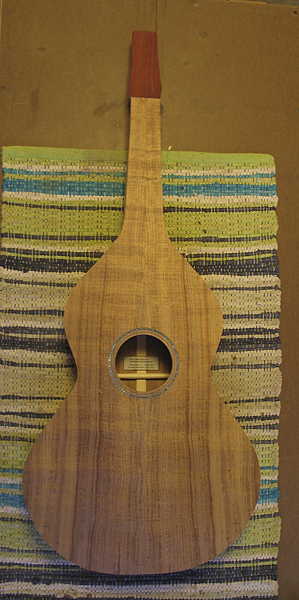
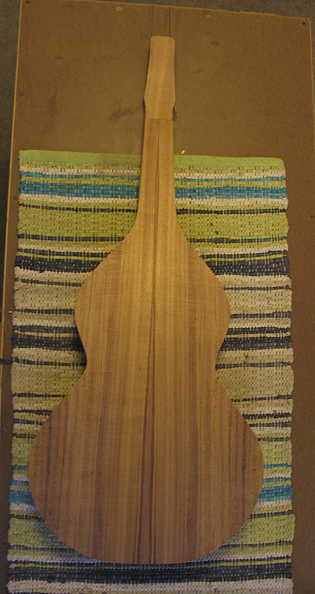
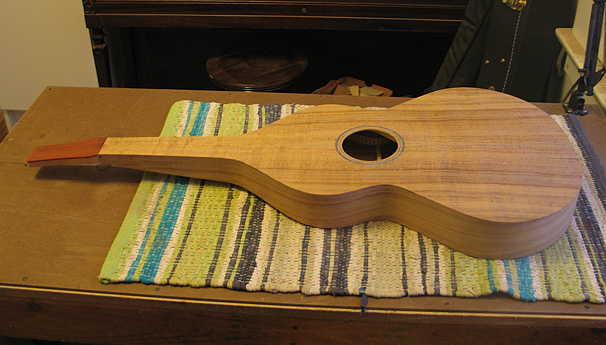
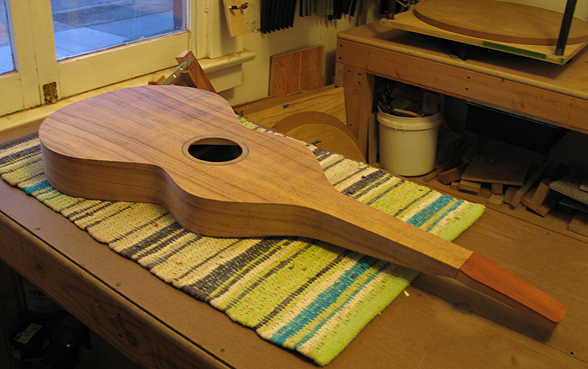
Spent a couple of hours trimming the overhang of the top and the back. I used a bunch of different tools to do that --- a block plane, my little mini-planes, and my mini-drawknife. After I got it all fairly flush, I used a sandpaper block (80-grit sandpaper stuck to a piece of wood about 4" by 12") to true up the sides.
Now it actually is beginning to look like a Weissenborn!!!
|
|
My bloodwood for the bindings just arrived today --- I had ordered a neck lamination board (about 1/4" thick by 5" or so wide, and 48" long) that I can slice into binding strips. Chris Herrod, of LMI, made this great suggestion, as a solution to my problem of not being able to easily find the longer binding strips needed for this instrument. Thanks, Chris!!!
Tonight I will play around with the strips and figure out how I want to do the binding --- I haven't decided yet whether or not I want to have any purfling strips with the bloodwood binding. I might just go for a simpler look, and just do the bloodwood, sans purfling (on both the top/back and sides). With all the stripiness of the Tasmanian blackwood, simpler might be better. (Not to mention how much easier it will be to install the binding that way!)
|
Thursday, December 20th, 2012:
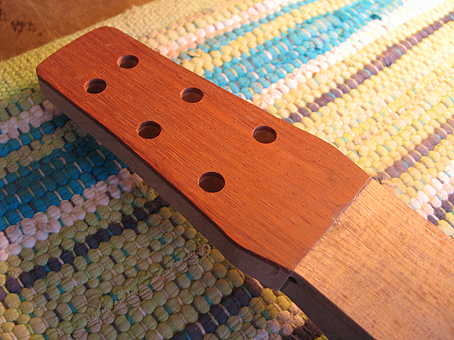
The first thing I did today was to drill the tuner holes. I had forgotten to do that when the peghead was still free from the neck/sides (that would have been easier). However, it wasn't too much of a problem; I simply propped up the body of the guitar with my roller stand, so that the peghead could lie level on the drill press table.
Next, I cut up some binding strips today, from the LMI neck lamination bloodwood board. Cut them to around .090". The board was 1/4" thick, so just right for the height of the binding strips.
Also made and installed my end wedge:
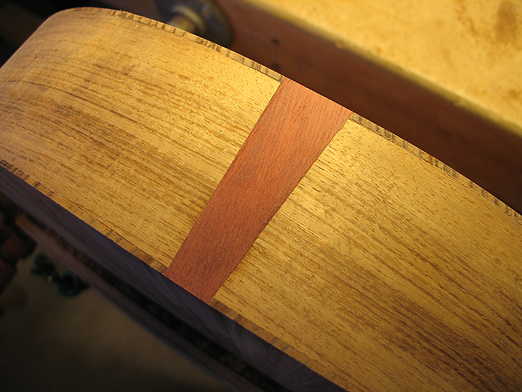
I have decided to just do a simple bloodwood binding, without any purfling strips, on this instrument. I think simpler is better here!
Tomorrow I will rout out the channels for the binding.
|
|
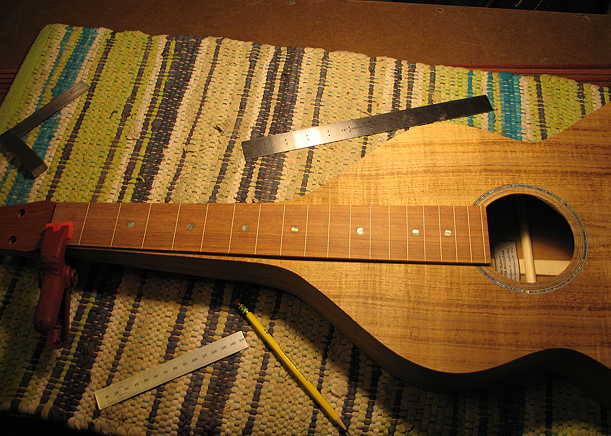
One last photo for today: I inlaid the fingerboard position dots and trimmed the end of the fingerboard:
Friday, December 21st, 2012:
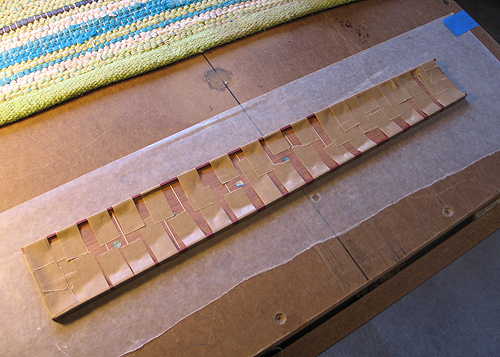
The first thing I did today was to bind the fingerboard with some bloodwood binding. The strips are a bit tall, but I will shave them down after the glue has set. I think it's going to look very pretty!
|