Wednesday, January 16th, 2013:
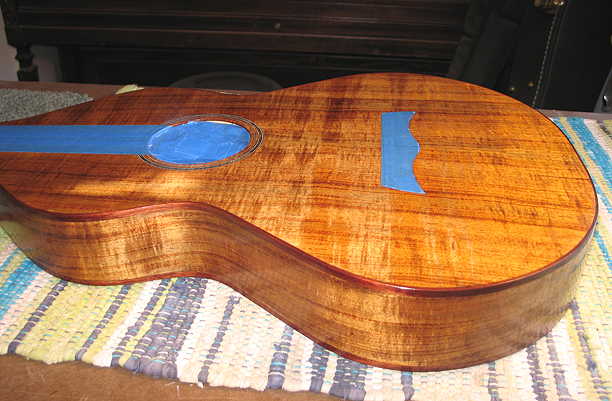
Well, yesterday I started the rubbing-out process. I had let the guitar sit for a week. I first leveled the finish (dry-sanding, as sometimes the waterbased lacquer doesn't do too well with wet-sanding) with 400 (very lightly), then 600-grit gold sandpaper. Even though I was very careful when sanding up toward the edges, I still managed to get a few sand-throughs. So, after I had leveled the entire guitar, throughout the rest of the day, I wiped on a few (probably 3 or 4) coats of finish to the sanded-through areas. Then I let the guitar sit for the rest of the day.
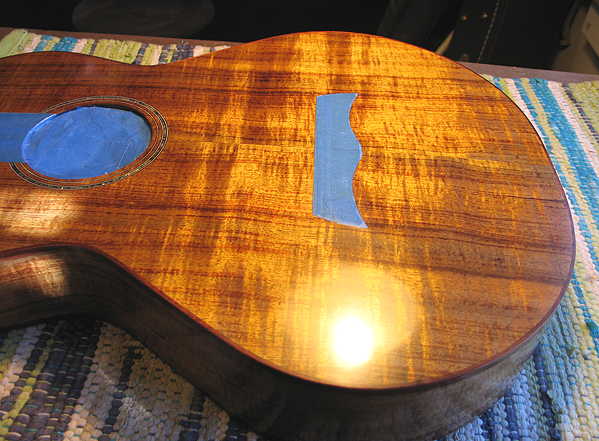
This morning (so far), I continued the rubbing-down process. I started with 1800-grit Micromesh (which is supposed to be equivalent to 600-grit sandpaper), wrapped around a foam block supplied with the kit. I was especially careful at the edges. Then, I moved through each of the remaining Micromesh grits (2400, 3200, 3600, 4000, 6000, 8000, and 12000), one-by-one, constantly wiping the surface with a soft cloth and wiping the surface of the Micromesh as I sanded. So far, I have done the back.
Here's what it looks like now (it will look even better later, when I polish it up further with Meguiar's #9 (Swirl Remover) and #7 (Show Car Glaze):
Now, on to the sides and top!!!
|
|
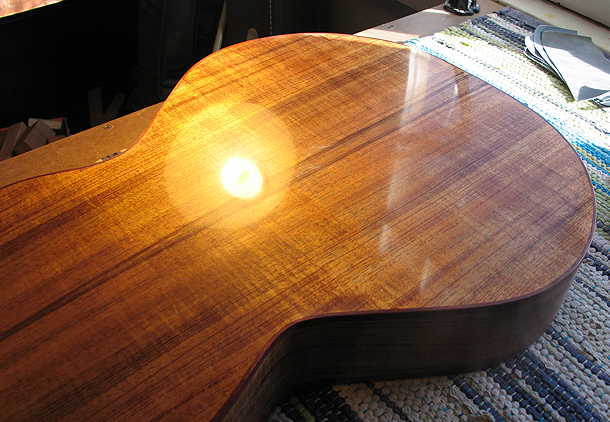
Sides - - - Well, it's about 11:30 a.m. now, and I have just finished rubbing down the sides. Here's a photo to show the difference between a simply leveled-down top (just with the 600-grit from yesterday) and a fully rubbed-out side:
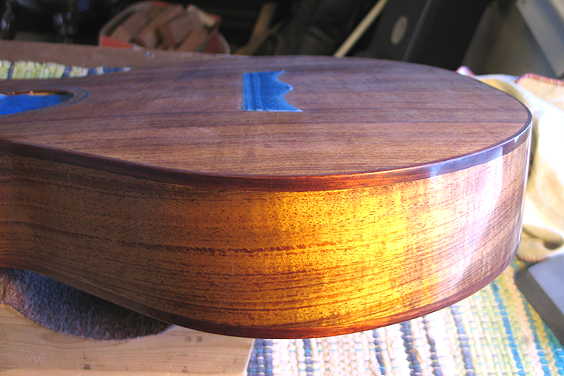
Later . . . about 1:00 p.m. . . . I have finished rubbing-out the entire guitar. I also have polished it up with Meguiar's #9 and Meguiar's #7. Here it is:
|
LATER THAT EVENING . . .
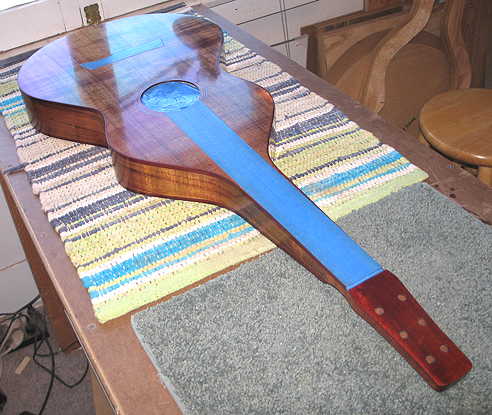
After removing the masking tape from the soundhole, bridge area, and fingerboard area, I let the guitar sit a while. I then proceeded to fit the bone nut to the 3/16" slot, so I could have it there to support the nut end of the fingerboard. Finally, I glued the fingerboard to the top, cleaning off glue squeeze-out periodically after I had clamped it all up. Here it is at the moment:
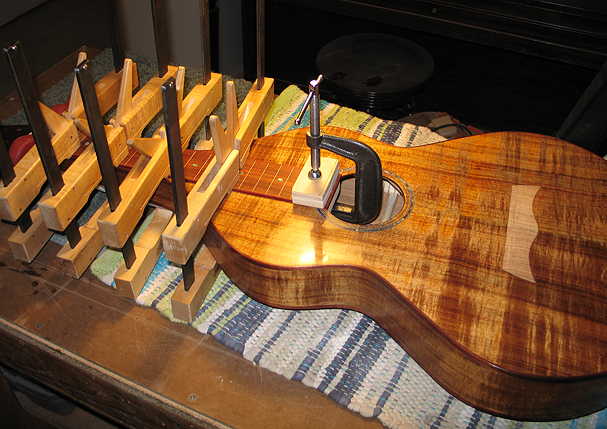
|
|
I think that's enough for today. I will remove the clamps in about an hour. Then, tomorrow, I will probably glue on the bridge.
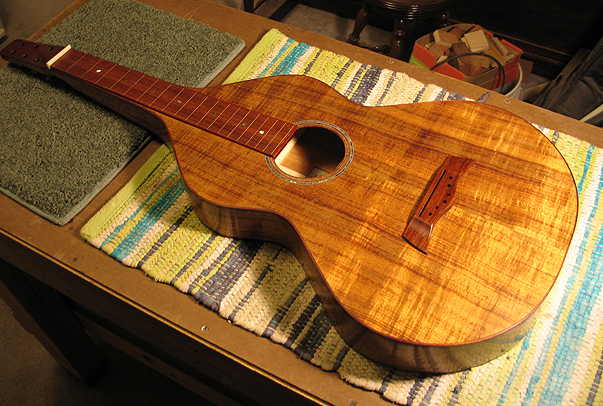
Okay, I lied. Couldn't resist including one more photo. Here it is, after I have removed the clamps. (I haven't glued the bridge yet --- that's for tomorrow --- I just placed it in its position so you could see how it will all look together.)
|