Still Monday, November 26th, 2012:
Now it was time to start work on the top and back plates:
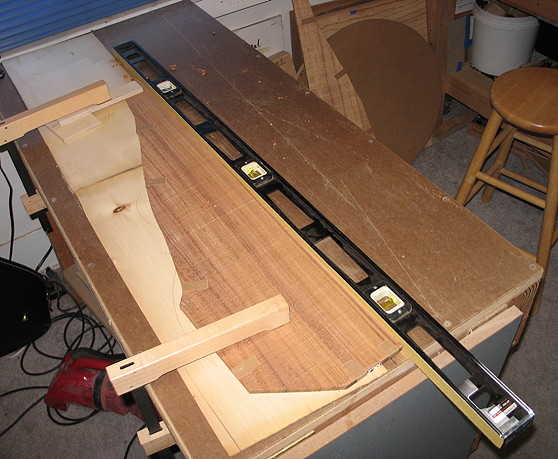
The first thing I did was to joint the two sets of wood. I found the easiest way to do it, this time, since the pieces were so long, was to place the bookmatched halves on top of some spruce plates I had handy, and use my four-foot level (with sandpaper stuck to one edge) to do the jointing. It took a while, but I was finally able to joint the edges so that no light shone through when I held the two halves together. I did this for both the top and back plates (both Australian blackwood).
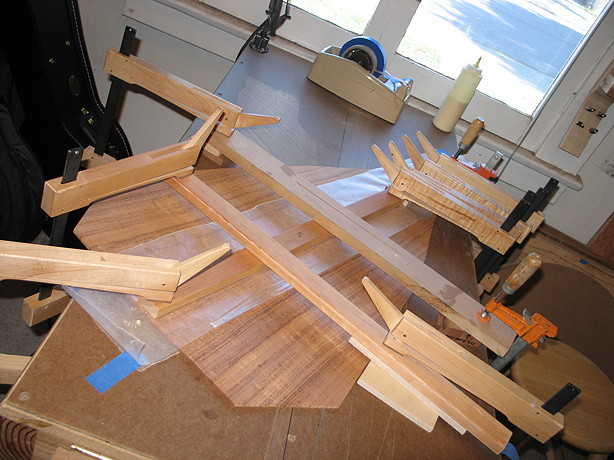
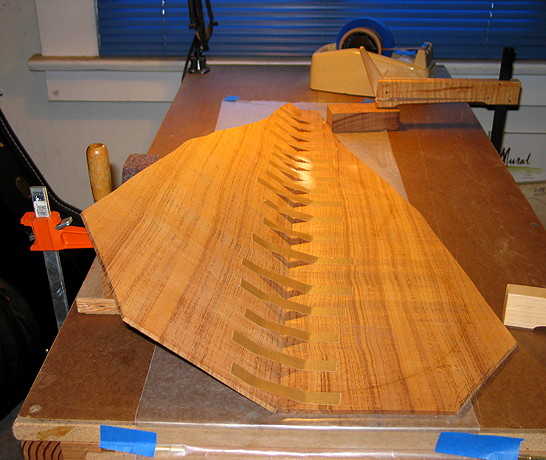
Then, as you can see below, I used the tape-joining method for the first time, to clamp the two halves together. What you do first is to set one half flat on the bench, and prop the other half up. Then you apply tape to the two halves, so that the middle section of tape is suspended above the joint. That way, when you apply the glue to the joint edges, and press the propped-up half down, the joint is clamped tightly. (It's basically the same concept as the method I've been using by propping the joint edges up with a strip of wood, then placing nails to support both outer edges, and then removing the wood strip after the glue is applied. In both methods, you're creating a "tent" which presses the two halves together.)
The photo in the lower right shows how I've clamped the joint down, with waxed paper both below and above the glued joint, and wood strips holding the joint flat.
I will wait about an hour for this set to dry, and then I'll do the other set. |
|
|
|
|
|
 |
|
|
|
|
|
Thursday, November 29th, 2012:
You haven't seen anything posted here for a few days because I've spent the the time doing a lot of research and reading on the Internet, trying to figure out what to do about the bracing on this instrument (the plans I have are a little bit sketchy on the details), whether or not to give the top and back any kind of a radius (I think I will do a slight 25' radius on both), and what to do about the binding/purfling scheme.
I've decided to go with tortoise plastic binding on this one, as it comes in strips long enough for this somewhat larger instrument (I needed strips at least 39" long, and most wooden binding comes in smaller sizes), and because I think it will be pretty with this wood (I ordered a more reddish-colored tortoise binding). And, the ease of applying it appeals to me this time around. I'll be using Weld-On to glue these bindings on. I plan to use some white/black plastic purfling to set off the tortoise binding a little bit. Haven't decided yet what to do about the rosettte.
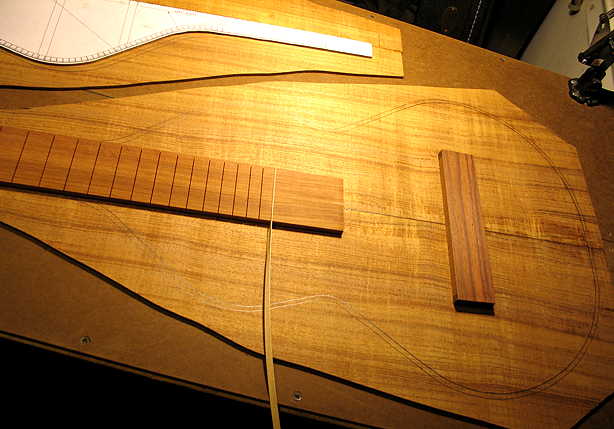
Another reason I haven't worked on it for the past few days was that I was waiting for a few of the supplies to come. I had ordered a slotted fingerboard (25" scale) and a bridge blank, both of Granadillo wood, which I'd never heard of or seen before. But it looked as if its color would go well with this Tasmanian blackwood. To the right is a photo of the fingerboard and bridge blank. (I also have some maple veneer strips that I will use to inlay the fret slots, which you can see in the photo.) (It will be so nice not to have to install frets this time!) |
|
|
|
|
|
NOW, FOR SOMETHING TOTALLY UNRELATED TO THIS WEISSENBORN PROJECT:
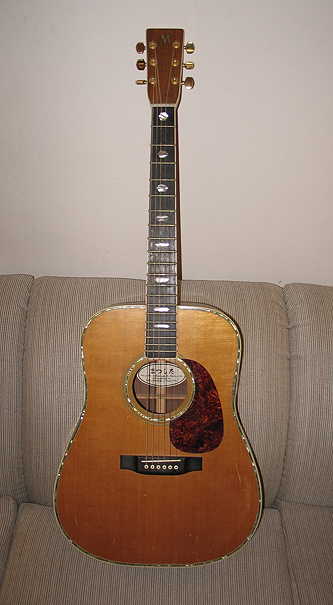
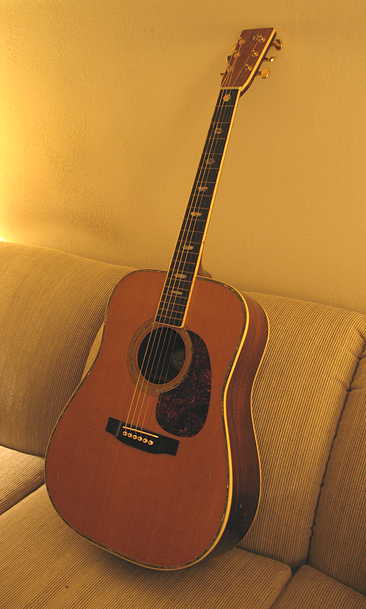
I met an old teacher friend for lunch today, to trade guitars. Long ago, I had given her the very first guitar I had built (in 1994), and, lately, I've been wanting that one back, for nostalgic reasons and so that I can be reminded of how far I've come in my building. So, I fixed up a "newer" guitar (my 5th, a mahogany dreadnought built in 1995) for her, and we exchanged them today.
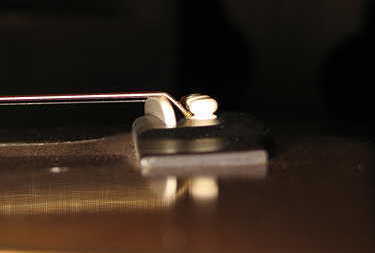
There it is, to the right. It was a kit from a one-man company called The Kit Factory in San Diego; this man primarily made kits based on Martin models. I ordered the D-41 style dreadnought (rosewood and Sitka), thinking it would be the only guitar I'd ever make, so I might as well go fancy. (Little did I know how addictive this building thing would become!) You can't tell from the pictures, but it had a somewhat blotchy finish (I had no idea how to rub out a guitar's finish), a back-bowed neck (and a resultant too-tall saddle, which you can see in the photo below), and not the most elegant joinery ---- BUT it did (and still does) have a great, big sound and it didn't explode on me. I plan to just clean it up a bit, maybe touch up the lacquer finish in a few spots where there are some scratches, and reglue some areas of the plastic binding. I also want to re-level and dress the frets and redo the saddle and nut, now that I know better how to do those things. It will be fun to have it back!!!!
|
|
|
|
|
| |
|
|
|
|
|
|