Saturday, December 15th, 2012:
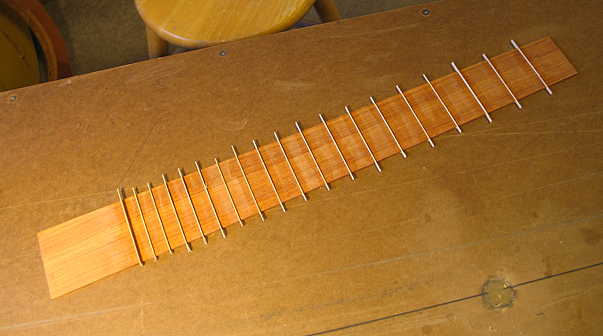
The first thing I did today was to thin the fingerboard to 1/8", which is what the plans called for. Then I inlaid the maple purfling into the fret slots, using Titebond. (I first smeared some Titebond into the slot and then slid the purfling into the slot.)
|
|
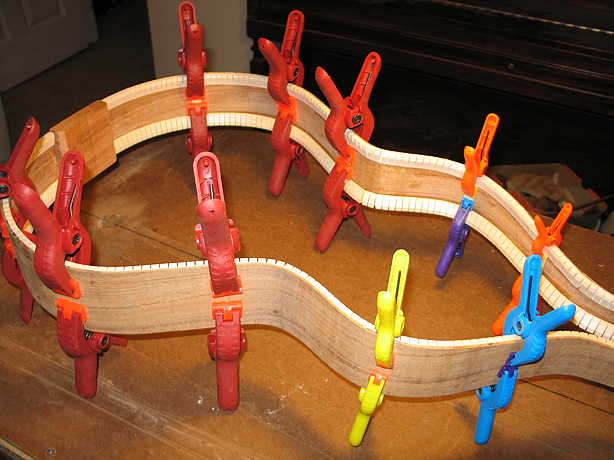
While that was setting, I glued in the side braces, which I made from some off-cuts of a spruce top I had on hand:
|
And while the side braces were setting up, I went back to the fingerboard. Using an end nipper ground flat, I clipped off the ends of the purfling strips. Then I used my mini-plane to carefully shave the purfling strips down flush to the fingerboard. Finally, I sanded the fingerboard surface and edges with 220 grit sandpaper.
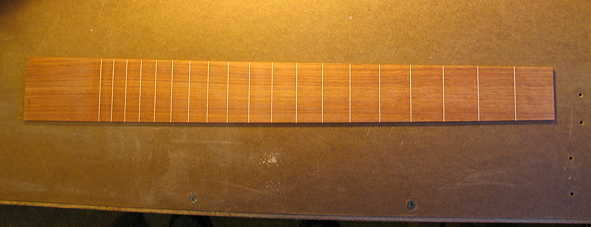
It turned out really nicely. The white purfling lines look really nice and crisp against the granadillo wood of the fingerboard. It will look even nicer once the fingerboard is bound with the bloodwood (which I must wait to do until later, after the soundbox is complete and I can tell exactly where I need to trim the end of the fingerboard at the soundhole) and once the fingerboard is oiled.
Tomorrow I will probably inlay position dots into the fingerboard.
|
|
LATER THAT EVENING:
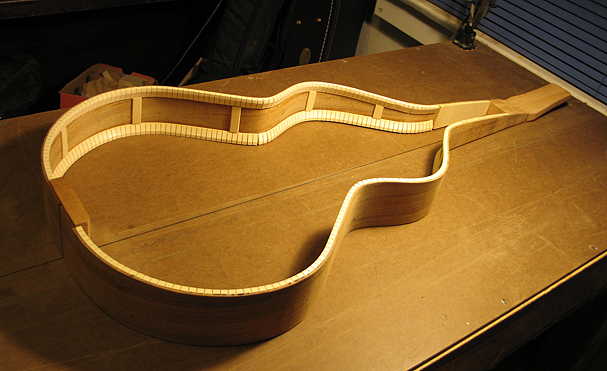
Here is the completed side set. Now what I need to do is sand the inside of the side set, and move on to sanding the kerfings to accept the top and the back (I have a slight 25' radius on both the top and the back, the top only radiused below the soundhole). Then I will mark where the braces meet the sides so I can rout out the little pockets where the brace ends will tuck into the kerfing, thus fitting the top and back to the sides.
|