Sunday, November 25th, 2012:
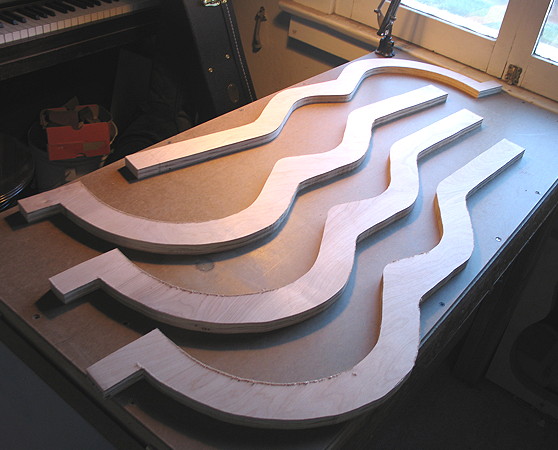
This is what I did yesterday --- I bandsawed the remaining three mold pieces close to the lines. The "master" template is the one at the very top of the picture.
Next, I screwed that master template to one of the three pieces, and used a flush-cut router bit to make another template. I removed the screws and then glued each of these two finished templates to one of the remaining two pieces, and left them overnight to dry. |
|
After church today, I used the flush-cut router bit to complete the two pieces of the mold.
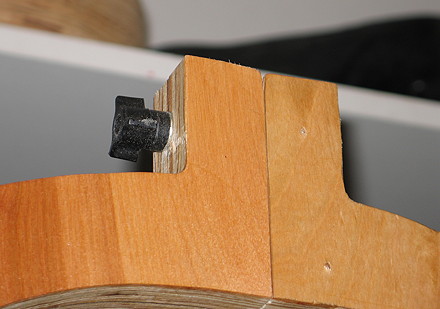
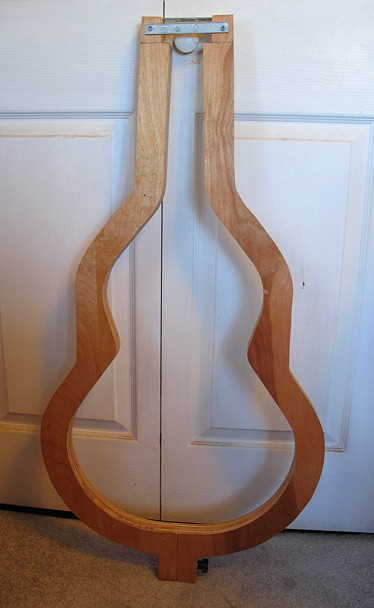
I then ran a carriage bolt through the tail end extension and secured it with one of those plastic knob nuts.
At the neck end (which I need to leave open for attaching the peghead later), I joined the two halves of the mold with a mending plate.
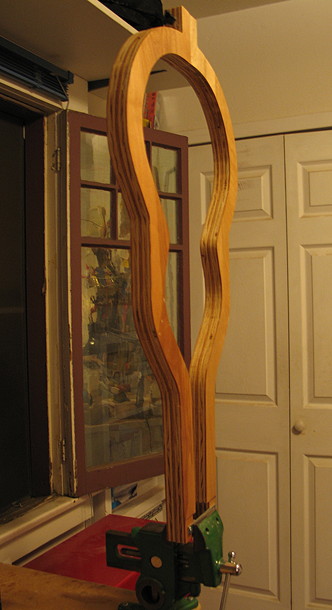
After all that was done, I then sealed the mold with a coat of shellac and left it to dry. I held it in my vise so that I could get to all the sides of the mold.
Tomorrow, I will apply two more coats of shellac. |
|
|
|
|
|
|
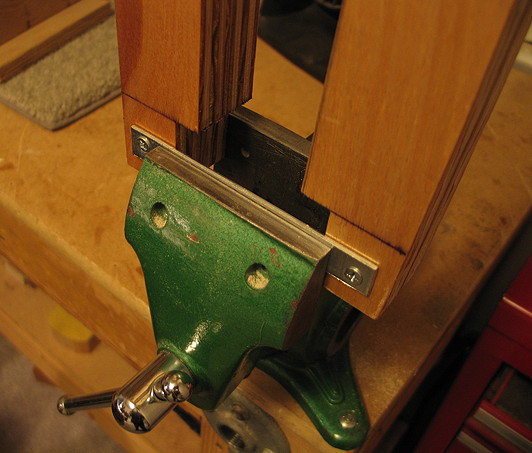
Above, you can see the mending plate I am using to join the mold at the neck end.
Below, is a close-up of the tail end attachment.
|
|
Monday, November 26th, 2012:
The first thing I did today was to lightly sand the second coat of shellac (which I had applied last night) and then apply the final, third coat. It's been a few hours now, and it's almost dry:
|
|
|