Fitting & Carving the Neck
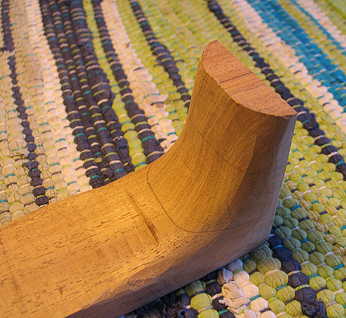
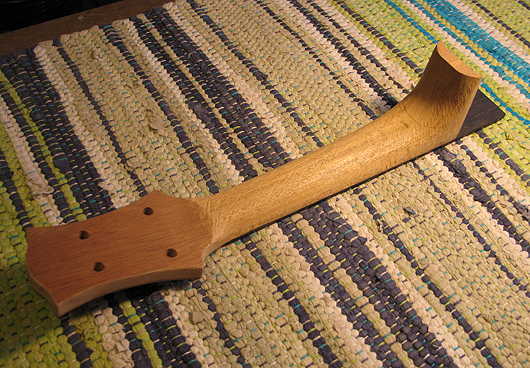
Still Monday : It's around 4:00 p.m. right now. I've just started fitting the neck. The first thing I did was to roughly shape the heel. I did this with my mini-drawknives, a round microplane, and finished it up on the belt sander, to smooth out the curves somewhat. Here it is:
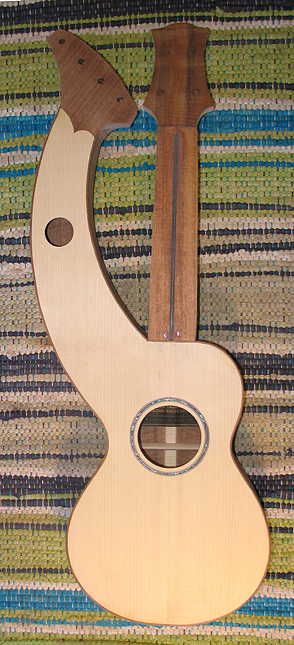
Next, I bolted the neck onto the body (I haven't coved the inside section of the heel yet, which will make fitting the neck much easier). I just wanted a general idea of where I'm at as far as neck angle goes.
|
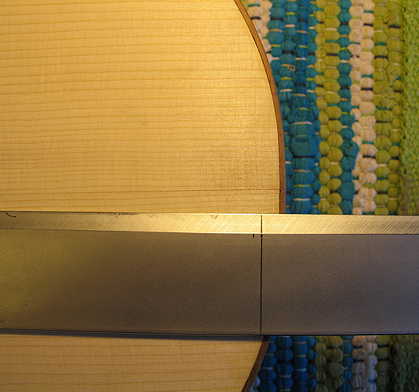
As you can see in the photo below, my horizontal neck angle is a bit off.
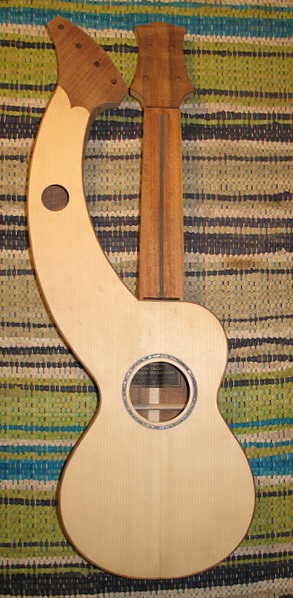
What this means is that I will need to (after I've coved out the middle of the heel) sand the bass side of the heel, to bring the straight edge up to that centerline. I will do this by using the same method I've used before, described HERE. Basically, I stick sandpaper onto the body at the bass side of the heel and, holding the heel tightly against the body, sand back and forth until, gradually, the angle is correct. After that, I check the vertical neck angle. I don't think that will be a problem, though, as, for one of the first times, my top and side form just about a perfect 90° angle. I will want a straightedge placed on the fretted fingerboard to be about 1mm lower than the bridge height (according to Pete Howlett's suggestion). I haven't made the bridge yet, but that will give me some idea as to how thick to make the bridge. Well, I've got to take a break. It's time for Hannah's walk! (Lately, Hannah's schedule has dictated my own.) More later. Still Monday . . . 9:30 p.m. : Spent an hour or so getting the neck angle right. The first thing I did was to cove out the middle of the heel surface with my Dremel, just leaving two edges about 1/8" wide. Then I stuck sandpaper (80 & 100 grit) on the soundbox on the bass side, and sanded away until it was right. Took a while, but finally got there. After I'd done that, it turned out that having to lean the neck to the left made the right side of the harpbox peghead jut too far into the neck peghead area. That was easy enough to fix; all I did was sand that end of the harpbox peghead about 1/8" in. Now the two corners of the two pegheads just meet, and that line of the right end of the harpbox peghead and the left side of the neck peghead is kind of a continuous curve. And I have plenty of open space there for my left hand. I think it works. To the right are two photos of today's results. (Oh, yeah . . . I also put tiny mother of pearl position dots in the fingerboard and trimmed the fingerboard end. (I haven't yet fretted or glued the fingerboard yet. That — and carving the neck — are tomorrow's jobs.)
|
|
|
|
Tuesday, June 28th, 2011: So far today I have fretted the fingerboard, filed the fret ends flat to the fingerboard edge and beveled them. Now the fingerboard is glued and clamped to the neck:
After an hour or so, I will remove the clamps and turn my attention to putting in the side dots on the fingerboard, carving the neck, and making and gluing on the heel cap. After that's all done, I can turn my attention to making the bridge. Once I can clamp the neck to the soundbox again, I can then determine how thick I need to make my bridge . . . . coming soon to a website near you!!!!
|
Around 8:00 p.m. . . . . I spent some time fitting the neck's backset. The neck's surface wasn't exactly on a flat plane with the surface of the top, so I used the "flossing" method to sand more off the bottom end of the heel, thus making the neck angle back a little bit. Now, when I place the straightedge on the fretted fingerboard, there is about 5mm space between the straightedge and the soundboard at the saddle position. According to Pete Howell, I should add 1mm to that, to come up with the thickness of my bridge. So, I should make my bridge 6mm or so tall. After I was satisfied with the neck angle, I moved on to carve the neck. I have it roughly carved right now; it is still not thin enough, so I will finish it up tomorrow.
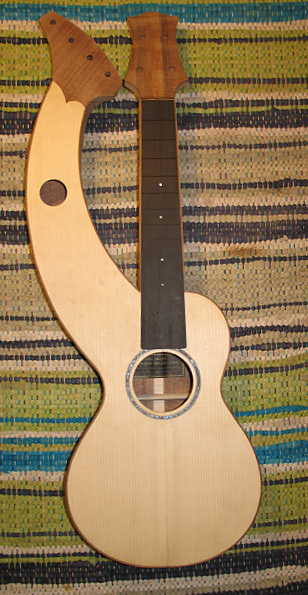
Wednesday, June 29th, 2011: Well, here is the neck fully carved:
|
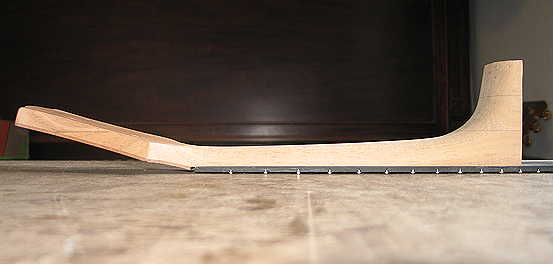
The final thing to do on the neck was to trim the bottom of the heel for the heel cap. Here is the trimmed heel:
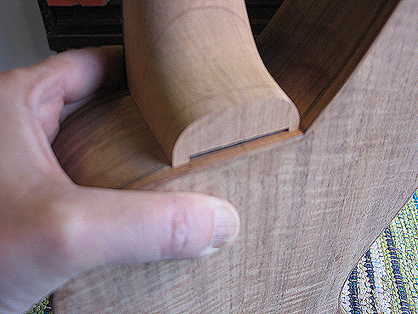
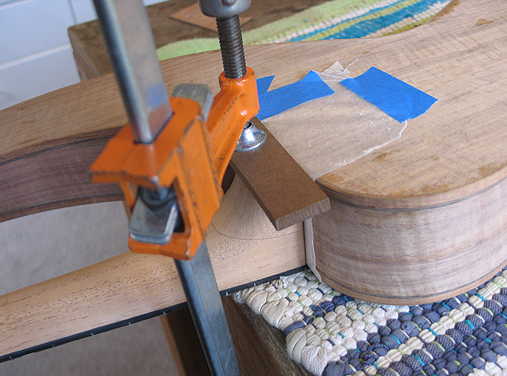
I made the heel cap out of the same scrap koa I used for the peghead veneer. I thinned it to around 2.5mm. I then placed waxed paper under the heel so I could glue the heel cap onto the heel, with the neck bolted to the soundbox. That way it will be sure to be flush to the soundbox. Here it is being glued:
NEXT UP . . . MAKING THE BRIDGE!!!
|

|
|