The Top: Rosette and Soundholes
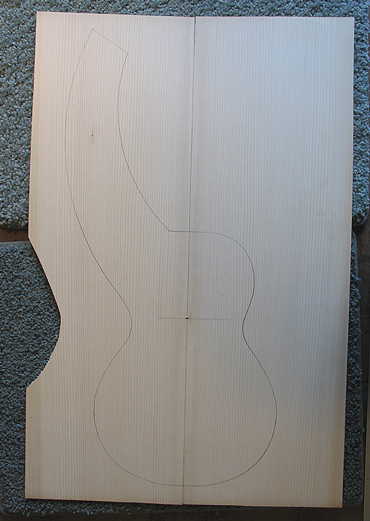
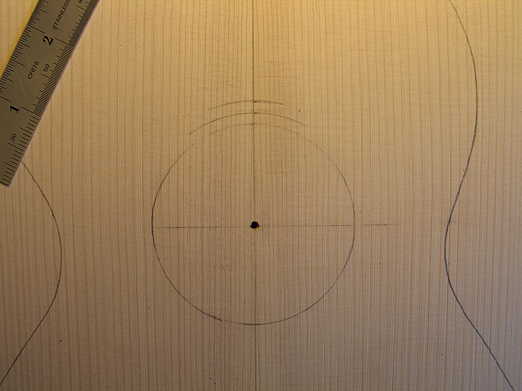
Thursday, June 2nd, 2011: Today I worked on the top. Yesterday I had jointed and joined the top. The first thing I did today was thickness-sand the top, just enough to get the surfaces smooth enough to draw on. Then I drew the form shape on the outside of the top, so I could begin working on my rosette. I marked the center points of the two soundholes and drilled 1/8" pilot holes. Next, I figured out what I would use for the rosette. I had some Zip-Flex paua abalone strips and some BWB plastic purfling strips. To the far right, you can see that I have marked the soundhole and the width of the purfling channel.
|
|
 |
||||
 |
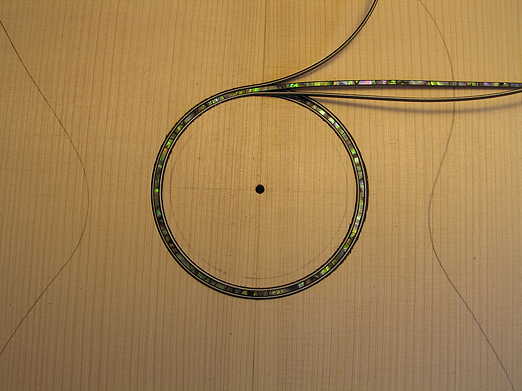
To the left, I have placed the BWB strips on both sides of the Zip-Flex abalone strip, so you could see what it will look like. To the right, I am routing the rosette channel with the Dremel circle cutter. (Normally, for my soundholes, I use the Stew-Mac circle cutting jig, but the smallest diameter circle it can cut is 3"; last summer I discovered that the circle cutting jig that came with my Dremel can cut much smaller diameters.) My soundhole has a 65mm diameter. The harp box (I don't know what you call it, actually) has a 30mm diameter soundhole. It will not have any rosette. |
 |
||||
 |
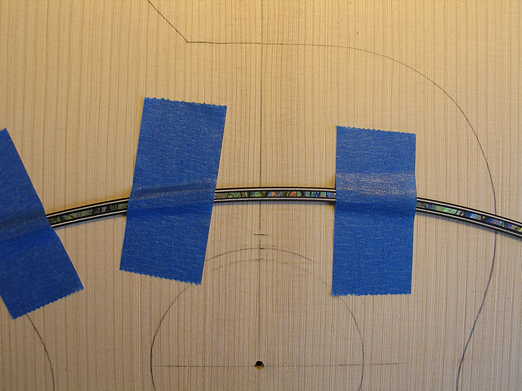
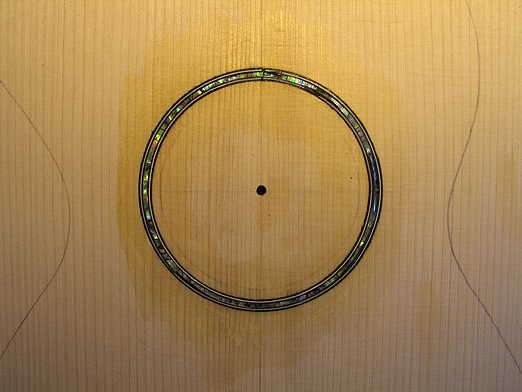
To the left: I am test-fitting the strips. After I did the test-fitting, I applied shellac as a sealer to the soundhole rosette channel, so that the thin superglue I will be using will not wick into and stain the spruce. Then I fit the strips into the channel and applied superglue over the strips. I waited a while, and then scraped it down flush (there wasn't much to scrape down, as I had routed the channel just about flush with the Zip-Flex abalone). I then ran the top (outside surface) through the thickness sander just enough to make it all flush, and thickness-sanded the inside surface of the top to about 2.3mm or so. The plans show the top as around 2mm, so I'll probably end up with that after the soundbox is finished and I do the final sanding. |
 |
||||
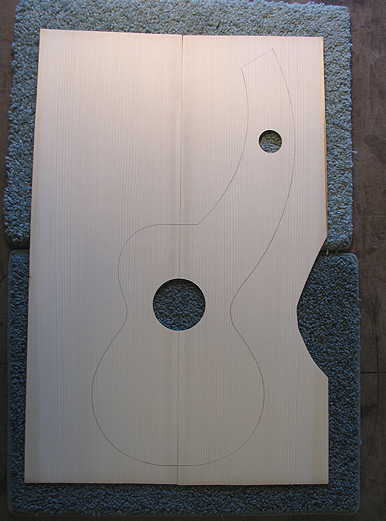 |
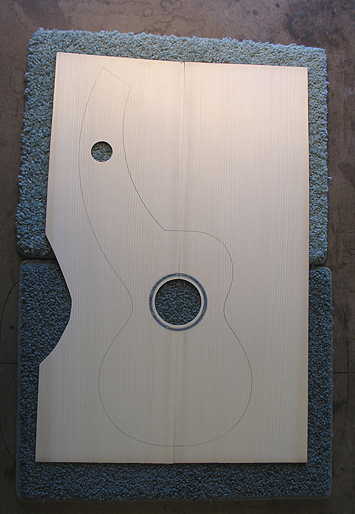
After all that was finished, I routed out the two soundholes. Here they are, the inside surface to the left (upon which I will draw the bracing plan tomorrow) and the outside surface to the right. Tomorrow I will bandsaw a little outside the drawn lines of the top. |
 |
||||