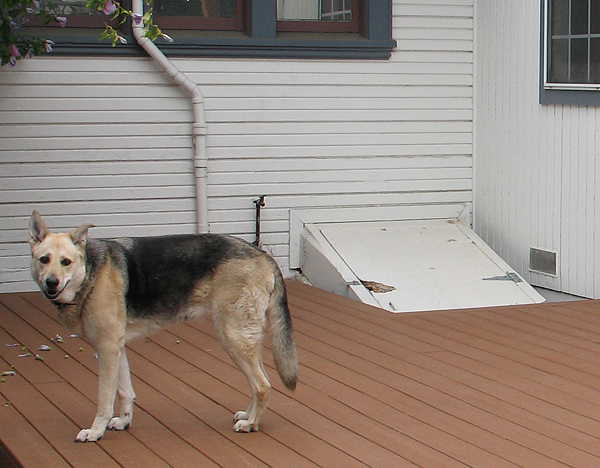
Friday, July 8th, 2011: Since I have to wait until next Wednesday before I can get back to the harp ukulele, I decided to work on something that I've been intending to do for a long, long time — make a new bulkhead door (my door leading to the basement). The old one was just a big, heavy 1/2" sheet of plywood, and, over the years, it had started to rot away. With Hannah here now, I wanted to make sure that (1) she wouldn't be able to continue chewing away at the broken section, and (2) she wouldn't be able to break through / get stuck / or get hurt. Here's the old door (with my former dog, Emily, posing nicely beside it):
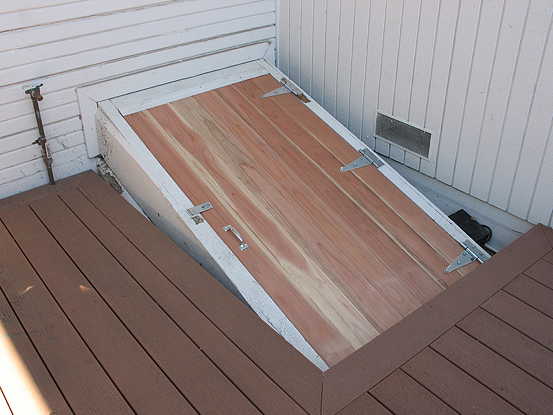
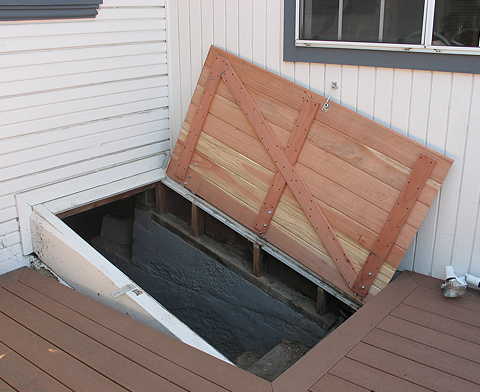
Also, the old door, being plywood, was super-heavy and kind of floppy (no bracing on the inside). The new door is much lighter and feels more solid. Here's what I built (I kind of made it up as I went along), out of some redwood tongue-and-groove siding boards, some 4" wide redwood boards for bracing, and new hinges, handle, lock latch, and a hook to secure it to the house when it's open (something it didn't have). I'll be painting it white, to match the house.
|
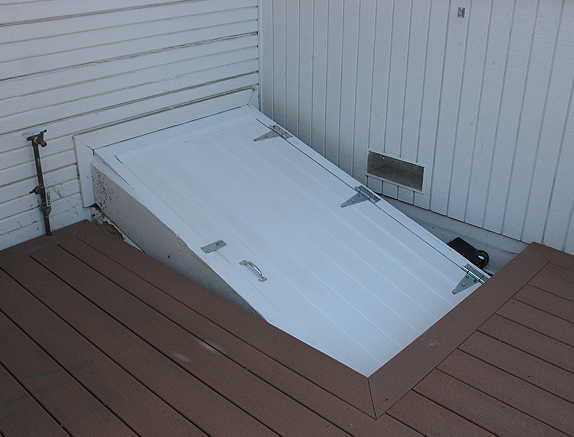
Here it is, all painted:
|
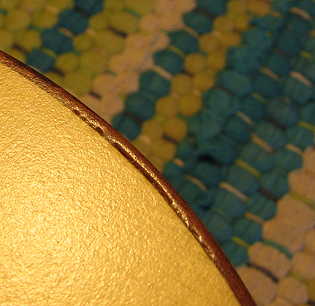
Friday evening: Thought I'd do a little bit of drop-filling tonight. After the finish was sprayed, I noticed a few places where the finish had sunk and there were some gaps between the top binding and the spruce top. I will start the drop-filling process tonight. What I do is drop some waterbase finish into the gaps with a toothpick, in a few sessions. Here's what it looks like before any drop-filling:
|
|
|
Go to Previous Page |
Go to Next Page |