Harp Box Peghead & Kerfing
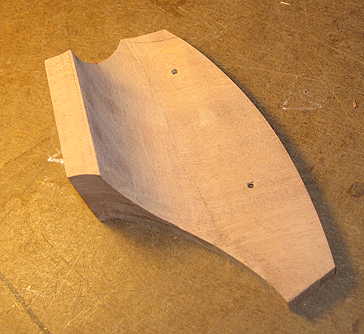
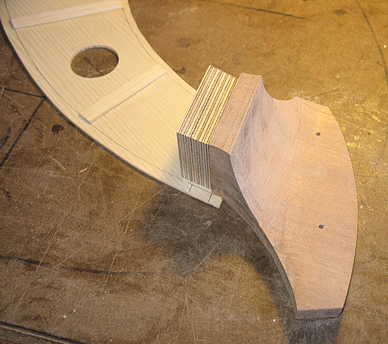
Tuesday, June 14th, 2011: What you see below took me quite a while to do, partly because at first I had no idea how to go about it. Yesterday I had cut out the harp box peghead. This morning I glued another couple of layers of mahogany to the lower half of the peghead, and then used the belt sander to shape the curve from the "heel" part of the peghead down to the first layer. That took a long time! But it did finally get done, and I think it looks okay.
|
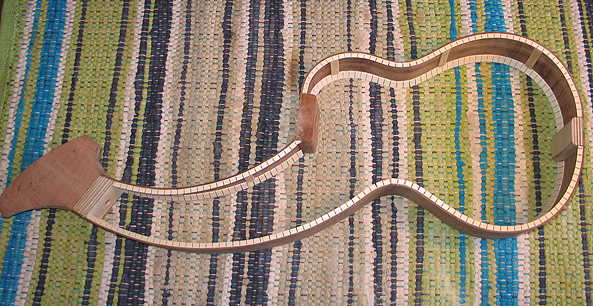
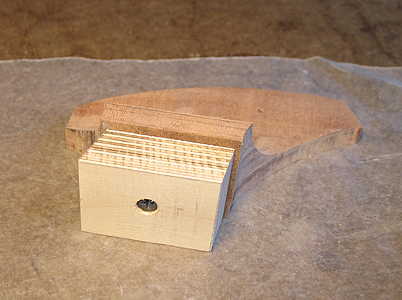
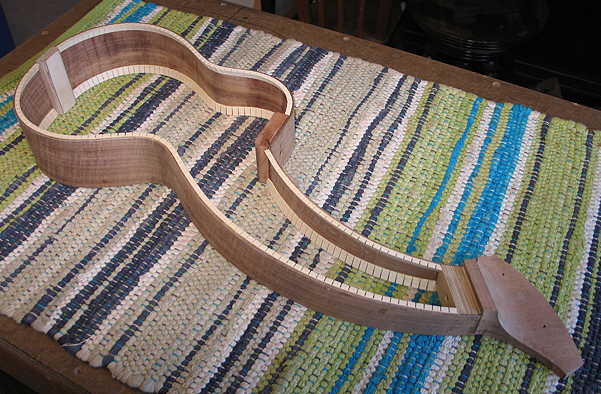
I made the lower end of the peghead wider than the peghead block by the widths of the two sides, so that, when glued to the sides, the peghead would be flush to the sides. Here I have laid it all out to see if it's correct:
|
When I was sure that it was right, I glued and screwed the harp peghead block to the peghead:
|
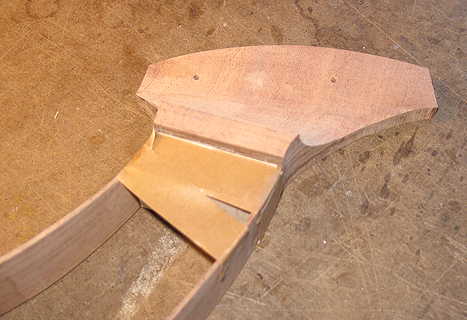
Here I'm just using masking tape to glue the sides to the block. I tried using clamps, but the two angles of the sides made it difficult.
|
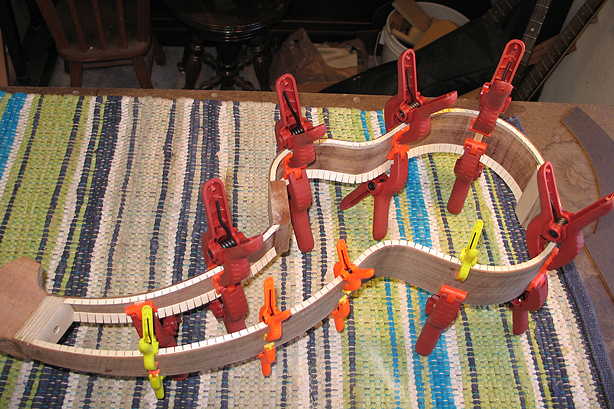
Once that was set, I could start on the kerfing. I put some spreaders in to hold the sides tightly to the mold and raised the rim so that the top edge was about 1/2" over the top of the mold.
|
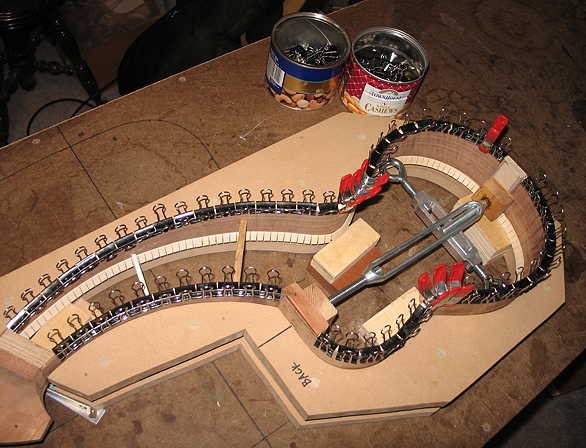
Here I have installed the kerfing (I'm using mandolin-size basswood kerfing).
|

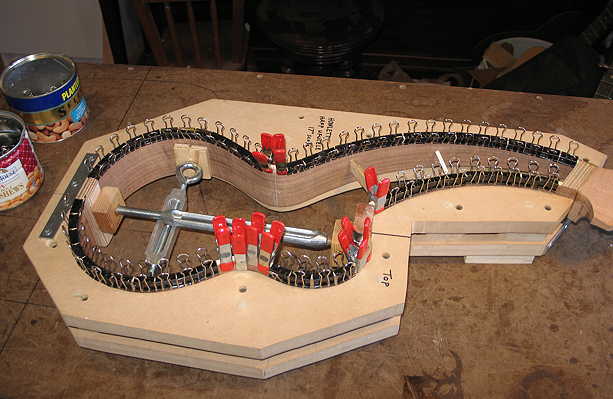
The final photo for today . . . Here's the back kerfing being glued in:
Tomorrow I will install side reinforcements and sand the kerfings to the back 15-foot radius and the top 25-foot radius (lower bout only). Then it will be time to fit the top and back! I am close to completing the soundbox!!!! |
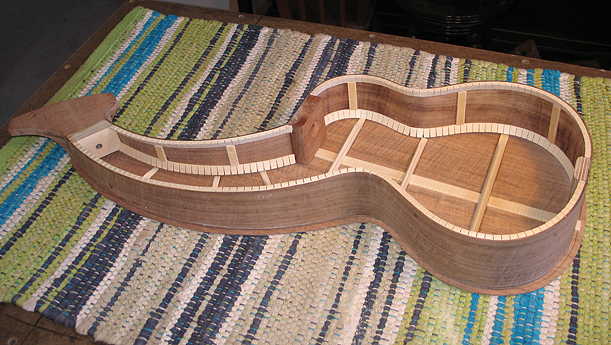
Wednesday, June 15th, 2011: This morning I removed the clamps, and here is the side set, with all its kerfing installed:
|
Here I am gluing on the side reinforcements:
|
Here is the side set with the side reinforcements all glued up:
|
Time for a little visualization . . . I have laid the side set upon the back, to give you an idea of what it will look like once I've glued on the back.
|
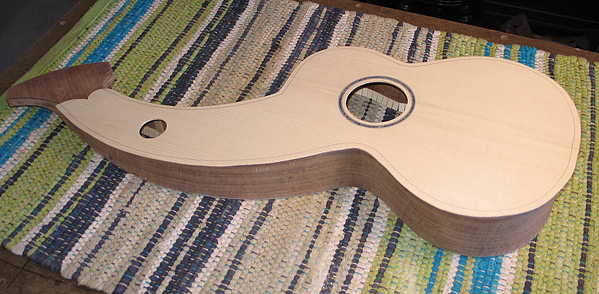
And I've laid the top upon the side set here:
The next things I need to do are to (1) sand the insides of the sides, (2) put the side set back into the mold and sand the top and back radiuses onto the kerfing, (3) lay the side set upon the top, to see where I will have to trim the top braces so the top will fit snugly onto the sides, (4) do the same to determine where to trim the back braces, (5) glue on the top, (6) sand the back and make and glue on my label, and (7) glue on the back. At that point, I will have a soundbox!!! |