Blocks!!!
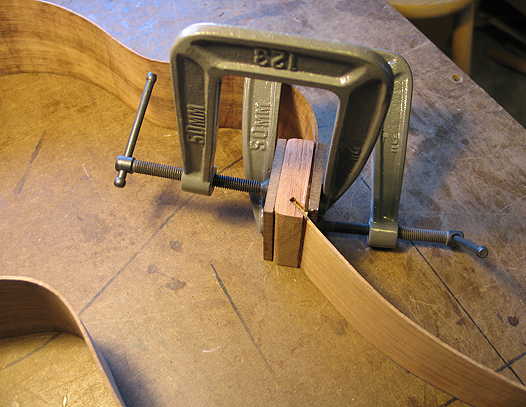
Thursday, June 9th, 2011: Today I worked on blocks — the harp box neck block, the tail block, and the neck block. A lot of my time today was spent just thinking and figuring and measuring. First, I made the tailblock out of birch plywood, and glued it to the tail end of the sides (after I had trimmed the ends):
|
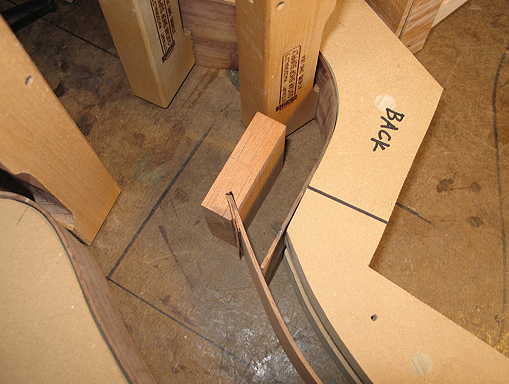
Next, I figured out the dimensions and angles of the block that joins the sides at the small end of the harp box. (I am not gluing this block in yet.)
|
|
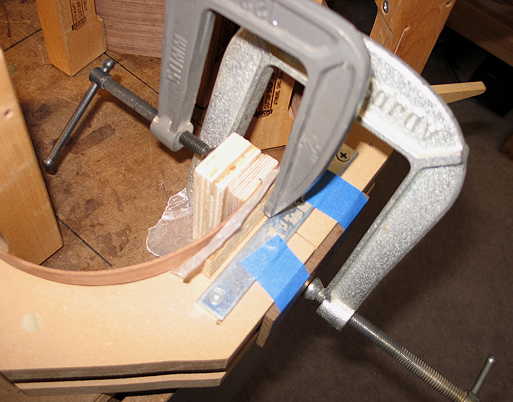
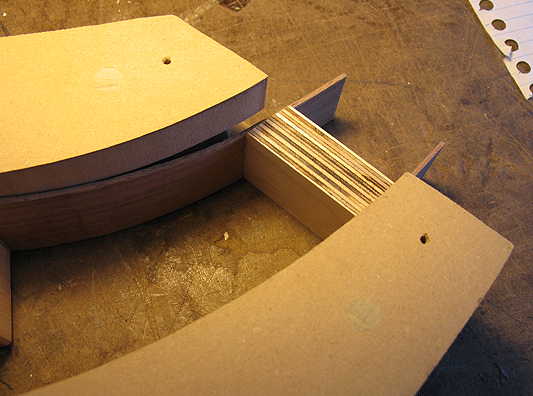
Finally, I worked on the neck block. This one is a little bit more complicated than the other blocks, as it has a slot for the short side of the harp box. Figuring out the exact angle of that slot took a little bit of time. I made the slot using my bandsaw and a miter gauge. I made it a tad too wide, so I will just put a veneer shim in there to hold the side tight. The photo below shows how it will be placed — it's not quite in its proper position yet, because I still need to trim the end of the upper bout to meet the harp box side.
|
Well, it's that time again . . . In every build, I inevitably start to feel a bit scatterbrained, and I need to make a list of the things I need to do next, and in what order. Here is what I plan to do next (I hope I have these steps in the right order!!!!) :
At that point, I will have a soundbox!!!! Then I can move on to the binding and the neck. . . . Well, that's all for today. It's now around 5 p.m. Tonight Hannah and I go to her very first Sirius "Puppy I" class!!!! I'm excited!
|
Saturday, June 11th, 2011: Well, I didn't actually get started on the harp uke until the mid-afternoon, because I had a few things that came up with Hannah, my new puppy — I had to do some "remodeling" of my deck and I had to take care of a stray dog who came to visit. For the details, you can look HERE. After all that was taken care of, I did start on my list of tasks on the left. I did steps 1-6. Here's the result:
Tomorrow after church, I'll probably tackle steps 7-9.
|
Monday, June 13th, 2011: Well, I didn't do much on the uke yesterday or today. Other things came up (as they often do). Part of today was spent programming a new universal remote (a Harmony One), because I seem to have lost my previous one. I looked all over for it, inside and outside. I don't know if I misplaced it, or if, somehow, Hannah got a hold of it and hid it somewhere. It's a total mystery to me how it could just disappear like that; it seems to have just vanished into thin air! I did, however, manage to work a little bit on the harp box peghead. I got some mahogany and cut out the peghead shape, the 10mm layer that will lie right beneath the 2mm veneer I'd already spliced into the spruce top. I just finished gluing together two more layers of mahogany that I will cut and glue to that 10mm layer, to form the peghead's "heel-like" section. Hopefully, I'll post photos of it all tomorrow. |
Tuesday, June 14th, 2011: It just now occurred to me — referring to yesterday's post on losing the remote control — perhaps the remote is deep under the deck!!!
|
|