Sanding, Pore-Filling, and Finishing!!!
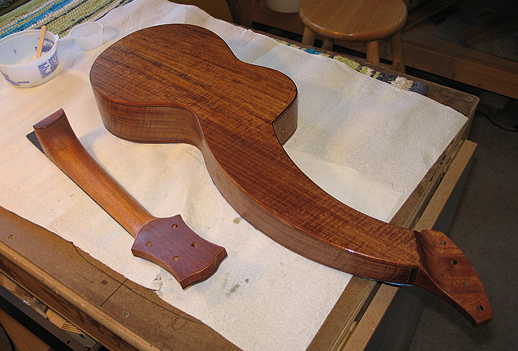
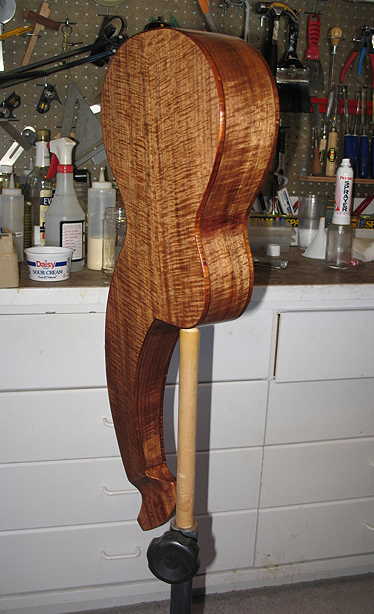
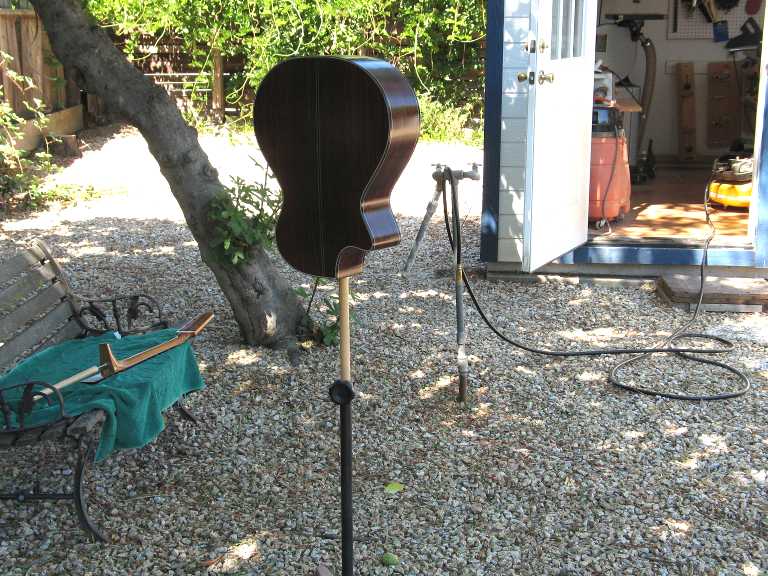
Thursday, June 30th, 2011: Spent the morning doing all the finish sanding (120, 150, 220 grits, and a couple of grain-raisings) and taping up the top and fingerboard, in preparation for the pore-filling process. I just finished applying the first coat of Z-Poxy. It's about 3:00 p.m. right now, so later tonight (after I get back from Hannah's puppy class), I probably can level-sand it and apply another coat of Z-Poxy. Here it all is with one coat of Z-Poxy (I used an old BlockBuster card to do the scraping):
|
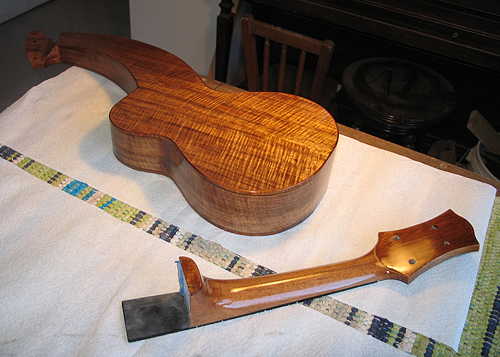
Saturday, July 2nd, 2011: It's about noon now, and I have applied the final, thinned-down coat of Z-Poxy. What I ended up doing was to wait until yesterday morning to level down the first coat of the Z-Poxy that I had applied on Thursday, just to make sure it was totally cured enough to sand down easily. Then, I used the rest of the day yesterday to apply a second and third coat, level-sanding the second coat before applying the third. I waited till this morning to level down the third coat. By that coat, all the pores were filled. I then thinned the Z-Poxy about 50% with alcohol and wiped on a very thin coat with one of those shop paper towels. This last, thinned coat is applied primarily to even out the color. When this is dry, I will lightly scuff it all with a gray Scotchbrite pad, just enough to give it a little bit of "tooth" for the two coats of shellac I will spray on as the sealer, before starting the waterbased finishing process (Target Coatings' EM6000). |
Here's what it's looking like now, with the thinned-down coat of Z-Poxy:
|
|
|
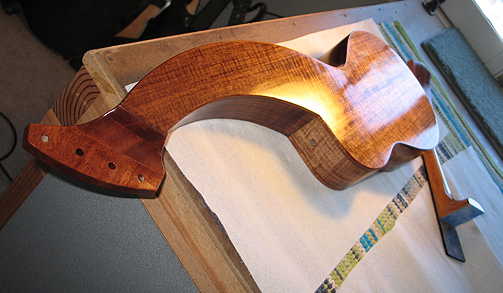
Monday, July 4th, 2011: After lightly scuff-sanding the Z-Poxy coat with a gray Scotchbrite pad, I sprayed a couple of coats of shellac as the sealer coats, using a Pre-val spray canister. This week it's around 90°. But at least the humidity is only around 32%, and I have shade in the backyard (where I do my spraying). Here's how it looks, with the shellac coats applied:
|
|
THE FINISHING PROCESS : (I'm inputting these as they happen, in real time — as opposed to fake time.)
Well, that's it for today. I think 4 coats is enough for one day. Tomorrow, I'll scuff-sand it all, and lay on probably 4 more coats. Tuesday, July 5th, 2011:
Okay....that's it for today — it's about 87° today, and my energy is sapped! Tomorrow, I will do a level-sanding of these 8 coats, and put on, probably, about 4 more coats or so. Wednesday, July 6th, 2011:
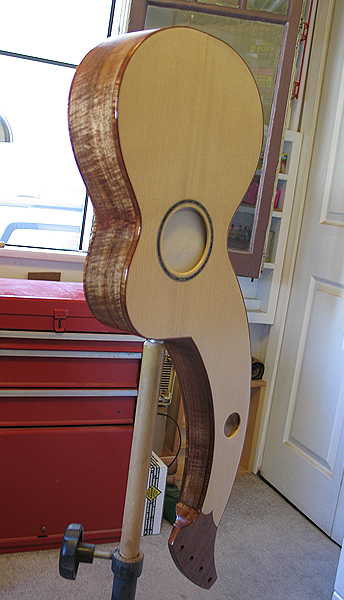
WELL, THAT'S ALL, FOLKS!!!!! No more coats to spray!!! I am so happy with how the finish went on — I think I have my technique finally figured out, so that the coats all leveled out nicely after each spraying application. I had no runs or sags except for that single one on Monday, after the very first coat. Now comes the most EXCRUCIATING part for me: the waiting for the finish to cure!!! The EM6000 requires a minimum of 100 hours to cure — longer is better. So, a week would be a good amount of time to wait. That will mean that I could possibly get to the final steps next Wednesday or so — rubbing it out and polishing it, gluing on the neck and bridge, leveling and polishing the frets, making the nut and saddle, installing the tuners and endpin, and stringing it up. Who knows....I might have it ready in time to take with me on July 19th, when I leave for the GAL (Guild of American Luthiers) conference in Tacoma, Washington!!!! That would be so cool! Oh, yeah — and I need to start looking around for some sort of case or gig bag that would fit this weirdly-shaped instrument!!! CHECK BACK AFTER NEXT WEDNESDAY, JULY 13TH!!!!!ACTUALLY — I LIED. LOOK ON THE NEXT PAGE IF YOU WANT TO SEE SOMETHING I DID IN THIS "WAITING" PERIOD!!! |
||||
Go to Previous Page |
Go to Next Page |