The Mold, Continued . . .
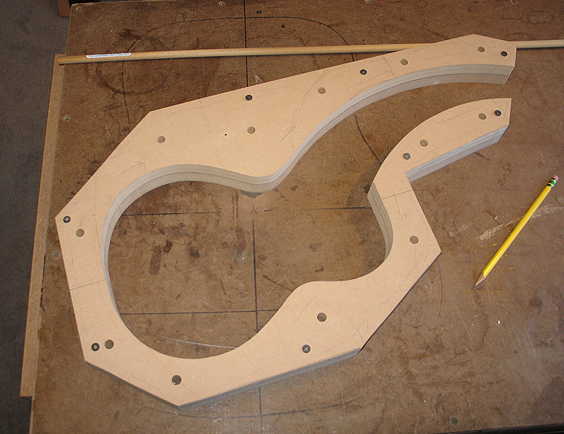
Next, I screwed that first MDF layer onto another piece of MDF, traced its outline, removed the screws, and bandsawed the second MDF layer close to the line. I then screwed the two layers together again and used a router bit with a bearing to rout the second layer to be identical to the first. Those 3/8" holes you see drilled through both layers are for dowels I will use to line everything up. I plan to put 3/4" MDF spacer blocks in between the two layers. The dowels will run through the two layers and the spacer blocks. I will glue and screw everything together.
|
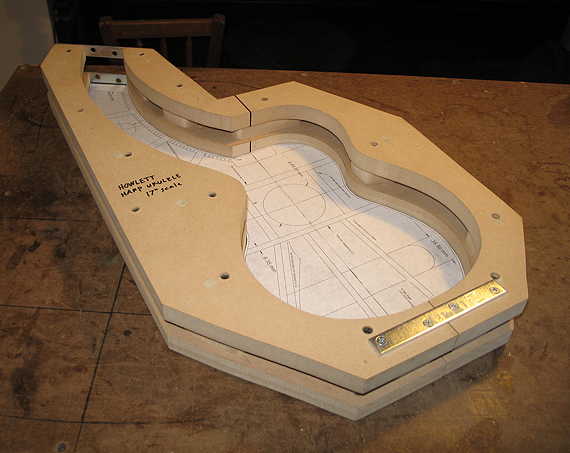
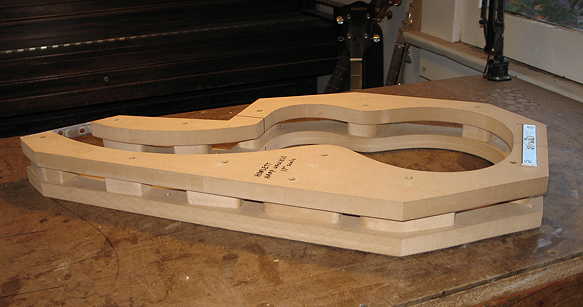
Here it is, all finished. I have 5" mending plates holding the two halves together (I had bandsawn the mold at the centerline at the bottom, for ease of removing the body once it is ready for its binding.)
|
|||
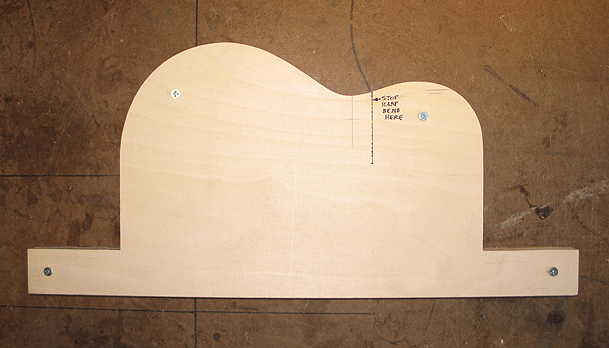
Tuesday, May 31st, 2011: Didn't get started on the harp uke till the afternoon. Had a few other things I had to do (take Hannah, my new puppy, to my regular vet for her first puppy exam, go to my school to pick up my paycheck, go to the library for some videos on puppy training, play with Hannah). But I did manage to make some headway on my bending form. I had bought some 1/2" plywood last week. First I figured out how much smaller than the template I had to make the bending form (to account for the spring steel slat, the heating blanket, and the wood). It ended up being 3.8mm smaller. Once that was figured out, I drew it onto the plywood, cut close to the line on my bandsaw, and smoothed it out with the sanding drum on my drill press (much the same process I used on making the mold). Then, I screwed that form onto the plywood, traced the form, unscrewed it, and cut the second form close to the line on the bandsaw. I screwed the original form again to the second form and used the router (with a bit with a flushcut bearing) to make both identical.
|
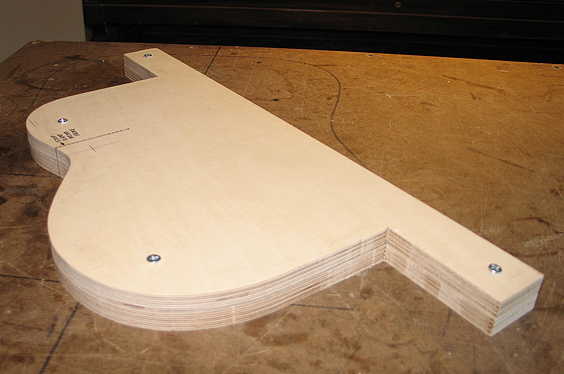
That line that says "STOP HARP BEND HERE" marks the spot where the harp side of the uke starts to deviate from the form. For the harp half of the instrument, I will use the same bending form, but will only bend up to that line. The rest of the harp side, I will bend by hand (easy, because it is a very slight bend). Tomorrow, I will drill a hole for the bolt that goes through the form just under the waist (it's for lining it all up with the bender) and will also drill the holes along the edge for the dowels that will hold the bending form together.
|
|