Bracing the Top
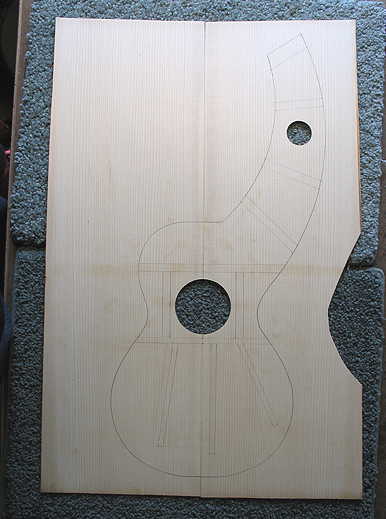
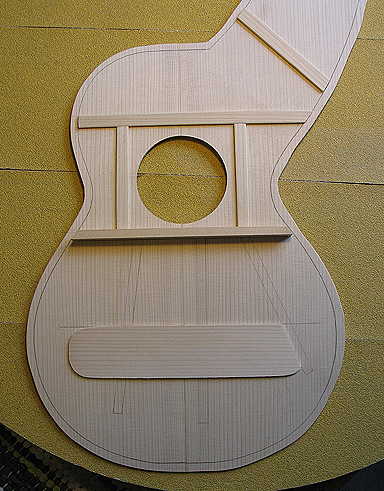
Friday, June 3rd, 2011: So far today, here's what I have done: I have drawn the bracing plan on the top:
|
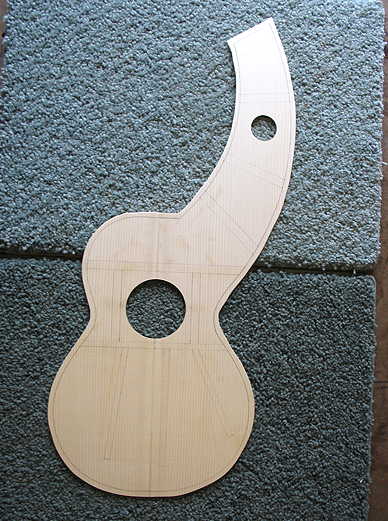
And I have used the bandsaw to cut about 1/4" outside the outline of the top:
|
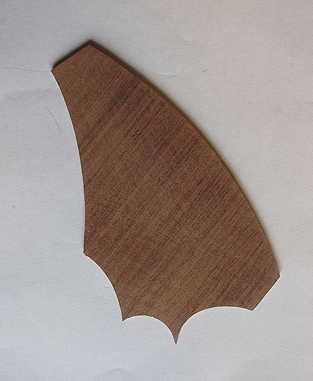
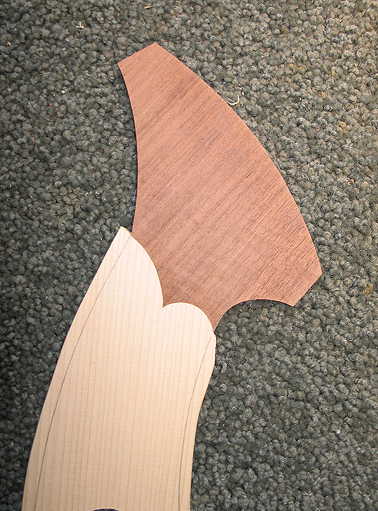
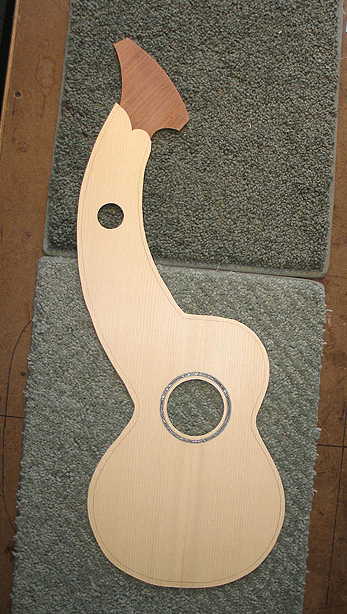
Here I have cut out the shape of the veneer overlay for the sub-bass headstock. I have used the same Mayan walnut I'll be using for the back and sides. I have thicknessed it to the same thickness as my spruce top. The next thing I have to do is to lay this over the spruce at its proper position and carefully scribe and cut the shape out in the spruce, so the two pieces will fit together in a simple butt joint.
|
||||
It took a lot of adjusting and careful sanding to get it to fit perfectly, but I think I got it pretty close. Here it is glued-up:
|
A couple of other shots of the headstock overlay:
|
|
||||
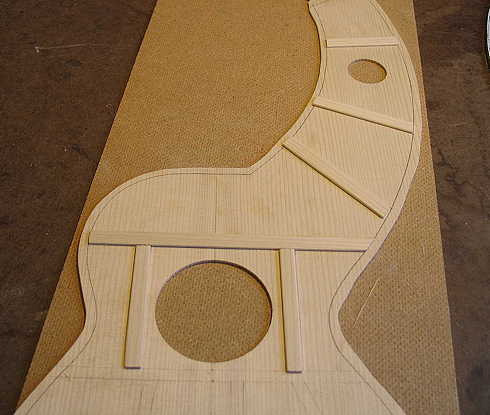
Here I have laid out the braces that will be glued flat. They are just made out of the scraps from the spruce I used for the top. They are all 2mm thick.
|
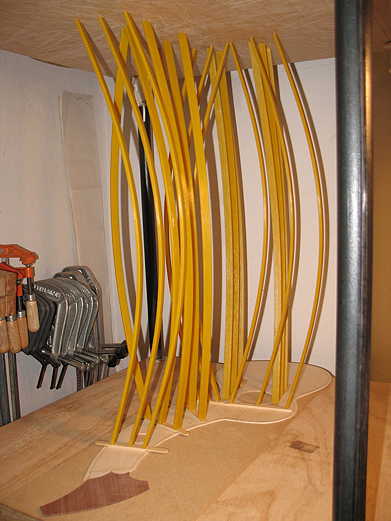
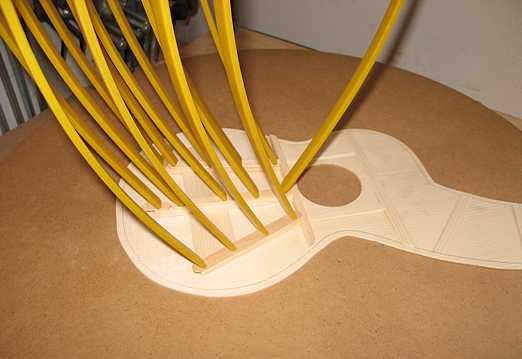
Here I am gluing those flat braces in the go-bar deck. I'm using popsicle sticks as cauls on top of the braces.
|
These braces will be radiused to a 25' radius. I will glue these on tomorrow.
|
||||
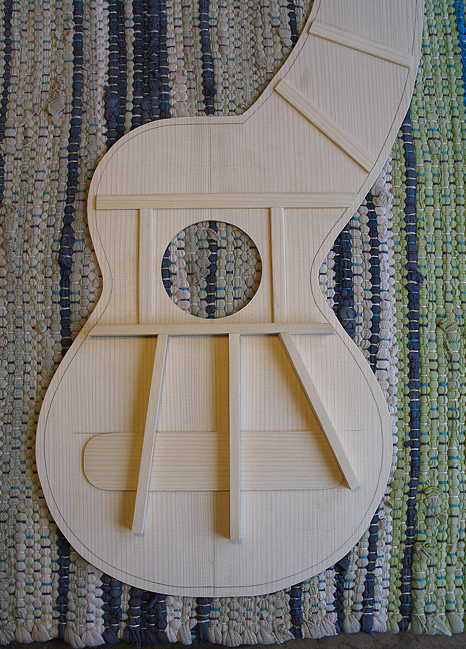
Saturday, June 4th, 2011: Here I have sanded the 25' radius on the bottom of the top horizontal tonebar brace and the bridge plate, and then have glued them on the radius dish in my go-bar deck. |
Here it is, after I have removed the go-bar sticks:
|
|
Next I had to cut out notches so two of the vertical tonebar braces will fit over the bridge plate. The third tonebar brace didn't need a notch, as it just butts up against the right side of the bridge plate.
|
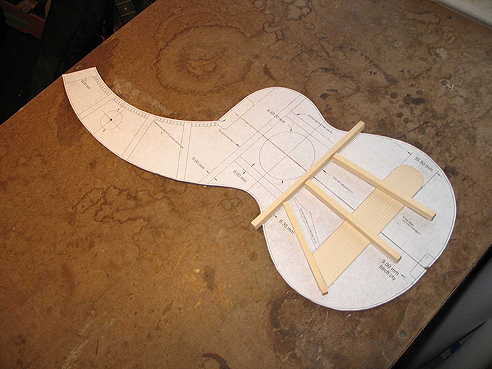
Here is the top, all braces glued. I think I'll wait until tomorrow to carve the four tonebar braces.
|
||
Go to Next Page |