The Soundbox & Neck are Complete!!!!
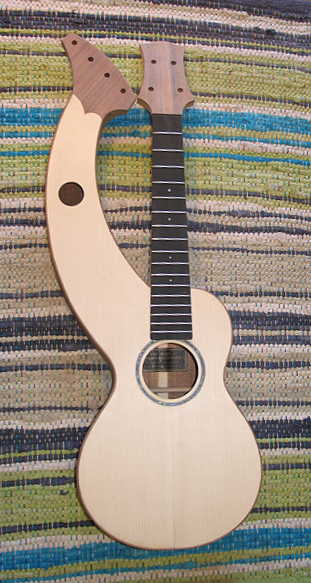
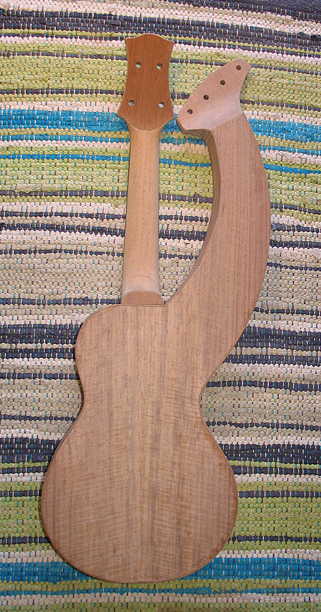
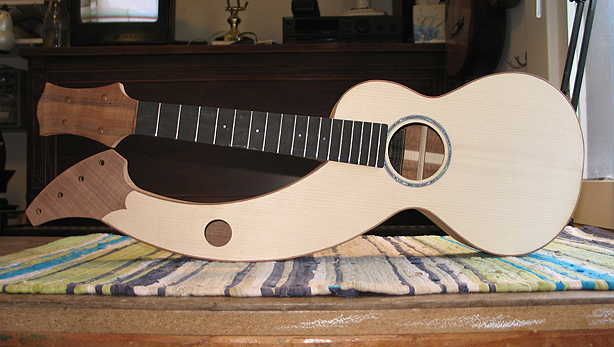
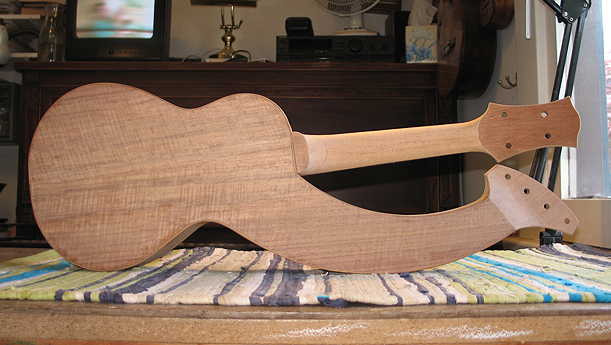
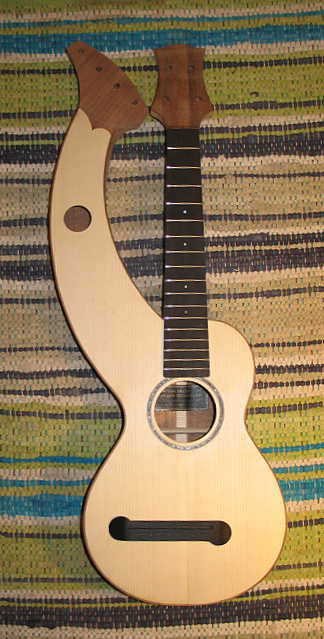
Still Wednesday, about 2:30 p.m. : Well, I sanded the heel cap, bolted the finished neck onto the body, and here it is!!! All that's left now is to make the bridge, and do the final sanding, finishing, and final set-up!!! The end is in sight!!!
|
|
|
|
|
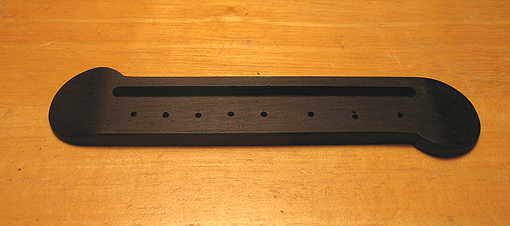
Still Wednesday . . . 9:00 p.m. : WHAT AN ADVENTURE — I just now finished making the bridge!!! Had a couple of hiccups along the way. After thicknessing the ebony bridge to 6mm, I then proceeded to use my Stew-Mac saddle slotting jig and my Dremel to rout the 1/8" saddle slot. Two problems arose: (1) the double-stick tape I had used to anchor the bridge blank down didn't stick too well, and the bridge blank moved out of position as I started routing, and (2) apparently the Dremel didn't run the router bit too smoothly (I think it has something to do with slop in the bearings — at least, I've seen messages on some forums about that), and the slot didn't come out smoothly. For the first problem, I solved it by drilling a couple of pilot holes for hammering in some brads at two opposite corners, to hold down the bridge blank so it wouldn't move (I had tried screws first, but they split the ebony). For the second problem, I switched to a Black & Decker RTX rotary tool I had bought a long time ago; it had no problems routing a smooth slot. (I do vaguely recall someone on one of the forums saying he used this Black & Decker instead of the Dremel). Once I finally had a decent saddle slot in the blank, I then drew out the bridge shape and the position of the string holes, took it to the bandsaw, and cut it out. I used the disc sander to sand up to the lines, and the belt sander to feather the ends down. As the disc sander couldn't get into all the curves, I then finished it up by hand with a few files and chisels, and sanded it all smooth.
|
Here it is, in all its glory. (I know, my string holes aren't perfectly in a straight line — I know now I should have clamped a little fence to the drill press — oh, well — next time I'll think of that!!!)
Hard to believe this little thing took me so many hours to do!!!!! |
Here's how it will look when it's glued onto the ukulele:
|
|
|