The Neck, Continued
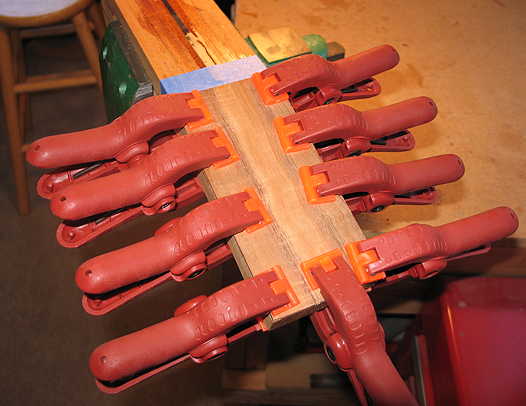
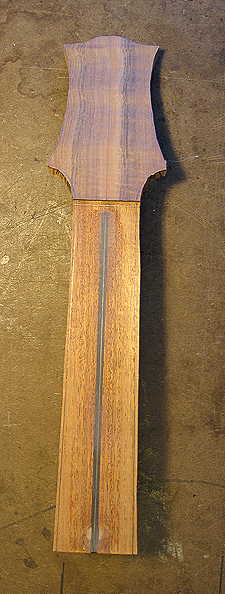
Still Saturday : I kept going back and forth, as to whether to use the koa peghead veneer (with some nice, vivid striping) or the Mayan walnut veneer (which would match the harpbox peghead veneer more closely). I finally decided to go with the koa, as it was just so pretty and I couldn't bear not to use it!!!! Here I'm gluing the veneer to the peghead.
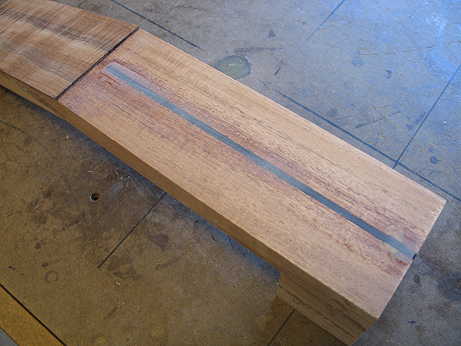
Sunday, June 26th, 2011: After church today, I scraped down the epoxy so it was flush with the neck surface.
|
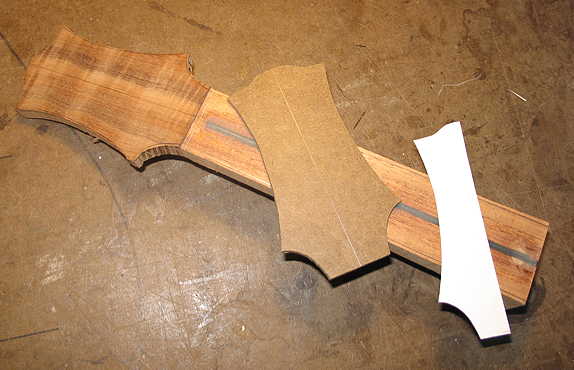
Sunday (continued): The next thing I did was to thin the peghead (sanding on the back side) until it was 1/2" thick. I did this using the belt sander. I then drew the neck profile on the side of the neck blank and cut it out with the bandsaw. (I forgot to take a photo of this.) I then drew the fingerboard outline on the neck surface, made a template out of hardboard of the peghead shape, and drew that outline on the peghead veneer. Finally, I cut out the peghead shape and fingerboard outline on the bandsaw, staying about 1/16" or so outside the lines.
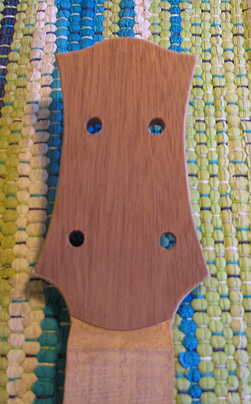
Tomorrow, I will use the sanding drum with a bearing to sand the peghead flush with the hardboard template. Then it will be time to carve the neck! Monday, June 27th, 2011: It's about 12:30 p.m. right now. This morning, so far, I have sanded the peghead flush with the template, added a thin veneer mahogany backstrap, and drilled the tuner holes.
NEXT UP:
|
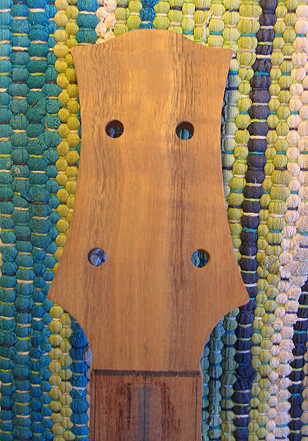
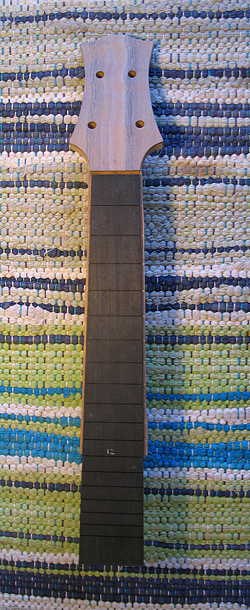
Just a little visualization of what the neck will look like with the fingerboard:
|
|