Friday, July 15th, 2011: Last night I leveled and dressed the frets and cleaned up the fingerboard. No pictures. (Sorry.) Anyway, here's the basic steps I took: (1) Mark the tops of the frets with a black Sharpie and level the frets with a flat mill file until all the black ink is gone. (2) Crown the frets with a diamond crowning file. (3) Round the fret ends with a triangular file. (4) Sand and polish the frets with all the grits of Micromesh. (5) Use a razor blade scraper to clean up any glue, finish, or masking tape residue from the fingerboard. (6) Use 600-grit wet/dry sandpaper and steel wool to sand and polish the fingerboard. (7) Apply lemon oil to the fingerboard and wipe off. This morning, the first thing I did was to sand the 25-foot radius of the top onto the bottom of the bridge. I mark the bottom of the bridge with white pencil and then sand the bridge on 150-grit sandpaper taped to the top.
You can tell the top has a slight arch by the fact that it is taking longer to sand the white off the ends of the bridge:
|
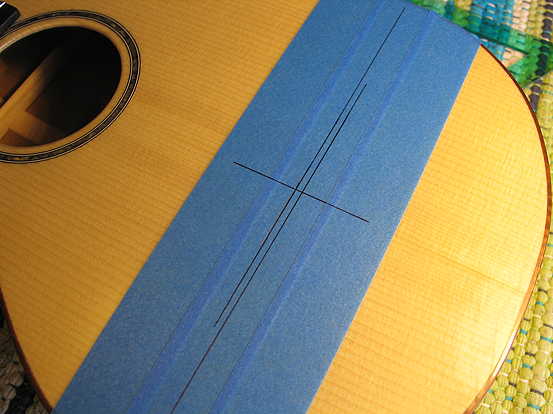
The next thing I did was to figure out the position of the bridge. First, I marked the 17" scale length (17" from the nut) — that's the first line on the left. Then, using the Stew-Mac fret calculator, I marked the compensation line, where the peak of the saddle is located. For this scale length, the compensation adds approximately .10" (or about 3/32") to the scale length — that's the second line to the right. Then I marked the centerline.
With those positions marked, it was easy to determine exactly where I should place the bridge:
|
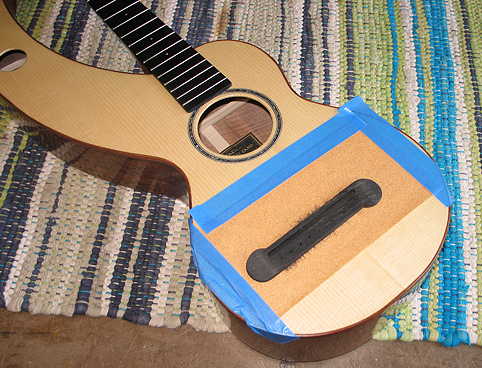
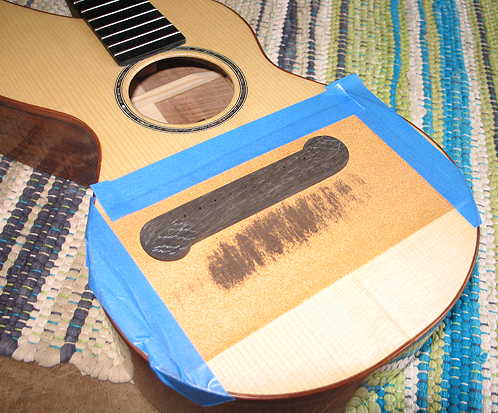
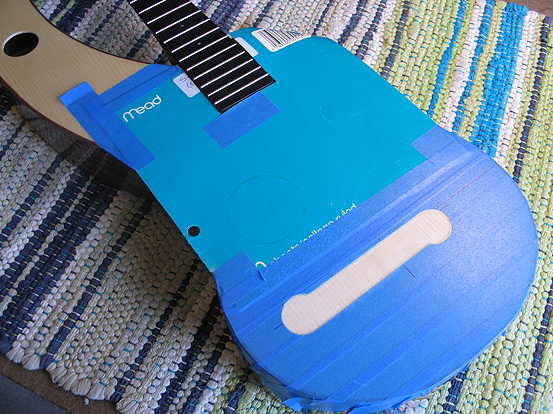
I then stuck some double-sided tape on the bridge, set it in its position, and scribed the bridge's outline through the masking tape. Using the same orange Safe-Stripper that I used yesterday for the fingerboard extension, I removed all the finish just inside the bridge's outline. It took me a couple of applications of the stripper to get it really clean of finish. After I had scraped away the finish, I wiped it lightly with a dampened paper towel, let that dry, and then lightly sanded the area. Here you see the finish removed:
|
|
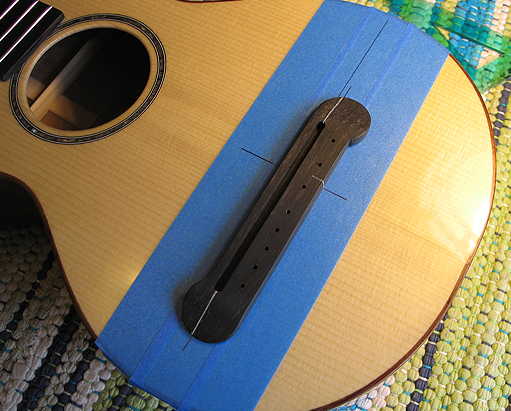
The next thing I did was to sand the white marks off the bridge and polish up the bridge on the buffer. I put double-sided tape on the bottom of the bridge, placed it in its position (masking tape still on the top), and drilled through two of the 1/16" bridge string holes, for positioning pins (1/16" brads). After that was done, I removed all the masking tape and cardboard masking from the top. I put glue on the bridge and the top, set the bridge on the top using the two positioning pins, and held it there for a few minutes until the glue set somewhat. As I held it there, I used a damp paper towel to remove glue squeeze-out.
|
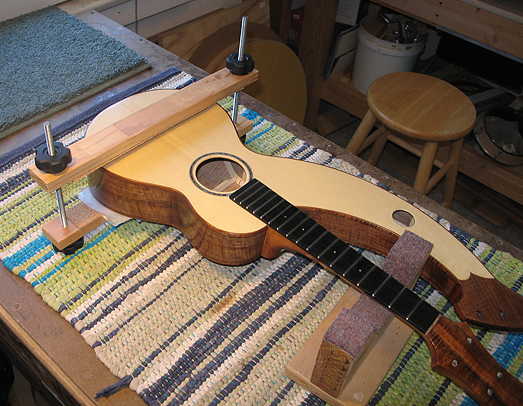
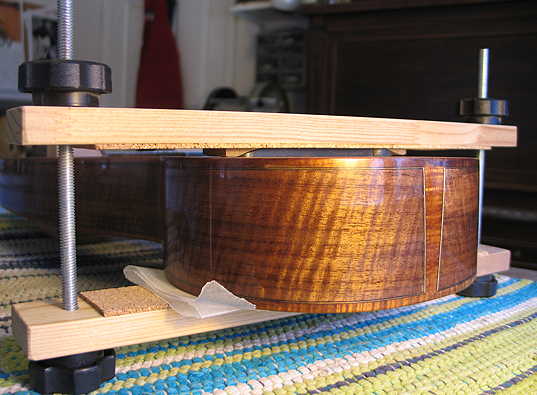
I then removed the pins. Using the same simple clamp that I used last summer for the baritone uke, I clamped the bridge. As you can see below, I have placed two little blocks to put pressure on the wings of the bridge. The waxed paper on the bottom is there so that the cork will not possibly imprint itself into the back with the pressure of the clamp.
|
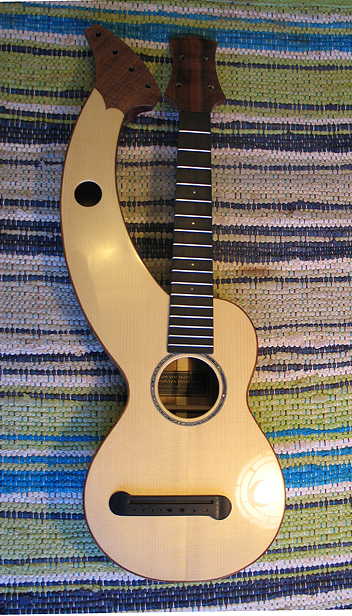
Well, it's around 2:30 p.m., and I have removed the clamp. Here's how it all looks now:
The only other things I can do today, while waiting for the bridge to fully set, is to fit the nut and saddle to their slots and install the tuners. Tomorrow, I can string this thing up, file the nut slots, and make the adjustments to the nut and saddle for the final set-up!!!
|
||
Go to Previous Page |
Go to Next Page |