Friday, June 30th, 2006: I haven't done too much in the last couple of days, because I was kind of preoccupied with other things. My old shed is in the process of being re-roofed (finally, a leak-proof roof — more important now because I have a few important power tools in there, such as my Performax sander, my binding jig, and my sidebender). And, yesterday and today, my iMac G5 gave up the ghost — luckily, I was able to take it in to a nearby Apple Store, where they will replace the power supply and midplane (motherboard) for free, as this was a known problem with early models. I was EXTREMELY lucky, as well, because the computer gave off the telltale burning rubber smell yesterday, shut down spontaneously a few times but still worked, so I was able to back up all my important files onto DVD's. First thing this morning, the computer totally died; I couldn't even get it to start up. I immediately made an appointment online for today, took it over to the nearby Apple Store at noon, and it will be fixed in about a week!!! It will be like getting a new computer, as they have since fixed that problem by going with new parts suppliers. ANYWAY. . . . .
|
|
|||
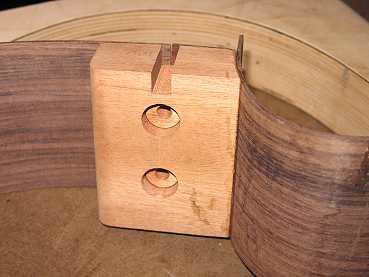
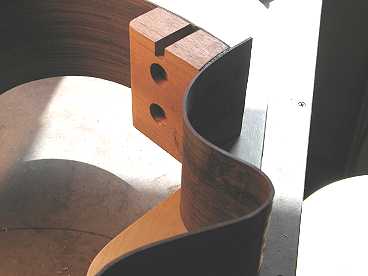
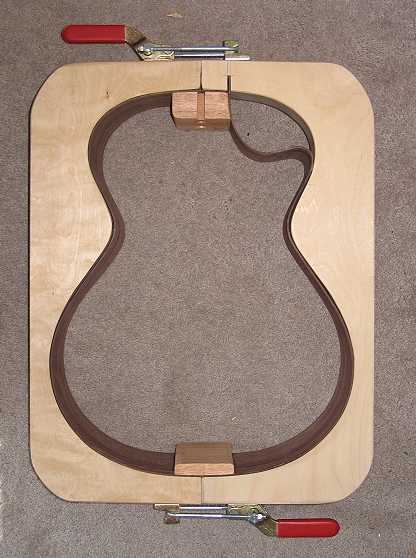
Here it is, the blocks both glued, in the mold!!!! Doesn't it have a graceful shape?????
|
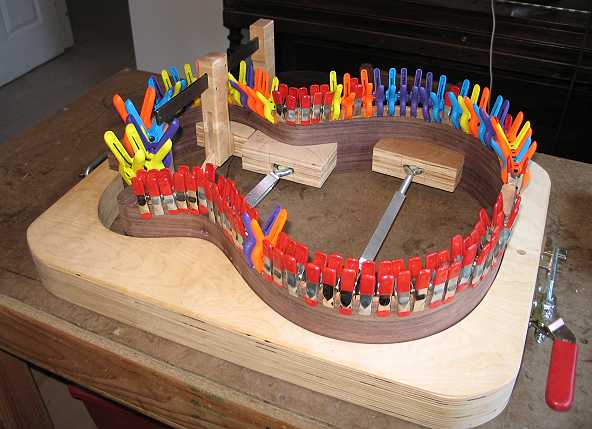
And now for a pretty mix of color......gluing on the kerfing. I really like those little plastic clamps; they're cheap yet strong enough. I got them from Orchard Supply in the bargain bin!!! Once all the kerfing is on, the side set will be really, really strong.
|