Bending
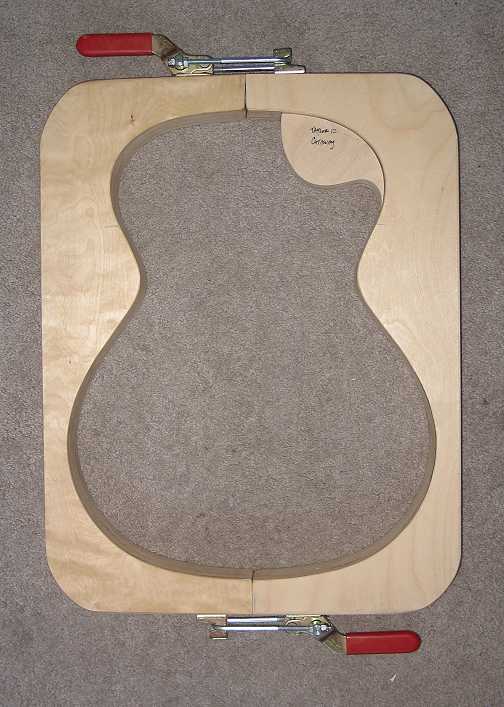
Friday, June 23rd, 2006: It has been really, really hot here the past few days — in the upper 90's. Thus, I have not done a whole lot on the guitar — I don't do well in hot weather (I get a bit lethargic). But I have done a bit. A couple of days ago I made a little insert for my mold, to accommodate the cutaway portion of the guitar.
|
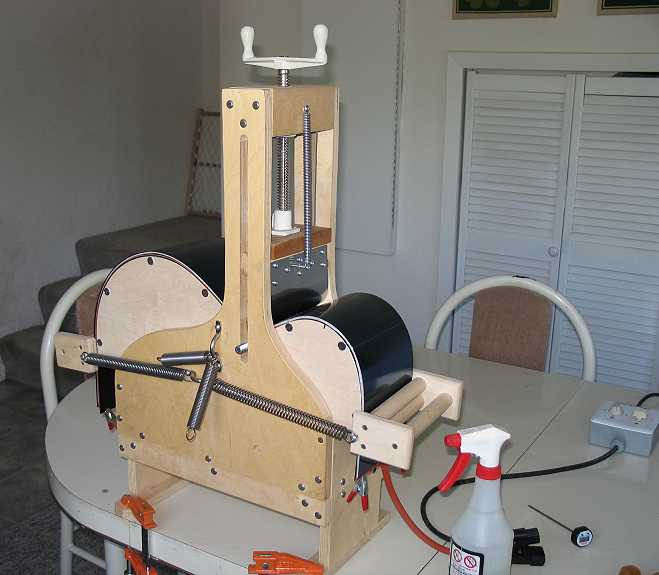
Here I have bent the non-cutaway side of the guitar in the universal side bender which I purchased from John Hall of Bluescreek Guitars. After thickness-sanding the sides to around .090" with my Performax 10-20 sander, I drew and cut the taper on the side. I then marked the waist. I wet the side, wrapped it in parchment paper and made the "sandwich" of a spring steel slat / the heating blanket / the side / a second spring steel slat. I then put the "sandwich" into the bender, lining up my waist mark with the vertical center slot of the bender. I turned on the heating blanket and waited until the temperature reached around 220° F (I had inserted a digital thermometer in between the blanket and the slat so I could monitor the temperature). At that point, I began slowly cranking down on the waist caul, until the waist was almost snug. Then I attached the lower bout caul to the springs and slowly pulled on the caul until the lower bout was fully bent. Ditto for the upper bout. When both bouts were bent, I then snugged down the waist fully. I turned off the heating blanket, and waited for it all to cool down before I removed the side from the bender.
|
|
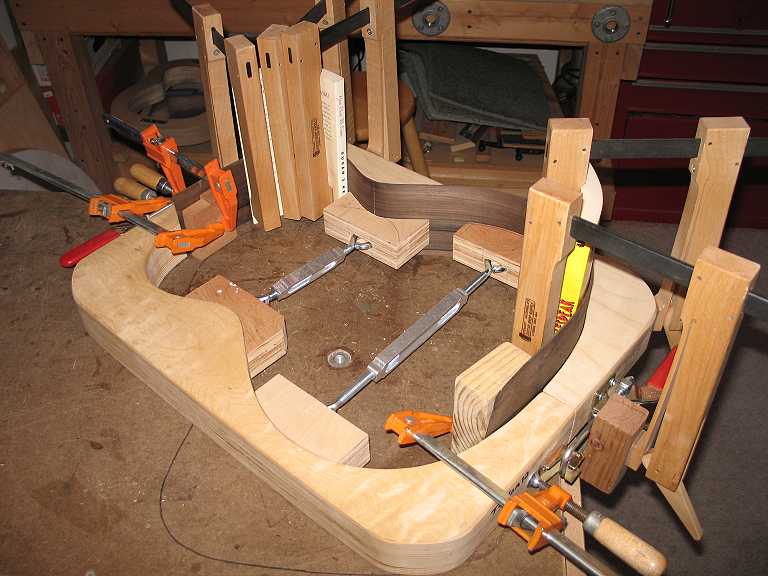
Before I bent the sides, I had made a few spreaders for the waist and lower bout. I have yet to make the cauls for the upper bout. Below is my non-cutaway side clamped into the mold after taking it out of the bender. I have a little bit of work to do by hand with my bending pipe, as the lower and upper bout bent a little too much inward.
|
|
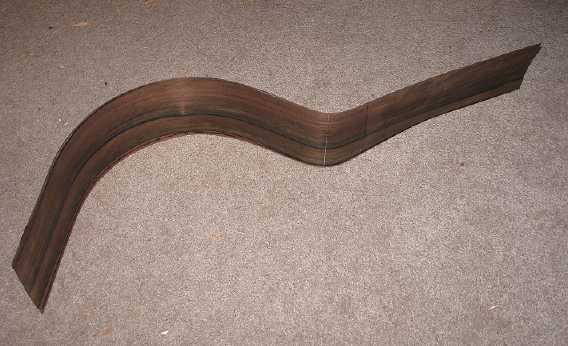
Here is the cutaway side after I bent the waist and lower bout in the bender. Tomorrow I plan to use the electric bender to bend the cutaway portion of this side. While I'm at it, I will also touch up various sections of the two sides by hand.
|