INDEX:

Return to HOME PAGE

  1. Bending
  2. And More Bending!
  3. Neck Block & Kerfing
  4. Top, Back, & Kerfed Side Set
  5. Side Reinforcements & Rosette Channel
  6. Braces
  7. Even More Braces!
  8. The Soundbox
  9. Binding & Neck
  10. The Neck, Continued
  11. Finish Carving the Neck
  12. Peghead Inlay
  13. Finishing!!!
  14. Rubbing Out the Finish & Gluing the Neck and Bridge
  15. Leveling Frets, Nut & Saddle Work, and Stringing Her Up!!!
  16. The Final Product!!!

(last updated 8/19/06)


Monday, July 24th through Thursday, July 27th:

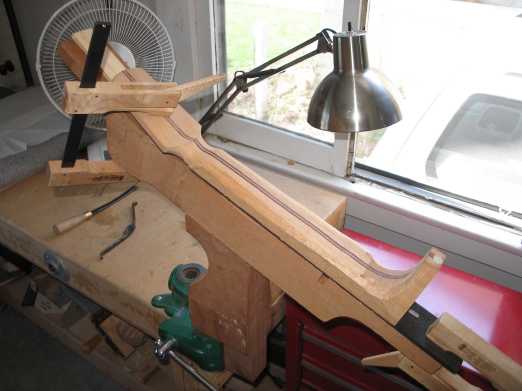
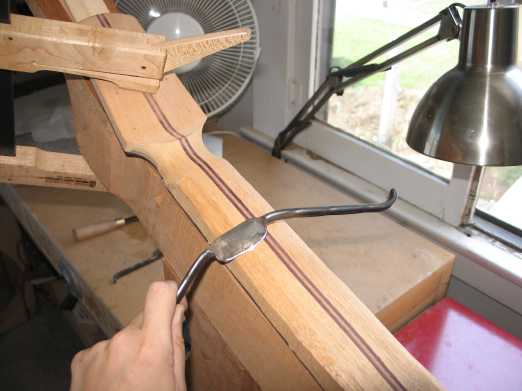
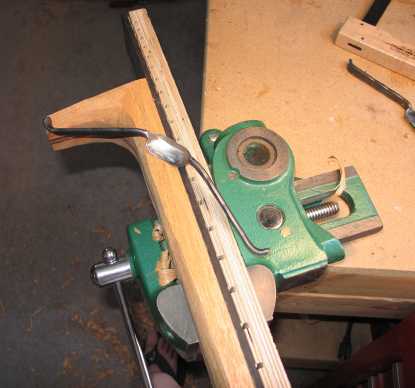
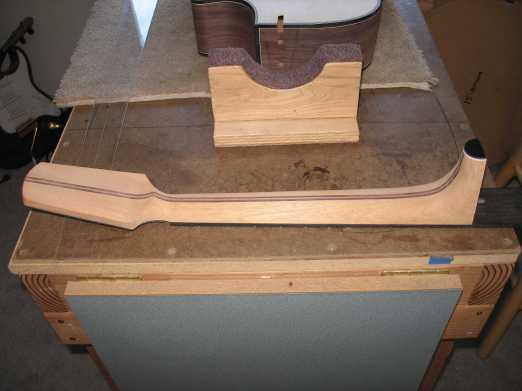
I spent two days (Monday and Tuesday) carving the neck. Below I am using my belt sander to shape the peghead volute. I first drew the curve on the peghead. Then, by carefully rolling the neck shaft from side to side, I sanded the curve up to the drawn line until I had approximately the depth I wanted at the nut.


Here is the neck clamped to the neck-holding fixture, ready for the carving.


This is the tool I start with — a curved mini-drawknife from North Bay Forge. Later I use my Micro-rasps (a double-handled one and a round one), a half-round mill file, a scraper, and sandpaper.


I also use the drawknife to trim the sides of the neck flush to the fingerboard edges.


Here is the finished carved neck.


NEXT:

The Peghead Inlay!!!!

Previous Page

Next Page