INDEX:

Return to HOME PAGE

  1. Bending
  2. And More Bending!
  3. Neck Block & Kerfing
  4. Top, Back, & Kerfed Side Set
  5. Side Reinforcements & Rosette Channel
  6. Braces
  7. Even More Braces!
  8. The Soundbox
  9. Binding & Neck
  10. The Neck, Continued
  11. Finish Carving the Neck
  12. Peghead Inlay
  13. Finishing!!!
  14. Rubbing Out the Finish & Gluing the Neck and Bridge
  15. Leveling Frets, Nut & Saddle Work, and Stringing Her Up!!!
  16. The Final Product!!!

(last updated 8/19/06)


Monday, July 10th:

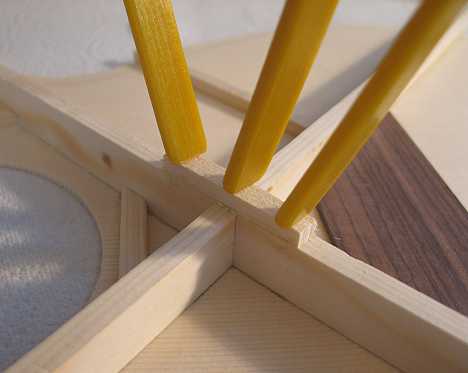
In the past few days, I've done quite a bit. Below, I am gluing on a small piece of spruce to cover the x-brace intersection. This will later be carved to blend in with the rest of the brace.


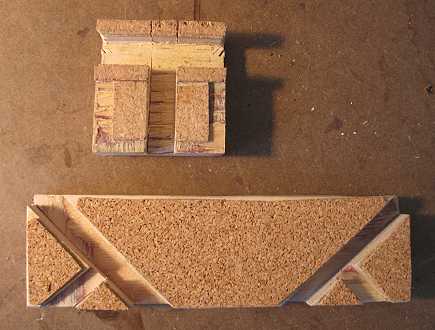
Here are a couple of cauls that will be used later, underneath the top, when I glue the fingerboard extension and the bridge. The one on top, I had from a previous guitar, and it happened to fit this one, so I didn't have to make one. The bottom bridge caul, however, I did have to make from scratch.


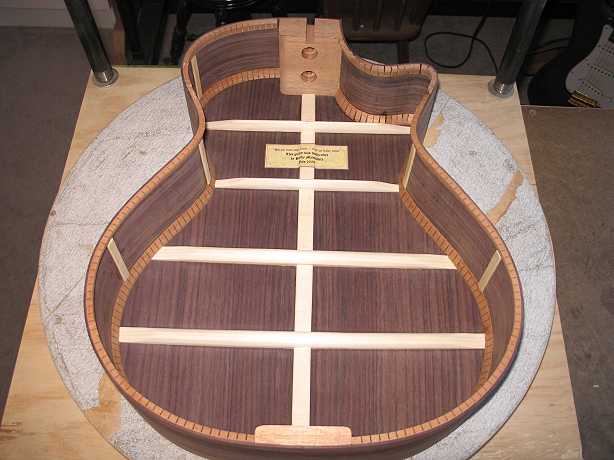
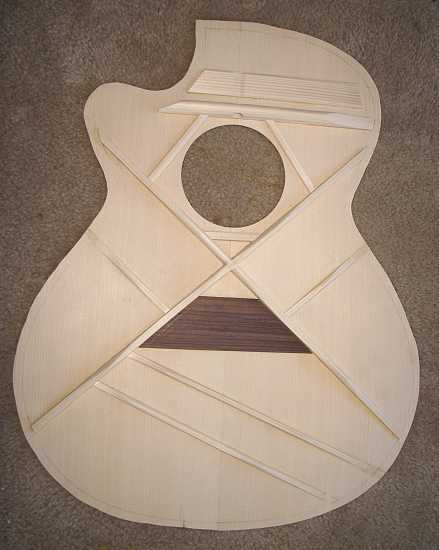
Here's the top after I have carved and scalloped the braces:


Another view of the carved top braces:


After sanding the kerfing down with my radius dishes, I fit the back to the sides. I used my Dremel to rout out notches in the kerfing for the brace ends. Then it was time to glue the back to the sides:


After I took the back out of the mold, I used my bandsaw and belt sander to trim the back overhang flush with the sides. I made my label.


I cleaned up the back, and did the same procedure for fitting the top to the sides. Here I am gluing the top to the sides.

Previous Page

Next Page