Wednesday, July 12th through Tuesday, July 18th:
It's been really, really hot lately, so I haven't been doing a whole lot. But here's what I have done in the last week.
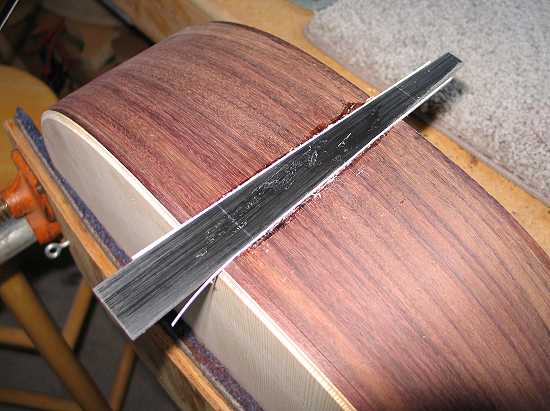
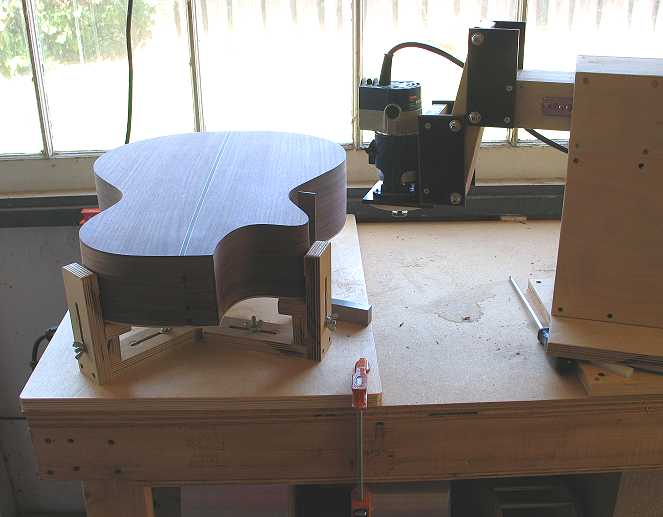
Now that the soundbox was done, it was time to bind the box. Here I am positioning the box in the binding cradle. I'm using a square to make sure that the sides are perpendicular to the table. This way, the router will cut the ledges parallel to the sides, regardless of the arch of the back or top.

|
|
The binding router is all set to go! I use LMI's router bearing bit set in the laminate trimmer. I bought the basic set, plus the auxilary set; with it, I can rout any size ledge from .060" to .230", in increments of .010".
|
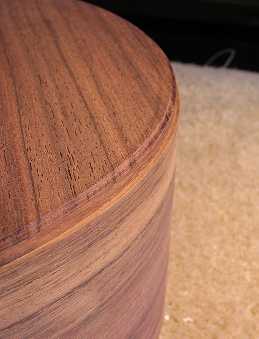
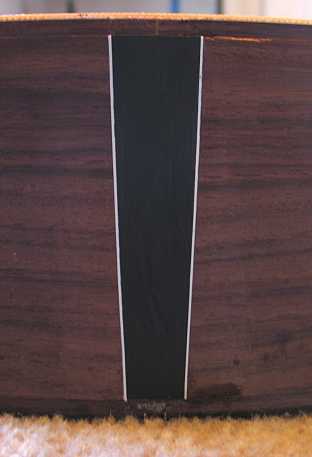
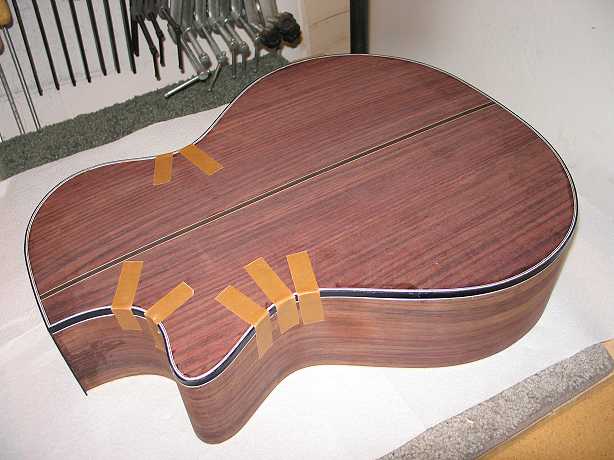
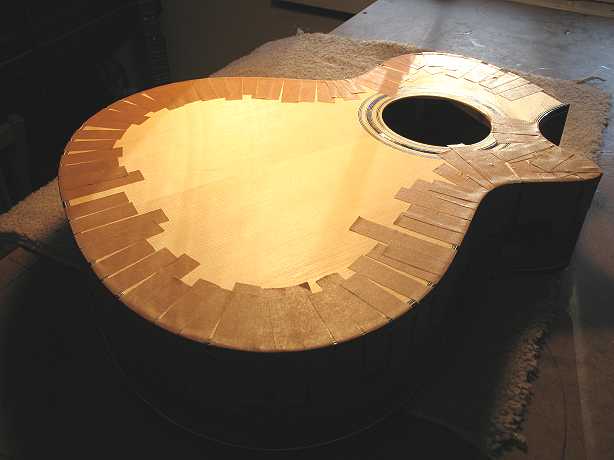
Here is the top, after its binding and purfling have been glued and taped.
BY THE WAY. . . . This is the first time I have used this brown masking tape from Stew-Mac. I REALLY, REALLY like it! It is thicker and stronger than the blue painter's masking tape I have been using, and it sticks better, too. You can really pull on this tape, and it won't tear (and that's what you want to be able to do when gluing the binding here). Another thing I used for the first time on this guitar is the "Weld-on #16" glue — it's similar to Duco model cement, but it seems to work better for me. I got mine at a local Tap Plastics store.
|
|
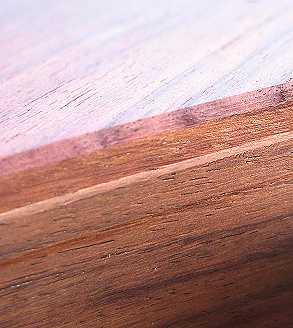
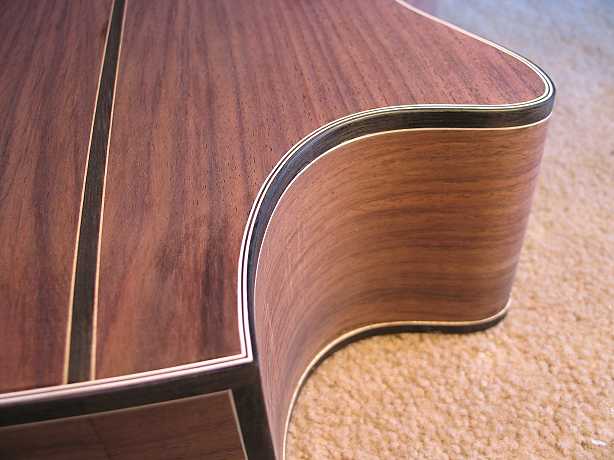
Here I have removed the tape from the glued back binding and purfling, and I have scraped the binding. I waited five days before scraping it, as I wanted to be sure to give the bindings plenty of time to dry and shrink and harden. I just glued the top bindings and purflings last night, so I'm going to wait until about Saturday to scrape those.
|