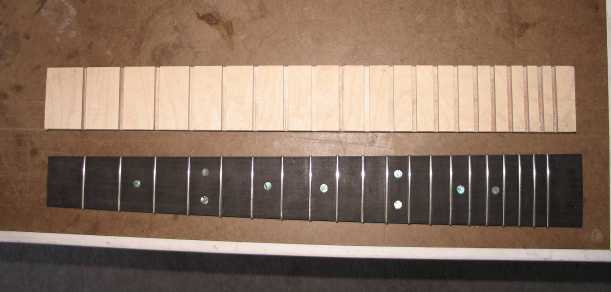
Here I have glued in the white plastic side dots.
|
|
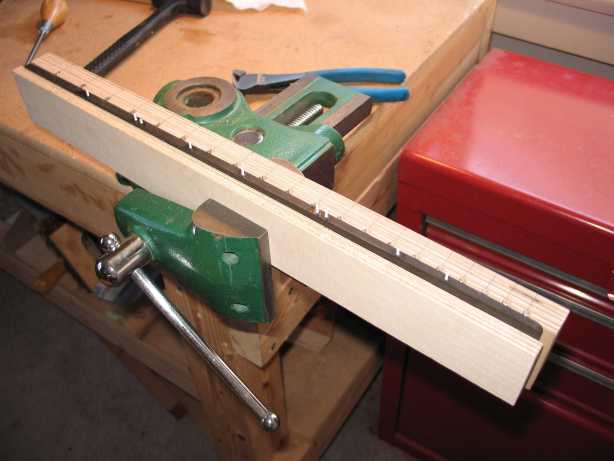
Oh, yeah.....forgot to mention the fingerboard caul that I made using my table saw. I had to make a new one, as this is the first time I have used a 24.9" scale in an instrument. (This one was SO easy to make; when I had made my previous 25.4" caul, way back before I had a table saw, I had to saw out each notch by hand and chisel out the notches!!!)
|
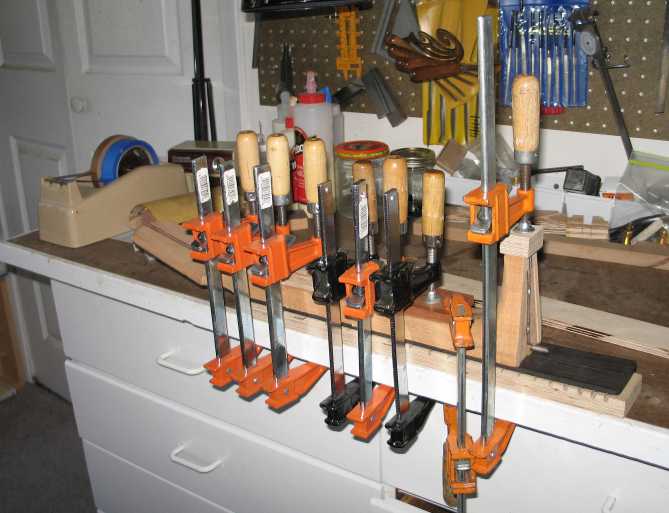
Here I am gluing the fingerboard to the neck, after having inserted the Hot Rod truss rod.
|
|
Sunday, July 23rd, 2006:
After I unclamped the neck, I bolted it to the soundbox and placed the bridge in its approximate position, to see how this guitar is going to look. I think it's looking pretty darn nice!!! I just love the dainty, graceful proportions of this style.
Tomorrow (Monday) I will carve the neck.

|
|