INDEX:

Return to HOME PAGE

  1. Bending
  2. And More Bending!
  3. Neck Block & Kerfing
  4. Top, Back, & Kerfed Side Set
  5. Side Reinforcements & Rosette Channel
  6. Braces
  7. Even More Braces!
  8. The Soundbox
  9. Binding & Neck
  10. The Neck, Continued
  11. Finish Carving the Neck
  12. Peghead Inlay
  13. Finishing!!!
  14. Rubbing Out the Finish & Gluing the Neck and Bridge
  15. Leveling Frets, Nut & Saddle Work, and Stringing Her Up!!!
  16. The Final Product!!!

(last updated 8/19/06)


Here I have thinned the peghead to 1/2", leaving a thicker section just before the nut end of the neck, for the volute. I then routed a channel for the peghead binding. To do that, I used a .060" bearing router bit in my router table.


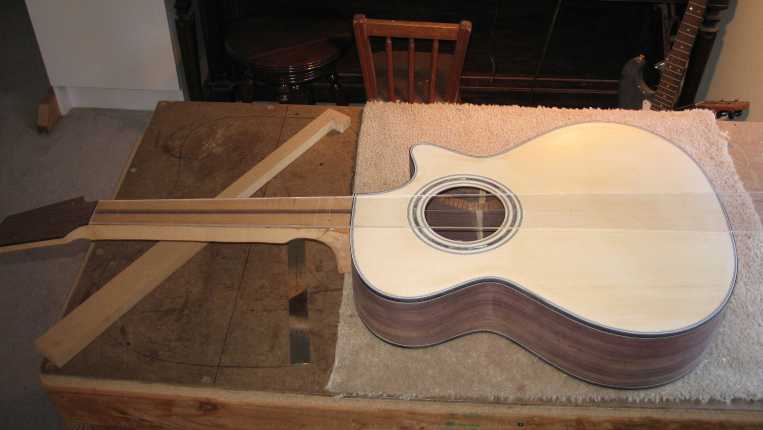
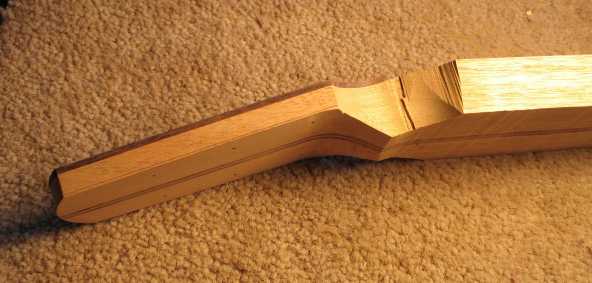
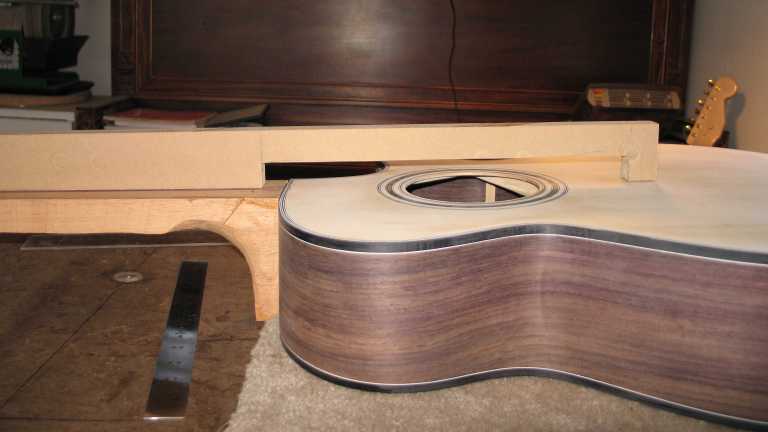
The next thing I worked on was setting the neck angle. Below, I am using my clear plexiglass rule to see whether my neck is in line with the centerline of the box. To the right, I am using a simple MDF stick to see whether my neck is at the proper angle. With the stick lying flat on the neck (no fingerboard yet), I want to see the end of the stick (at the saddle position) just slightly (1/64" to 1/16") above the top. I used my belt sander in the vertical position, and the belt sander table, to sand the end of the heel to the proper angle.


Once that was approximately right, I could then install the threaded inserts for my bolt-on neck joint. I have also routed out (with the Dremel and Stew-Mac Dremel base) all but the edges of the heel. This ensures a better fit of the heel to the somewhat rounded surface of the soundbox where it meets the heel.


Previous Page

Next Page