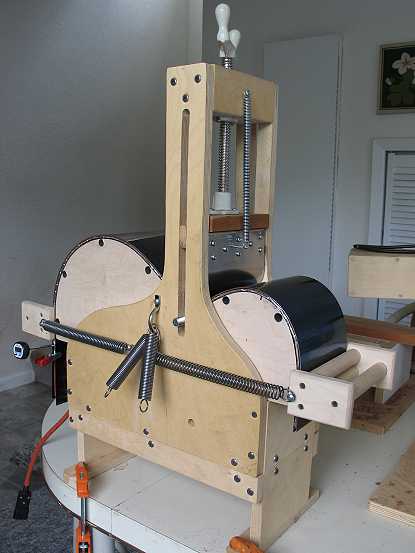
After the cutaway section was bent, I then bent the regular, non-cutaway rosewood side:
|
Tuesday, June 27th, 2006 Here is that side clamped into the mold, to further "set" the side's shape.
|
|
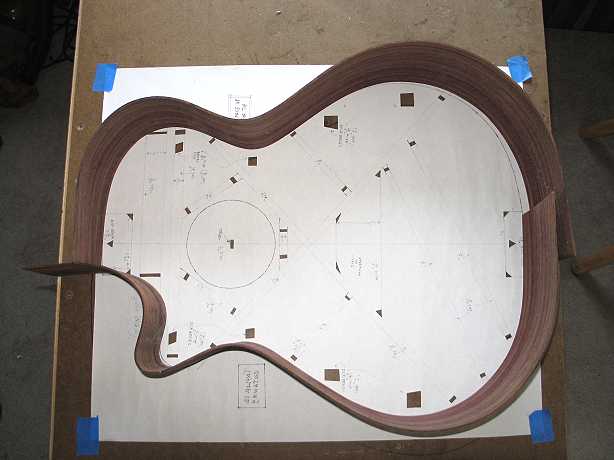
Here are the two bent sides, together. The cutway portion turned out well!!! I was SO relieved.
|
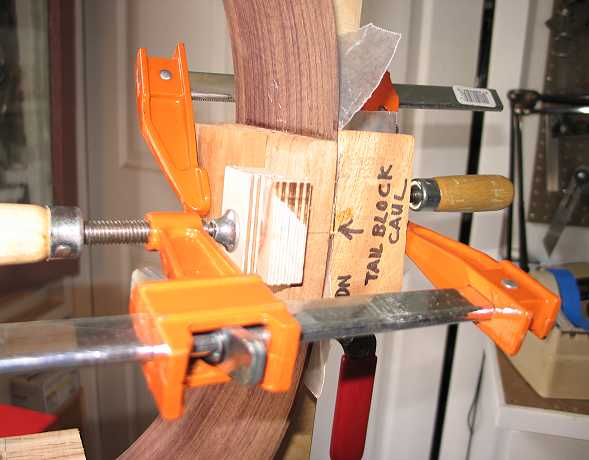
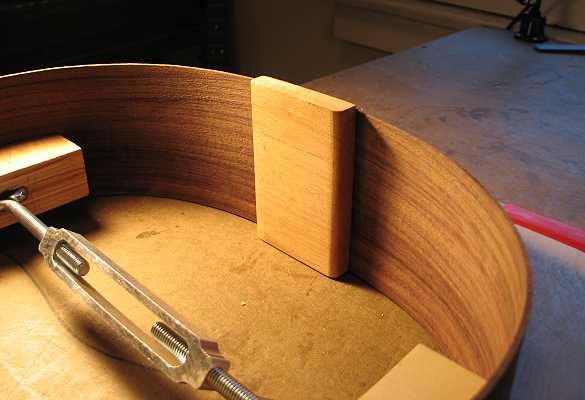
Next it was time to make and glue the tailblock. First I trimmed the ends of the sides. Then, using mahogany with the grain running parallel to the side grain, I made the tailblock. Before gluing it to the sides, I had to sand a slight curve the to tailblock, to fit the curve of the sides. I used an old caul with that same curve to clamp against the portion of the side protruding over the mold. Finally I was able to glue the tailblock to the side.
|
|
Here's the tailblock after it's been glued:
|
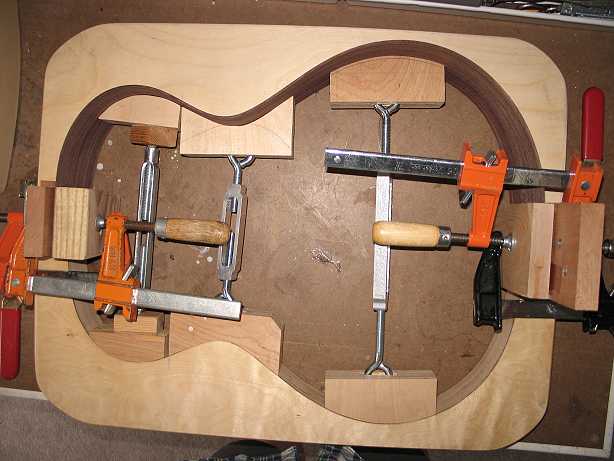
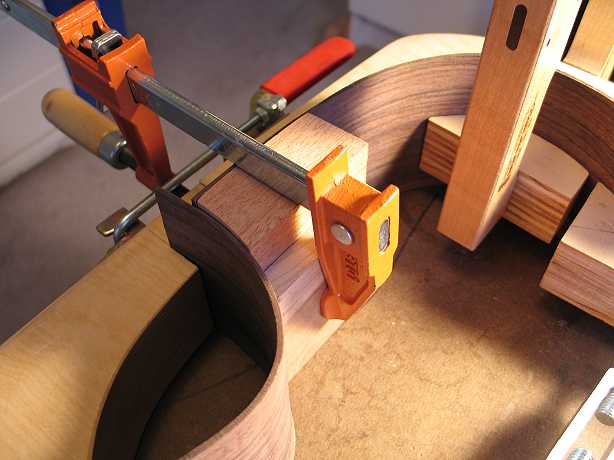
Next, it was time to make the neck block. First, I bandsawed the edge which will butt up against the cutaway portion of the side. Then I sanded a slight curve into the gluing surface of the block. Here I am checking the fit of the block. It's not glued yet; I need to drill the holes for the truss rod access and the two bolt holes first.
|