|
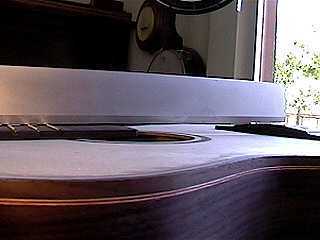
July 24, 1999 . . . . Here I am checking the set of the neck. I've placed the neck up against the body, placed the fingerboard atop the neck, and placed the bridge in its approximate position on the top. Placing a straightedge on top of the fretted fingerboard, I check the airspace between the ruler and the bridge. I am looking for a 1/16" airspace. I sand the flat heel surface to correct the neck angle until I have that 1/16" space.
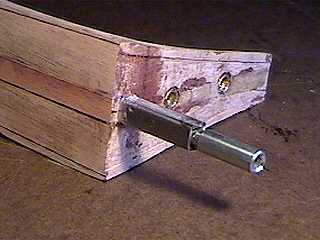
Below, a nice, tight fit! I have bolted the neck on to check the fit of the neck. |
In this photo, you can also see where, in sanding for the neck angle, I have managed to sand through to the 1/2" dowel I've inserted through the heel (so the inserts won't have to bite into end grain). I've used some epoxy to fill in some gaps here. |
|
 |
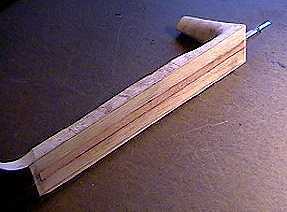
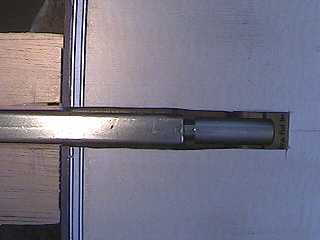
July 25, 1999 . . . . Here I've epoxied in the truss rod (a new Martin-style double-acting truss rod offered by LMI), with filler strips of mahogany epoxied over the truss rod. |
|
|
Another shot of the epoxied-in truss rod. |
I have routed out a channel in the top and neckblock for the truss rod. The adjusting nut is accessible through the soundhole. There is a hole drilled in the center of the fingerboard brace, through which an allen wrench can reach the adjusting nut. |
|
|
|
|
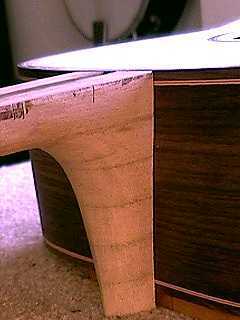
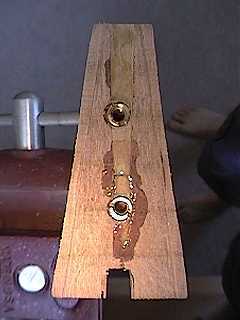 Once
I have the neck angle right, I can install the threaded inserts.
I figure out the location for the two holes by making a paper
tracing of the holes in the soundbox, reversing the tracing,
and marking the holes' locations on the heel. I drill holes for
the inserts and install them a little bit below the surface.
Then I use my Dremel to rout out a shallow cavity on the heel
between the two edges. The edges are what will actually contact
the soundbox. The routed-out area helps the heel fit even more
tightly to the body.
Once
I have the neck angle right, I can install the threaded inserts.
I figure out the location for the two holes by making a paper
tracing of the holes in the soundbox, reversing the tracing,
and marking the holes' locations on the heel. I drill holes for
the inserts and install them a little bit below the surface.
Then I use my Dremel to rout out a shallow cavity on the heel
between the two edges. The edges are what will actually contact
the soundbox. The routed-out area helps the heel fit even more
tightly to the body.