|
July 29, 1999 . . . . Yesterday I did the final sanding and grain-raising of the guitar soundbox and neck (raise the grain, sand with 120, raise the grain again, sand with 220, raise the grain one last time, sand with 220). Then I sealed them with a washcoat of the LMI FSM waterborne urethane I will be using to finish the guitar.
|
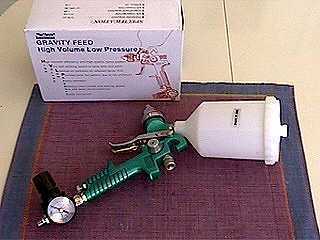
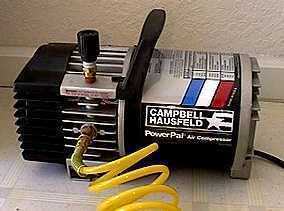
Then, while waiting for that to dry, I spent some time experimenting with a spray gun I had bought a few months ago. Up to this point I have used a foam brush to apply the waterborne urethane finish. That worked well, but I thought I'd like to try spraying the finish this time. This HVLP spray gun (to use with my little PowerPal air compressor) cost around $90; today I experimented with it, to see if it was feasible to use it for spraying the waterborne urethane. It took me a while to figure out what all the knobs did (I'm still not quite sure!), but it seemed to work well with the finish on some scrap pieces of wood. I think I'll use it! Here's a photo of the spray gun and my little compressor:
|
|||
|
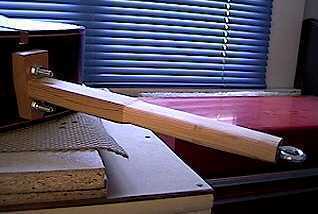
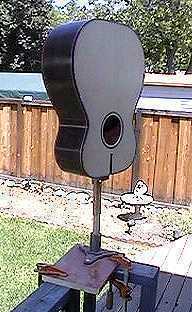
That figured out, I then set about making a stick to hold the soundbox and neck while I'm spraying the finish. Here's what I came up with. I can use the same stick to hold both the soundbox and neck. I just attach it through the bolt holes in the body and neck.
|
|
|||
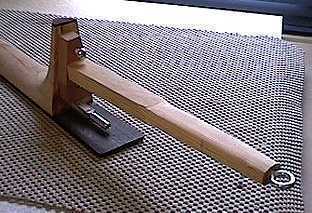
I can either hold the stick as I spray, or I can set the stick in the hole in my Versa-Vise base, as you see here. That way, both hands are free, and my arm doesn't get tired from holding up the guitar! |
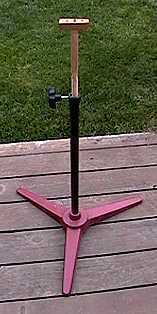
Well, I changed my mind. To the left is the way I decided instead to hold the guitar as I was spraying it. It's the base of one of those roller stands you use to support wood when using a table saw. I decided to use this because I could get around it more easily, and I could firmly fix the holding stick with the set-screw.
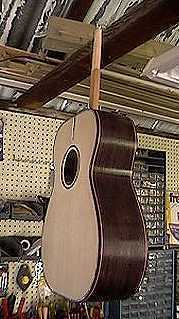
I can also use the stick to hang the guitar from a hook in my workshed, to let the finish dry.
|
|||
|
Today I also filled the pores of the rosewood back, sides, and peghead, and the mahogany neck. No pictures this time. Not much to see.... just some yucky, brown mess! I used paste wood filler, tinted with some burnt umber oil color. I applied and removed it with paper towels. Now I have to let it sit for about four days, to allow it to fully dry and cure. I could use a water-base filler, but I've found that much harder to apply and remove (it dries so quickly). The oil-base filler is easier for me to work with, so it's worth the wait time. (Besides, I have some school-related work which I've been putting off all summer....now would be a good time to get to that!) |
|