|
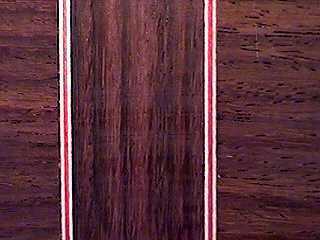
July 19, 1999 . . . . I cut a piece of rosewood left over from cutting out the back, and made an end wedge. Actually, it's not a wedge-shape --- it's a simple rectangle. The white/red/white wood purfling is used once again here.
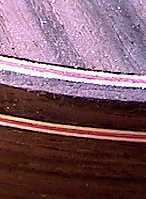
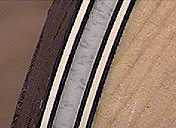
July 22, 1999 . . . . Here's a close-up of the back binding and purflings after they've been glued in and scraped. I used superglue to first glue in the back purflings on their ledge (when I've used Titebond, the purflings tended to swell too much). Then I glued in the binding (which already had the side purfling attached), using Titebond.
In between the two black/white/black strips is a 1/16" wide teflon strip. This will be pulled out to form the channel for the abalone strips. |
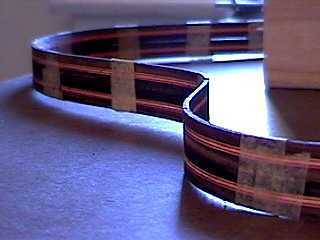 Today I also glued the white/red/white purfling to the bottom of my four rosewood binding pieces. Then I taped all four laminated pieces together, with the purfling sides edge-to-edge (to prevent the thinner laminated purflings from wrinkling up during bending). I used the side bender to bend the taped-up bindings......and it worked like a charm! I LOVE THE SIDE BENDER!!!! You can't imagine how much nicer it is to have your bindings fit perfectly for once!!! With hand-bending, I never was able to get an absolutely perfect fit....
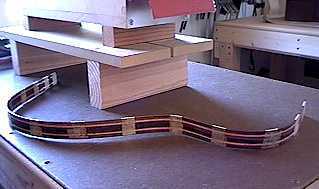
To the left is another view of the bent bindings, next to the side bender.  Here's where the end wedge and side purfling meet, at the tail end of the soundbox.
July 28, 1999 . . . . Here it is: the abalone top purfling has been glued in and sanded down level. |
 July 25, 1999 . . . . I have scraped
the top bindings and purflings. I have used plastic purflings
here, as I find it easier to work with when I use abalone purfling.
(Wood purflings swell with glue, so sometimes it's hard to fit
the abalone strips in there.)
July 25, 1999 . . . . I have scraped
the top bindings and purflings. I have used plastic purflings
here, as I find it easier to work with when I use abalone purfling.
(Wood purflings swell with glue, so sometimes it's hard to fit
the abalone strips in there.)