|
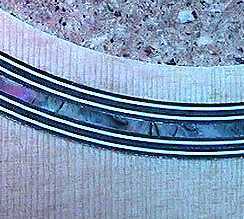
July 11, 1999 . . . To the right, I have glued in the black/white/black (each of the two rings actually made with two thin b/w/b sandwiched together) plastic purflings into the soundhole channel, with a strip of teflon between the two rings. I will pull out the teflon in order to inlay the abalone strips. |
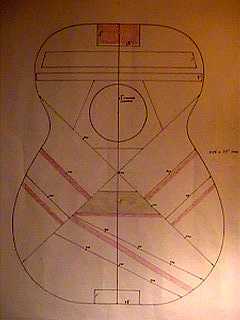
July 5, 1999 . . . . So far, all I have done with the top is join the two halves and draw out a bracing plan. At first I drew out the plan with two tone bars and two finger braces. But since then, with suggestions and ideas from the good people at MIMForum, Frank Ford, Mark Blanchard, and Coop, I've kind of decided to use one tone bar and maybe two finger braces. The red braces are my revisions. I'm still waiting on an order of abalone strips, so I can't do any more on the top yet. The next steps will be the soundhole rings (with abalone) and then the bracing. July 11, 1999 . . . . 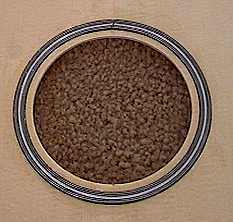 |
||
|
July 14, 1999 . . . . I waited a few days before I scraped down the rosette, after I had glued in the abalone strips with Duco cement, to make sure the glue had cured long enough. |
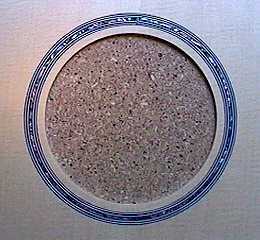
Here's a close-up of the abalone rosette. The colors are actually much richer than this photo shows. |
||
|
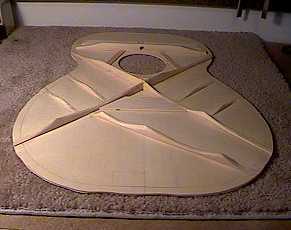
July 15, 1999 . . . . I glued the top braces in yesterday, using my go-bar deck. Today I carved the braces. The portions of the braces on the bass side have been carved a bit more than the treble side, hopefully to give more of a bass response. I have also drilled a hole in the upper face brace and carved an area in the flat upper graft, to allow for easier access to the truss rod adjusting nut. |
|