|
|
August 9, 1999 . . . .
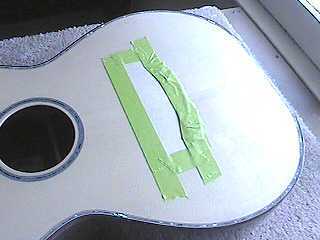
LOCATING THE BRIDGE:
1. To figure out the saddle location, I measured from
the nut to the middle of the 12th fret. I used that measurement
to measure from the middle of the 12th fret onto the top, then
added .15" for compensation. That final location is the
location of the middle of the saddle. Once that was figured out,
I put a piece of masking tape at the front of the bridge.
2. To make sure the bridge was parallel to the frets,
I then positioned the bridge until both front corners were the
same distance from the ends of the 14th fret. I placed masking
tape at the front corner edges.
3. Finally, to make sure the bridge was centered, I
positioned the bridge until the bridge pin holes were centered
between two rulers placed flat along both sides of the fingerboard.
I placed masking tape along the ends of the bridge.
Once that was all done (and everything double-checked), I
firmly held the bridge down with one hand and scribed around
the bridge with an Exacto knife. I then placed three layers of
masking tape along the scribed lines, before using the same paint
stripper method of removing the finish.
|
|
August 8, 1999 . . . .
Here I am gluing the fingerboard extension
only. I have first removed the finish from the top, underneath
the extension.
To do this, I first scribe with an Exacto knife
around the fingerboard extension, then use paint stripper to
remove the finish within the scribed area. Then, with a 1/2"
chisel, I carefully scrape away the melted finish, wipe the area
with some water to neutralize the stripper, then let it dry for
about half an hour.
Then I bolt on my neck (no glue at the neck joint!),
put Titebond glue on the fingerboard extension, and clamp it
down, using cauls for both above and below the surface.
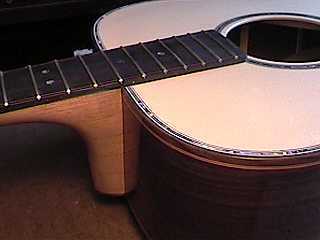
A nice, tight fit!
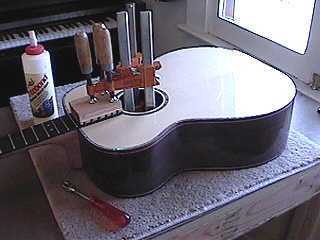
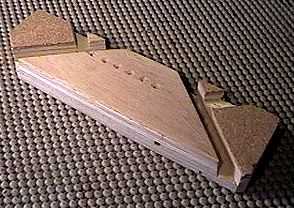
| Below, I am gluing the bridge.
I have a bridge caul
underneath the top at the bridge location, to protect the top
from the clamps, and curved cauls (with sandpaper on the bottom
to keep them from shifting) to protect the bridge. Actually,
the green masking tape you see in the photo to the left is left
on until after I have glued and clamped everything down. The
masking tape serves to hold the bridge in position until the
glue sets up a bit. When I am sure the bridge won't move, I remove
the tape, so that I can deal with the glue squeeze-out. I use
a small artist's brush and warm water to soften and remove any
glue squeeze-out. |
|