|
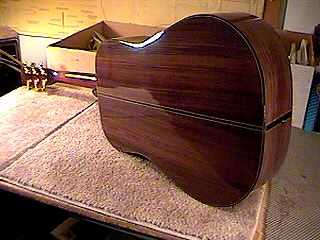
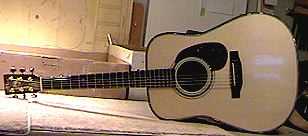
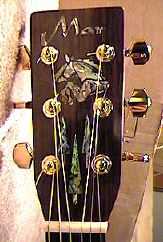
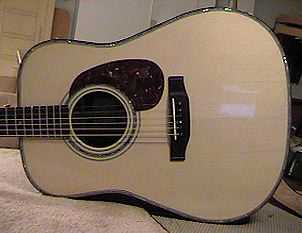
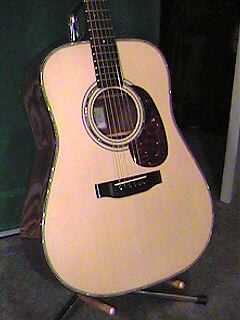
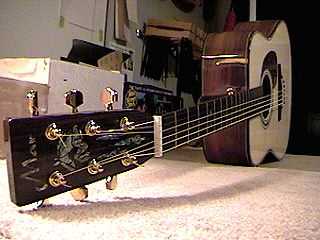
Well, I finally finished it! Last night (Thursday), after I had glued the bridge on, I worked on the rough-shaping of the nut and saddle. Today (Friday), I drilled the bridge pin holes, filed out slots in the front of the bridge pin holes, attached the tuning machines, and strung 'er up. I decided to try Cumpiano's method of figuring out how tall to make the saddle (you measure the clearance between the fret and the string at the 12th fret, subtract from it your desired final clearance, then remove twice that result from the top of the saddle --- got it???). It worked like a charm. After I adjusted the saddle, I then worked on filing down the nut slots until I got the action I wanted. |
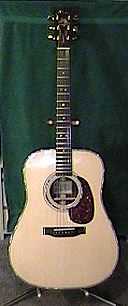
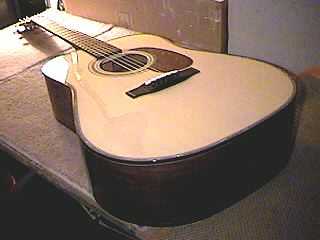
For some reason, this time, I seemed to do everything right. I had absolutely NO buzzes to fix and didn't even file any of the nut slots too deeply!!!! That's a first for me. It must have been my lucky day. Anyway, the guitar sounds GREAT!!!! A nice, big, full dreadnought sound with great sustain. Not bad for a summer's worth of work.... Now, all I have to do is get the guitar case and deliver this guitar to the customer..... Now it's time to get back to the weird classical....... .....And, of course, there's a little thing called "school" that starts up again in a couple of weeks..... |
||
 |
|
||
|
|
||
 |
 |