|
|
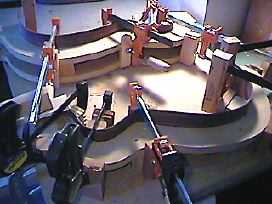
I seem to be getting better at bending sides, too! I was a bit nervous about bending the sides for my weird classical, as it has quite a sharp bend at the waist, and I'd never bent a cutaway section before. But it went without a hitch! I just took it slowly. Here the sides are clamped to the mold, as they cool and set. I've separated the two halves of the mold here, because of the overhanging ends of the sides. |
|
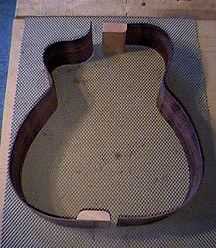
The sides are now out of the mold. The sides here are placed top side down. To the right I'm using four cam clamps to glue the neck block to the non-cutaway side. |
 |
|
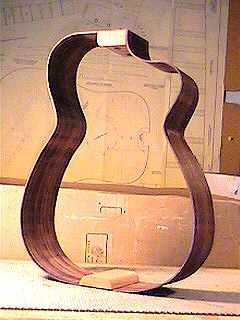
Finally, here are the sides with both the neck and end blocks partly glued. I haven't glued it all together yet, because I still need to drill the holes in the neck block for the bolts to pass through (told you this was a "weird classical"!!!). To tell the truth, I forgot that I had to drill the holes until after I had glued the block --- normally I drill the holes before attaching the block. |
Here it is --- the sideset all glued together. As you can see, I've drilled the holes for the bolts. |
|
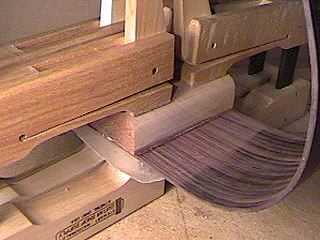
Here I'm gluing the final section of kerfing. I'm using basswood kerfing this time, instead of the cedar kerfing I normally use on the steel strings. I will also put on some side reinforcement strips. |
|