|
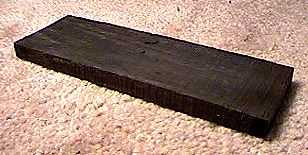
I started with this. . . |
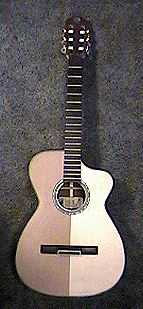
And ended up with this!!! |
|
|
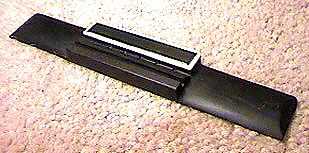
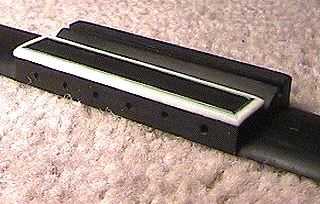
I did it all by hand, with a dovetail saw, an Exacto razor saw, files, some wood-carving chisels, and my little mini-chisels. I used some leftover bone saddles and the green veneer for the tie block top. |

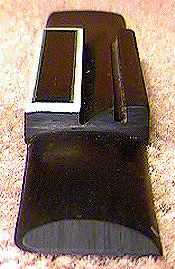 |
As you can see, the back corners of the bridge are rounded. That actually came about accidentally. I dropped the bridge and one of the corners chipped. So, rather than shorten the bridge on both sides, I chose to round the corners, on the back side only. I wanted to keep the front corners square, as that's what I will use to measure for the placement of the bridge later. So....here is yet another way my classical is kind of weird...a non-traditionally-shaped bridge! Again, I couldn't resist putting it all together to see what it will all look like when it's done. Now, all I have to do is the finishing and setup. School starts this Monday, so I'll fill the pores this weekend, put on the LMI finish next weekend, and rub it out and string it up the following weekend..... |
|