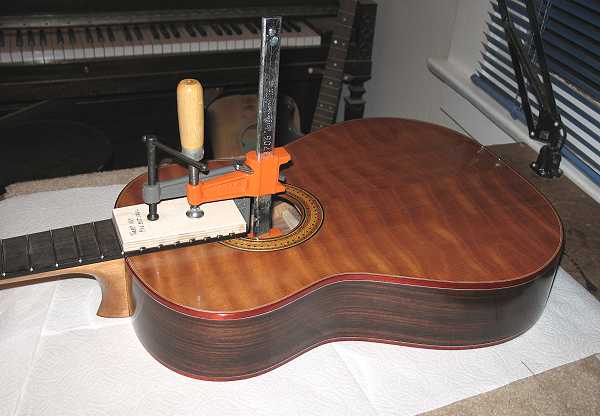
Today (Sunday) I prepared to glue on the neck. First, I had to make a couple of cauls for gluing on the fingerboard extension. Then I bolted the neck on and used my Exacto knife to carefully scribe around the fingerboard extension. I removed the neck and then used paint stripper to remove the finish within the scribed lines. After very carefully scraping off the bubbled finish with a 1/2" chisel, I wiped the area with a dampened paper towel, to neutralize any possible remaining stripper residue, and set it aside to dry. After about 15 minutes, I put glue on the fingerboard extension, bolted the neck on, and applied the cauls and clamps, as you see below.
|
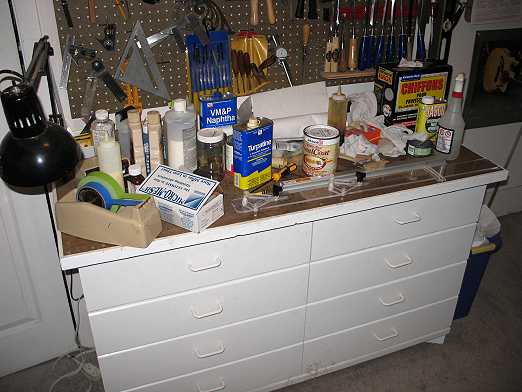
People often see my workroom pictures on this website and comment to me on how tidy everything is. Ha! This is what my workbench looks like at the moment. A bit of a mess, huh?
|
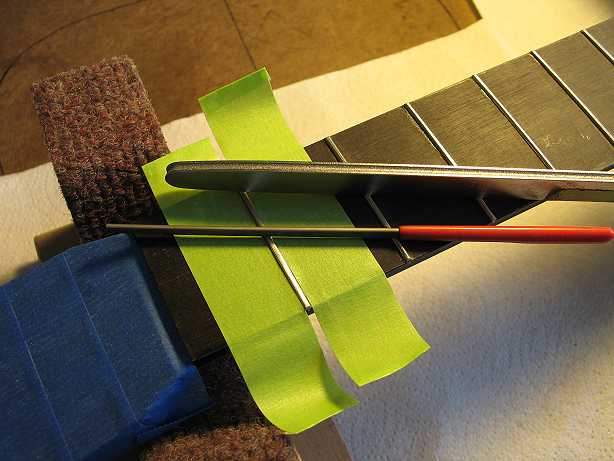
Saturday, October 6th, 2007: Today I spent about an hour or so leveling, crowning, and polishing up the frets, and cleaning up the fingerboard surface. Below are the two tools I use to crown the frets and round the fret ends. After I did all that, I used 400 wet/dry sandpaper, then 600, and finally the white 3M synthetic steel wool (equivalent to 0000 steel wool). Then I did a final sanding of the ebony fingerboard and put some lemon oil on it.
|
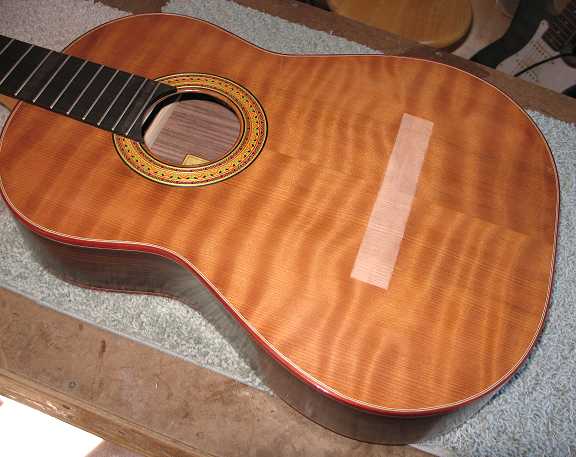
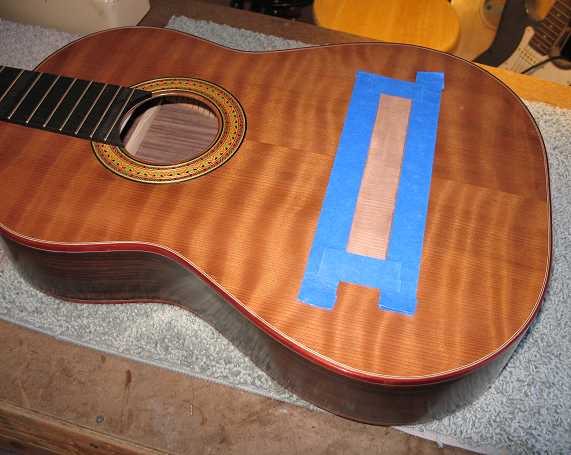
The next thing I did was to figure out exactly where to place the bridge. Most sources I found seemed to say that 2mm compensation is about right for a 650mm classical guitar, so that's what I did. I located the bridge so that the front of the saddle slot was at 652mm from the nut. Holding the bridge in place with a few layers of masking tape against its corners and edges, I scribed the bridge outline with an Exacto knife. Then I used some Zip-Strip paint stripper to remove the finish, scraped it carefully away with a 1/2" chisel, wiped the scraped surface with water (to neutralize any remaining stripper residue), and set it aside to dry. While it was drying, I made a few cauls for the top of the bridge.
|
|
Here I have built up about four layers of masking tape around the bridge-gluing area.
|
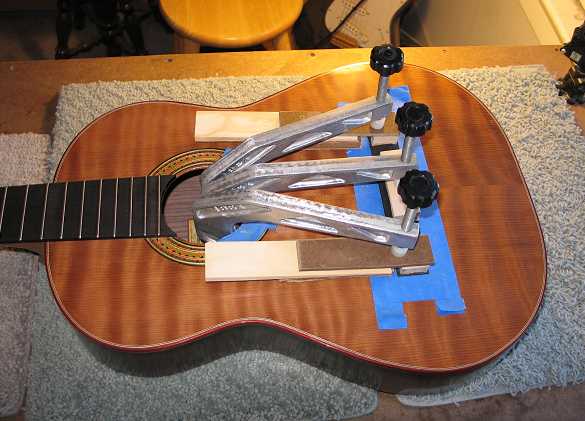
Here is the bridge all clamped up. My middle bridge clamp just reached the center section of the bridge. I had to clamp the two outer sections a bit differently, as the clamps didn't quite reach the center of the bridge at those two ends.
|
|
Previous Page |