Tuesday, July 17th, 2007:
Yesterday, after about an hour or so, I removed the clamps from the top and back plates, and let them sit overnight.
Now it is time to do some preliminary thicknessing of the top and back plates (final thicknessing will, of course, come later, after the rosette has been inlaid into the top and the backstrip has been inlaid into the back).
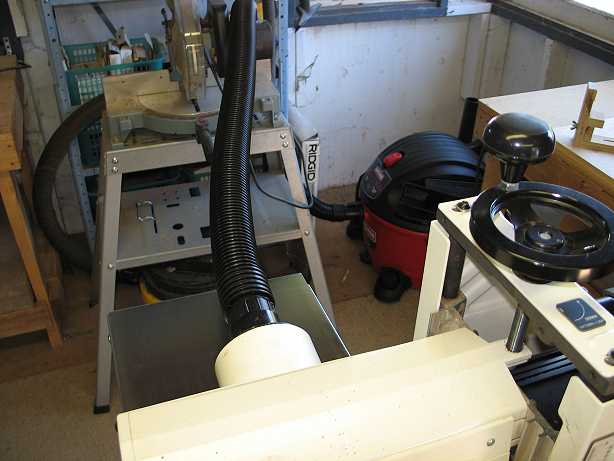
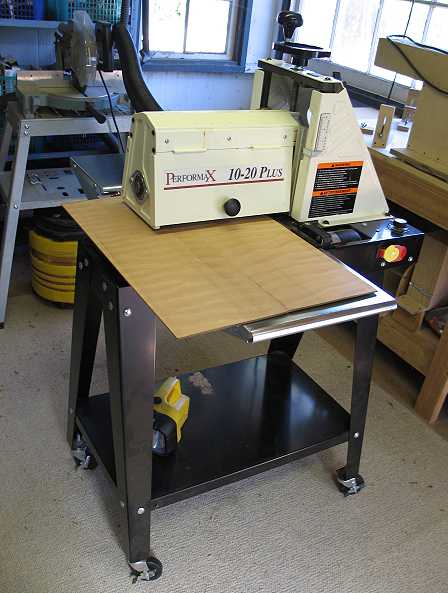
Here is how my Performax 10-20 thickness sander is hooked up to my Craftsman 12-gallon shop vac. I finally broke down and replaced my little bitty Genie shop vac with this one; the difference in power is amazing! (I really don't have the space or need for a regular dust collector, so I opted for this, instead — it was even on sale for $59!)