Jointing / Joining the Plates

Monday, July 16th, 2007:

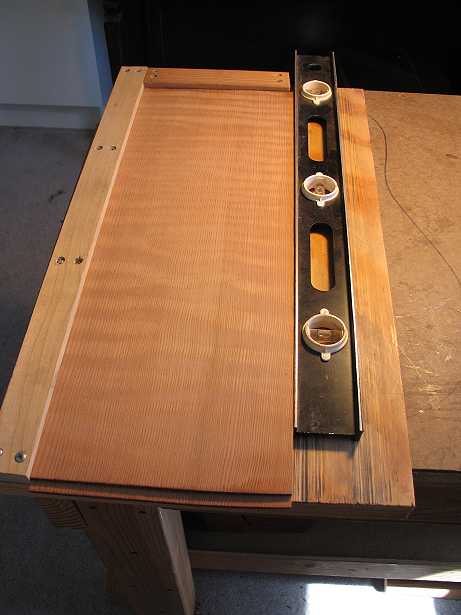
Here I am using a 24" level with sandpaper stuck on it to joint the two halves of my redwood top plate. The redwood top is resting on top of (and overhanging a tiny bit) a 1/4" piece of hardboard attached to the plywood board, so the sandpaper will only contact the two redwood halves, as I run the level along the edge. I find this one of the easiest ways to get the jointed edge straight, so no light shows through the seam when you hold the two halves together. I do the same for jointing the rosewood back halves.


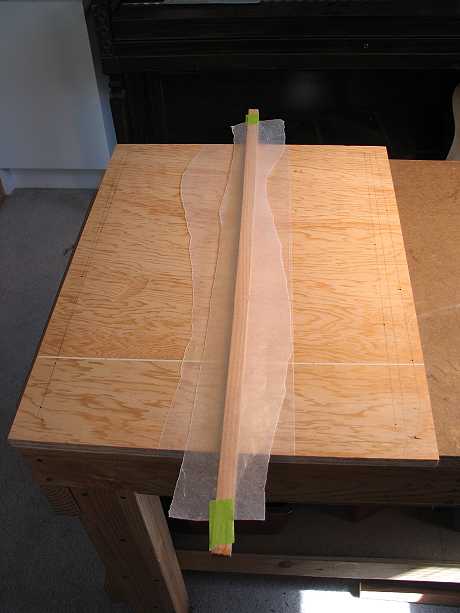
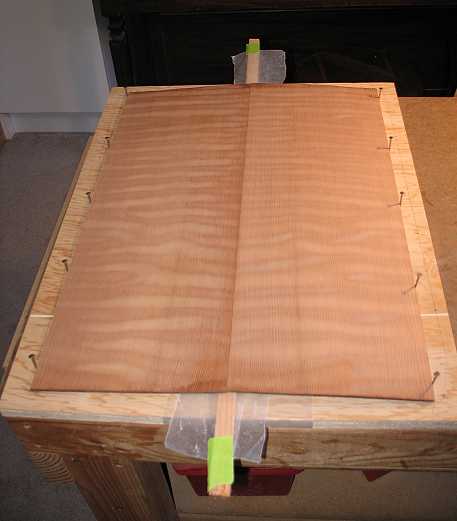
I have covered the plywood board in the center with a strip of waxed paper. The stick you see is also covered with waxed paper. I will place the two plate halves together over this center strip, trace the left and right edges of the plates onto the plywood board, and hammer in nails along those two lines.


I place the outer edges of the plates against these two lines of nails. Then I run glue along the edges to be joined, place the glued edges together, remove the stick, and then press the joint down and clamp it down with another stick. Doing it this way clamps the joint tightly together.


Here the top center joint is all clamped down. That square board you see in the upper right is there to hold down that portion of the top plate, which was slightly buckling up.


Here the back is clamped in the same way.


Finally, here is my neck blank (3" by 4" by 30"), good for two necks. It comes rough-cut, so I had to joint all the edges square with my 6" power jointer.

Well, this is about all I can do for now. The rest of my supplies (including my blueprint plans) have not yet arrived. See you later!!!!


Previous Page